Autumn Terracotta Lace Bucket Bag Free Crochet Pattern
A free, beginner-friendly crochet pattern to create a stylish lace bucket bag in warm terracotta shades, perfect for Autumn.
Published October 5, 2026 · by Amanda
- Skill level
- Beginner
- Yarn weight
- Worsted (4)
- Hook size
- 5.5 mm (I/9) for the bag, 4 mm (G/6) for the drawstring
- Time
- 4–5 hours
- Gauge
- 12 dc and 7 rows = 10 cm
- Yardage
- about 400 yards
- Sizes
- 30 × 25 cm (12 × 10 in)
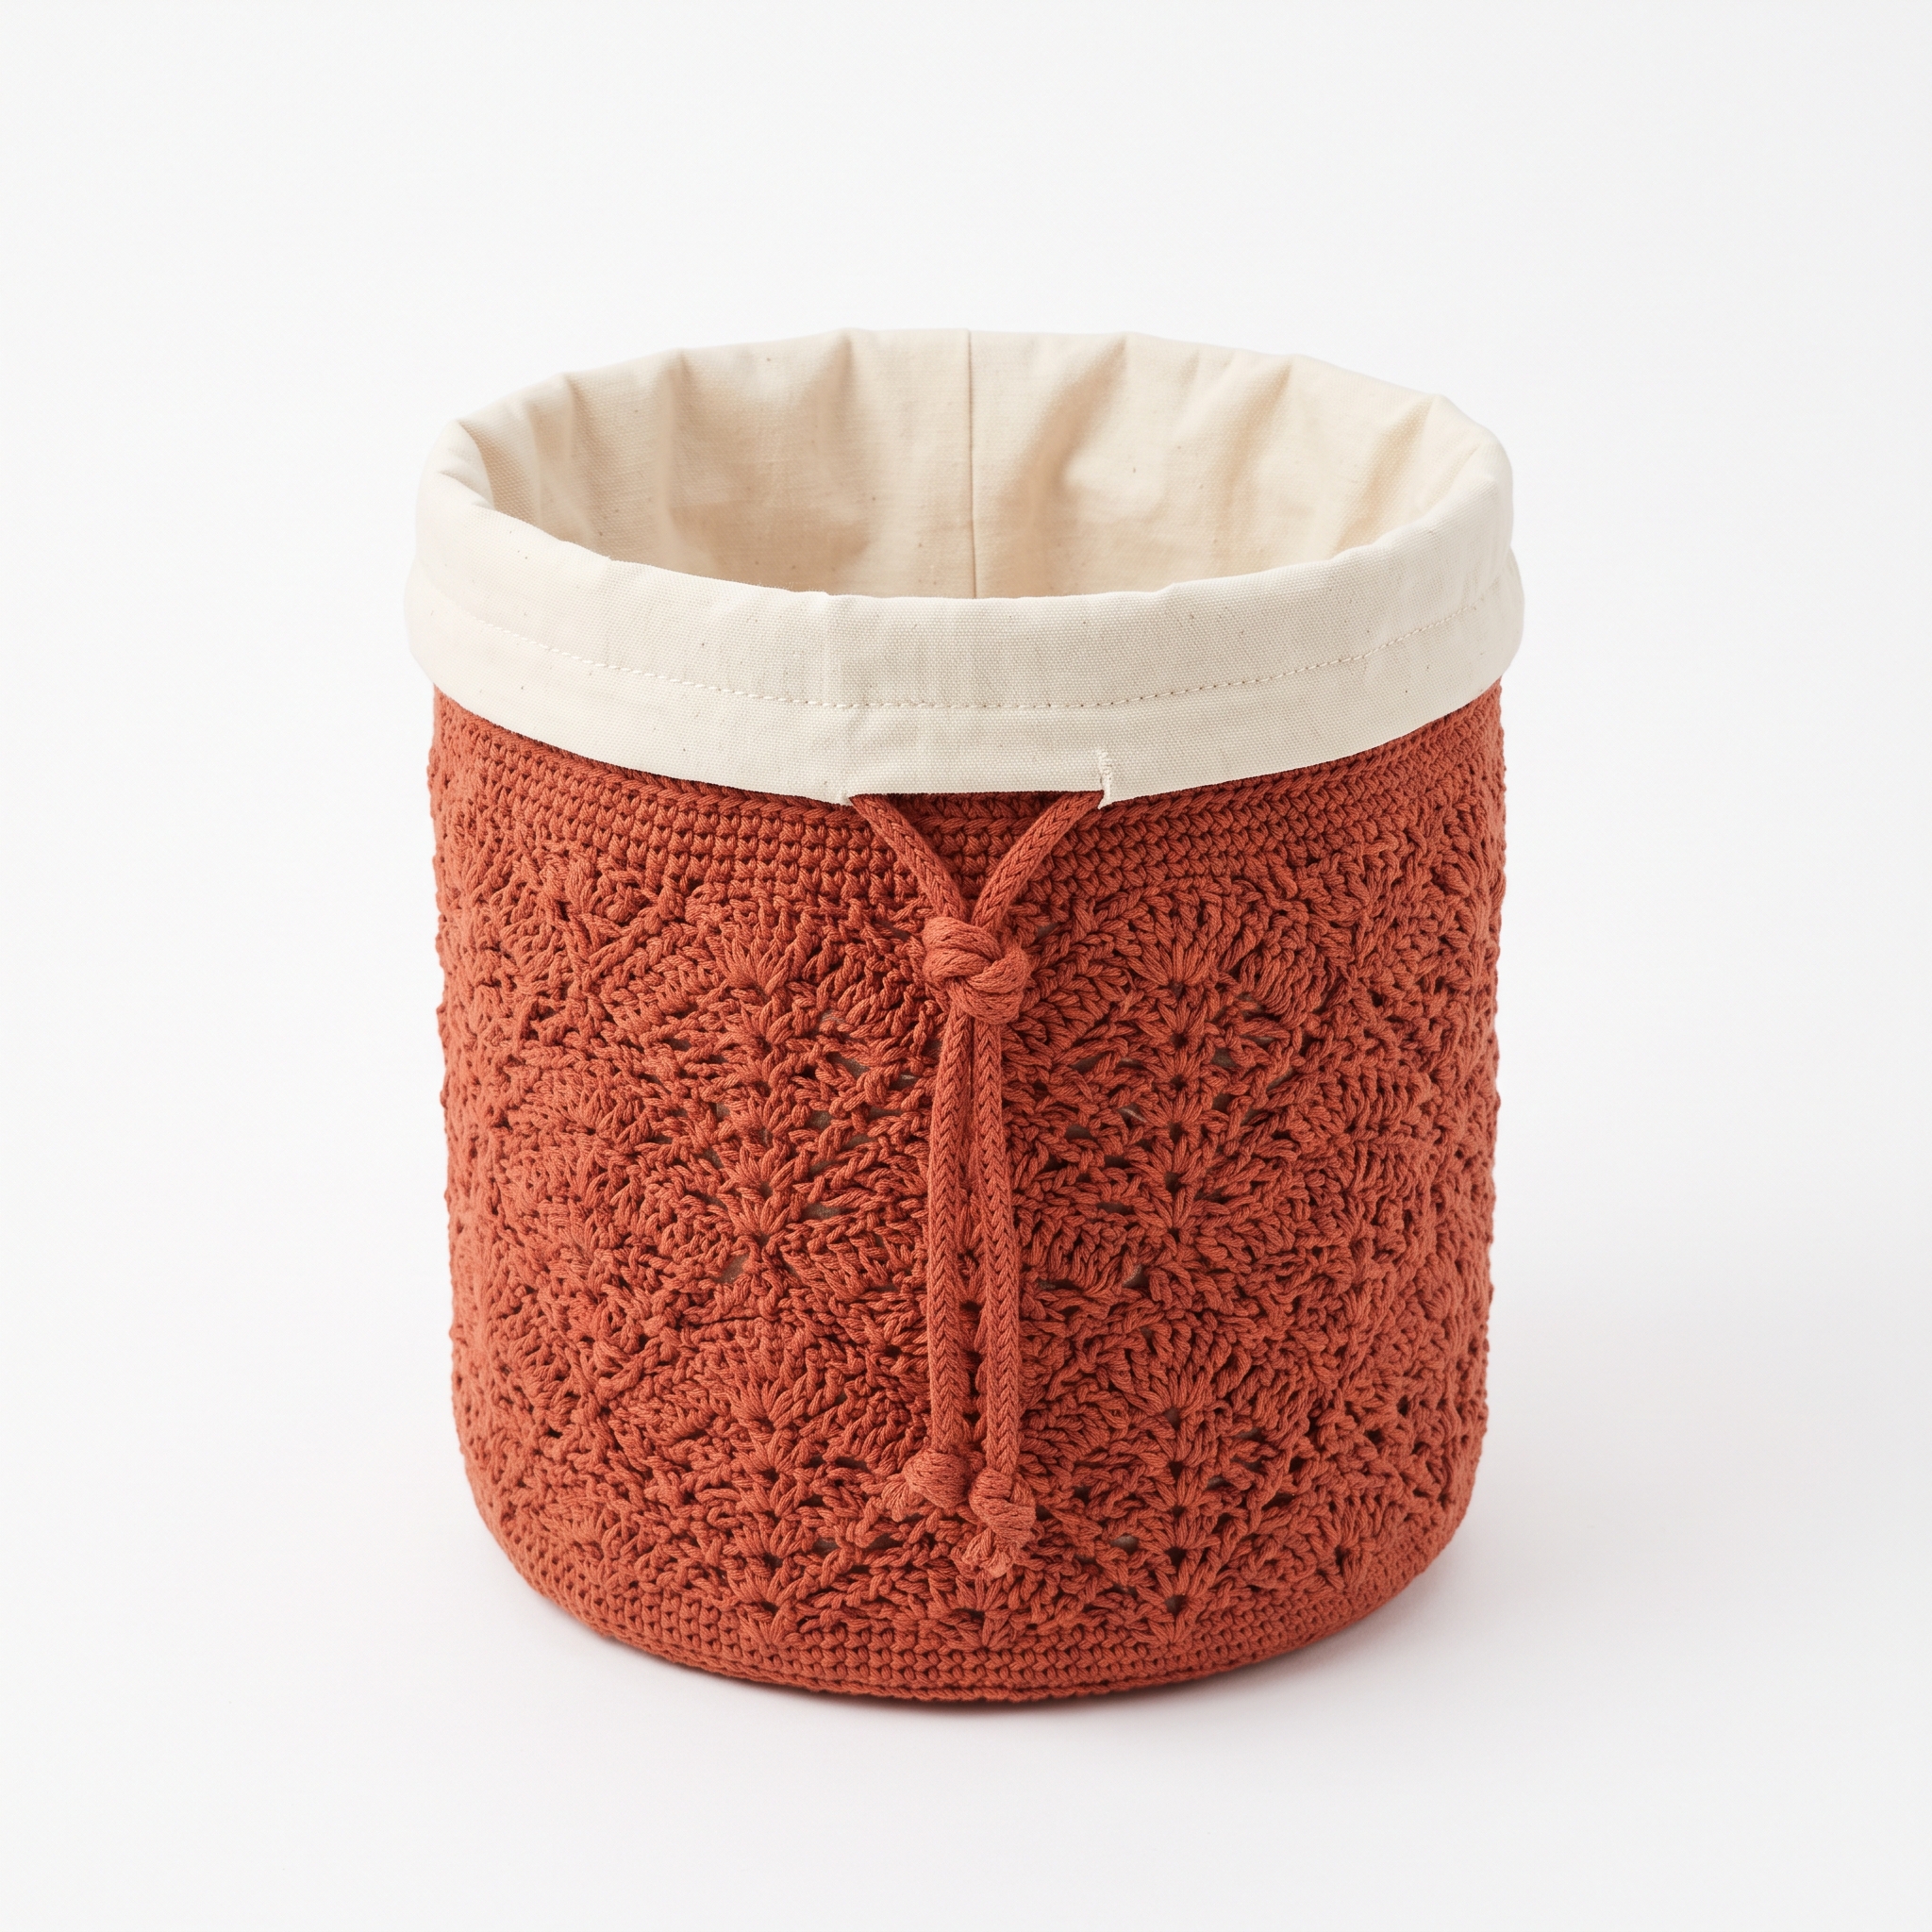
This Autumn Terracotta Lace Bucket Bag pattern is a stylish accessory that adds a touch of warmth to your autumn wardrobe. It's designed to hold your essentials while showcasing your crochet skills with a lovely lace pattern. You'll be using basic stitches like double crochet and single crochet, making this a fun and achievable project for beginners.
You'll learn how to crochet the body, create the sides, add a lining, and make a drawstring for your bag. This is a fantastic opportunity to practice your lacework while crafting something practical and fashionable.
Why You'll Love This Bucket Bag
- Stylish design – perfect for carrying your essentials in autumn.
- Great practice – expand your crochet skills with lacework.
- Quick and manageable – complete your bag in just a few hours.
- Use your creativity – customize with colors and fabrics you love.
Is This Pattern Good for Beginners?
Yes! This pattern is perfect for beginners looking to enhance their skills. It uses basic stitches and simple techniques that will build your confidence as you work towards a beautiful finished piece.
Crochet Abbreviations (US Terms)
- ch – chain
- dc – double crochet
- sk – skip
- sp – space
- sl st – slip stitch
- st – stitch
- ... – Repeat instructions between asterisks as directed
Size and Gauge
- Finished size: Approximately 30 cm (12 in) tall and 25 cm (10 in) wide.
- Gauge: 12 dc and 7 rows = 10 cm (4 in) in the main lace pattern. To check gauge, make a swatch with the main stitch pattern and adjust your hook size if necessary.
How to Crochet an Autumn Terracotta Lace Bucket Bag (Step by Step)
Body of the Bag
The body is worked flat before creating the sides.
- Foundation: Ch 58. (58 sts)
- Row 1: Dc in 4th ch from hook. Ch 1, sk next ch, dc in next ch across. Turn. (29 dc, 29 ch-1 sp)
- Row 2: Ch 3 (counts as first dc), dc in next ch-1 sp, ch 1 across. Finish with dc in the top of the starting ch. Turn. (29 dc, 29 ch-1 sp)
- Row 3 to Row 15: Repeat Row 2 for a total of 14 rows. (29 dc + 29 ch-1 sp for each row)
- Row 16: Ch 1. Sc across (58 sc). Turn.
- Row 17: Ch 1. Sc across (58 sc). Do not turn, continue to next step.
Creating the Sides
Now we’ll work on the sides of the bag.
7. Row 18: Ch 3 (counts as dc), ch 1, sk next sc, dc in next sc across. Join with a sl st to the top of ch-3. (29 dc, 29 ch-1 sp)
8. Row 19 - Row 26: Repeat Row 18 for 9 more rows.
Finishing the Body
This sets the base of your bag.
9. Row 27: Ch 1, sc across (58 sc).
10. Fold the bag in half, aligning the edges. Seam the sides using slip stitch or whip stitch, ensuring the foundation chain remains the top opening.
Lining the Bag
Let’s add a nice lining.
11. Cut lining fabric to approximately the same size as the bag (30 × 12 cm).
12. Fold in half and sew the sides, leaving the top open.
13. Insert the lining into the bag, folding over the top edge. Pin in place.
Drawstring
The drawstring adds a finishing touch to your bag.
14. With the 4 mm hook, ch 120.
15. Row 1: Sc in 2nd ch from hook and each ch across. (119 sc)
16. Finish off and leave a long tail for attaching. Thread the drawstring through the top opening of the bag and secure with a knot.
Assembly & Finishing
- Weave in all ends from the crochet work.
- Secure the lining to the inside of the bag with small stitches or fabric glue.
- Trim any excess lining fabric to create a neat finish.
Beginner Tips for a Neat Bucket Bag
- Use stitch markers to keep track of your rows and stitches.
- Count your stitches regularly to maintain an even edge.
- Keep consistent tension throughout your work for a smoother finish.
Common Mistakes (and How to Fix Them)
- "My stitches are uneven." – This could be due to irregular tension. Try to keep your grip consistent.
- "The bag is too small." – Ensure you’re counting your foundation chains and rows correctly.
- "I have holes in my work." – This can happen if you skip stitches. Double-check each step to avoid misses.
How to Care for Your Bucket Bag
To keep your bucket bag in great shape, hand wash it gently and lay it flat to dry. This helps preserve the fabric and crochet stitches.
FAQ
How do I adjust the size of the bag?
You can adjust the foundation chain and add more rows to the body to make it larger or smaller. Just remember to maintain the same stitch pattern.
Can I use a different type of yarn?
Yes, you can substitute with other yarns, but be aware that this may alter the size and appearance of the bag. Adjust your gauge as needed.
How long will this project take?
Expect to spend around 4–5 hours total, with the body taking about 3–4 hours and lining assembly taking about 1 hour.
Want to create a complete set? Check out our range of patterns or try the matching accessories.
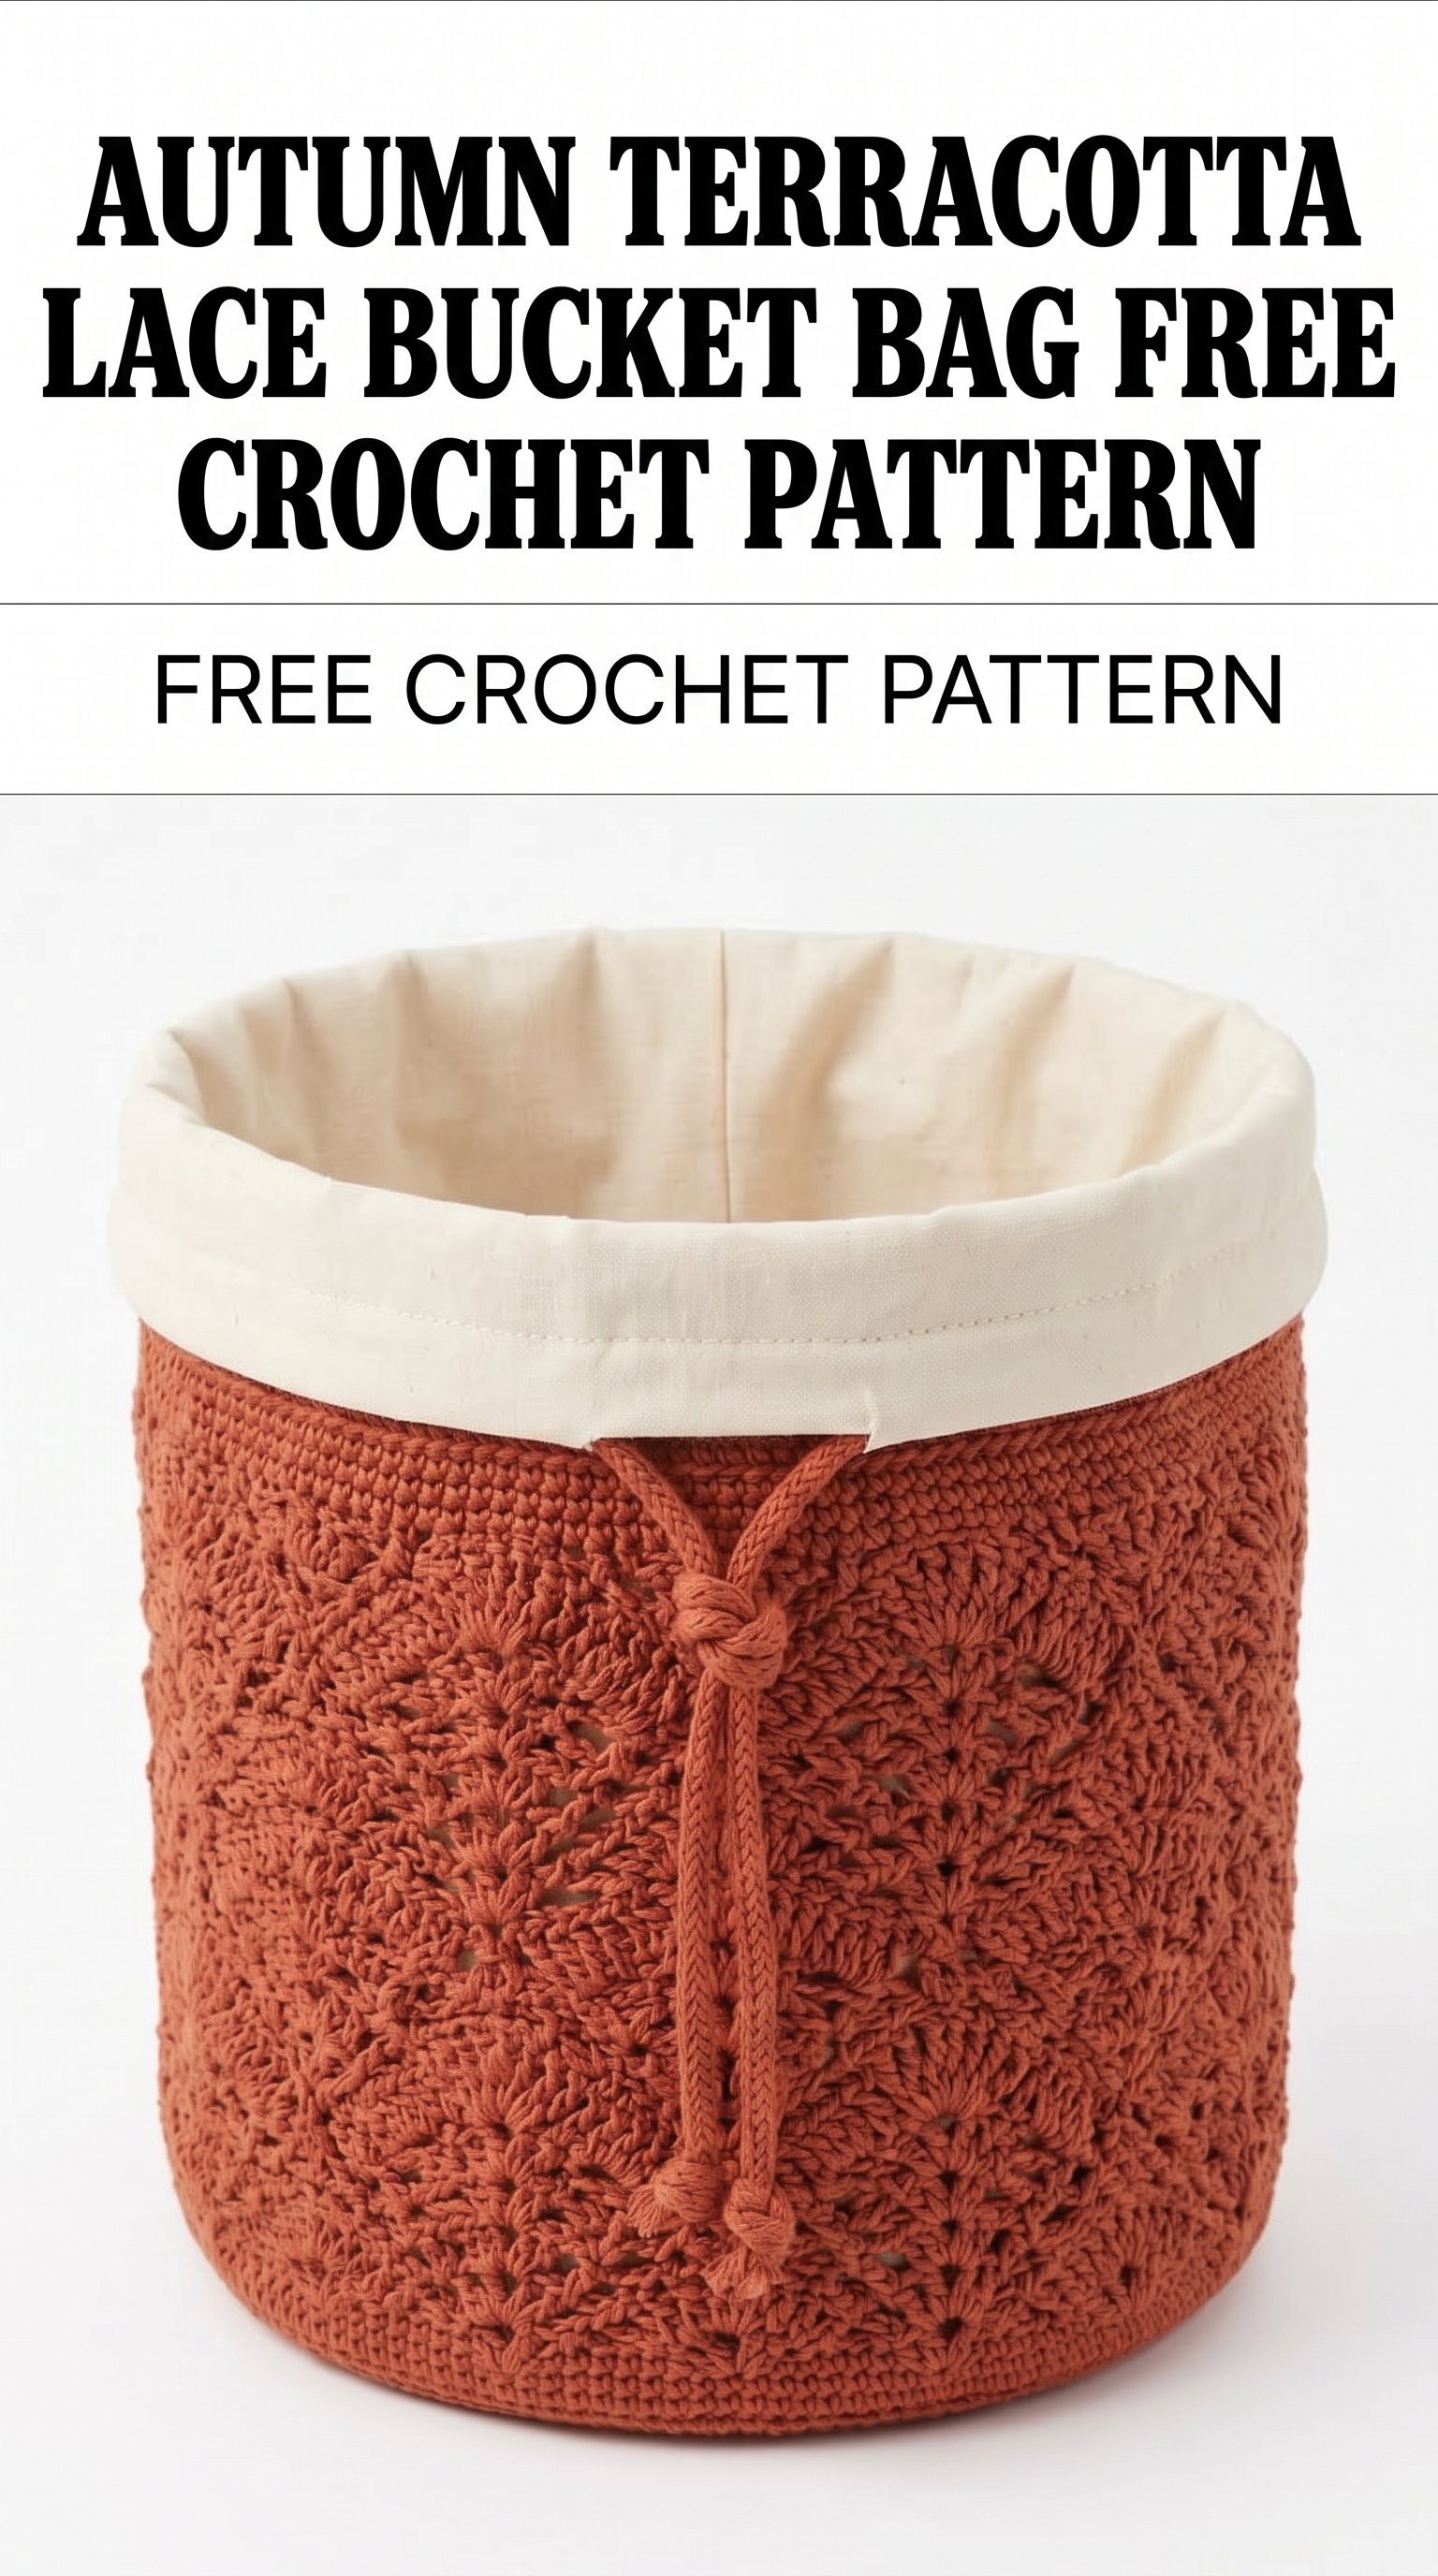
Image shown for inspiration — your finished result may vary slightly.