Cream and Mocha Two-Tone Granny Backpack Crochet Pattern
A stylish and easy crochet backpack pattern featuring alternating granny squares in cream and mocha colors.
Published October 5, 2026 · by Amanda
- Skill level
- Beginner
- Yarn weight
- Worsted (4)
- Hook size
- 5.5 mm (I-9)
- Time
- 12–20 hours
- Gauge
- 6 granny squares of 4 inches x 4 inches measure 9 stitches across and 9 rows high
- Yardage
- approximately 400 yards
- Sizes
- 30.5 cm x 35.5 cm (12 in x 14 in)
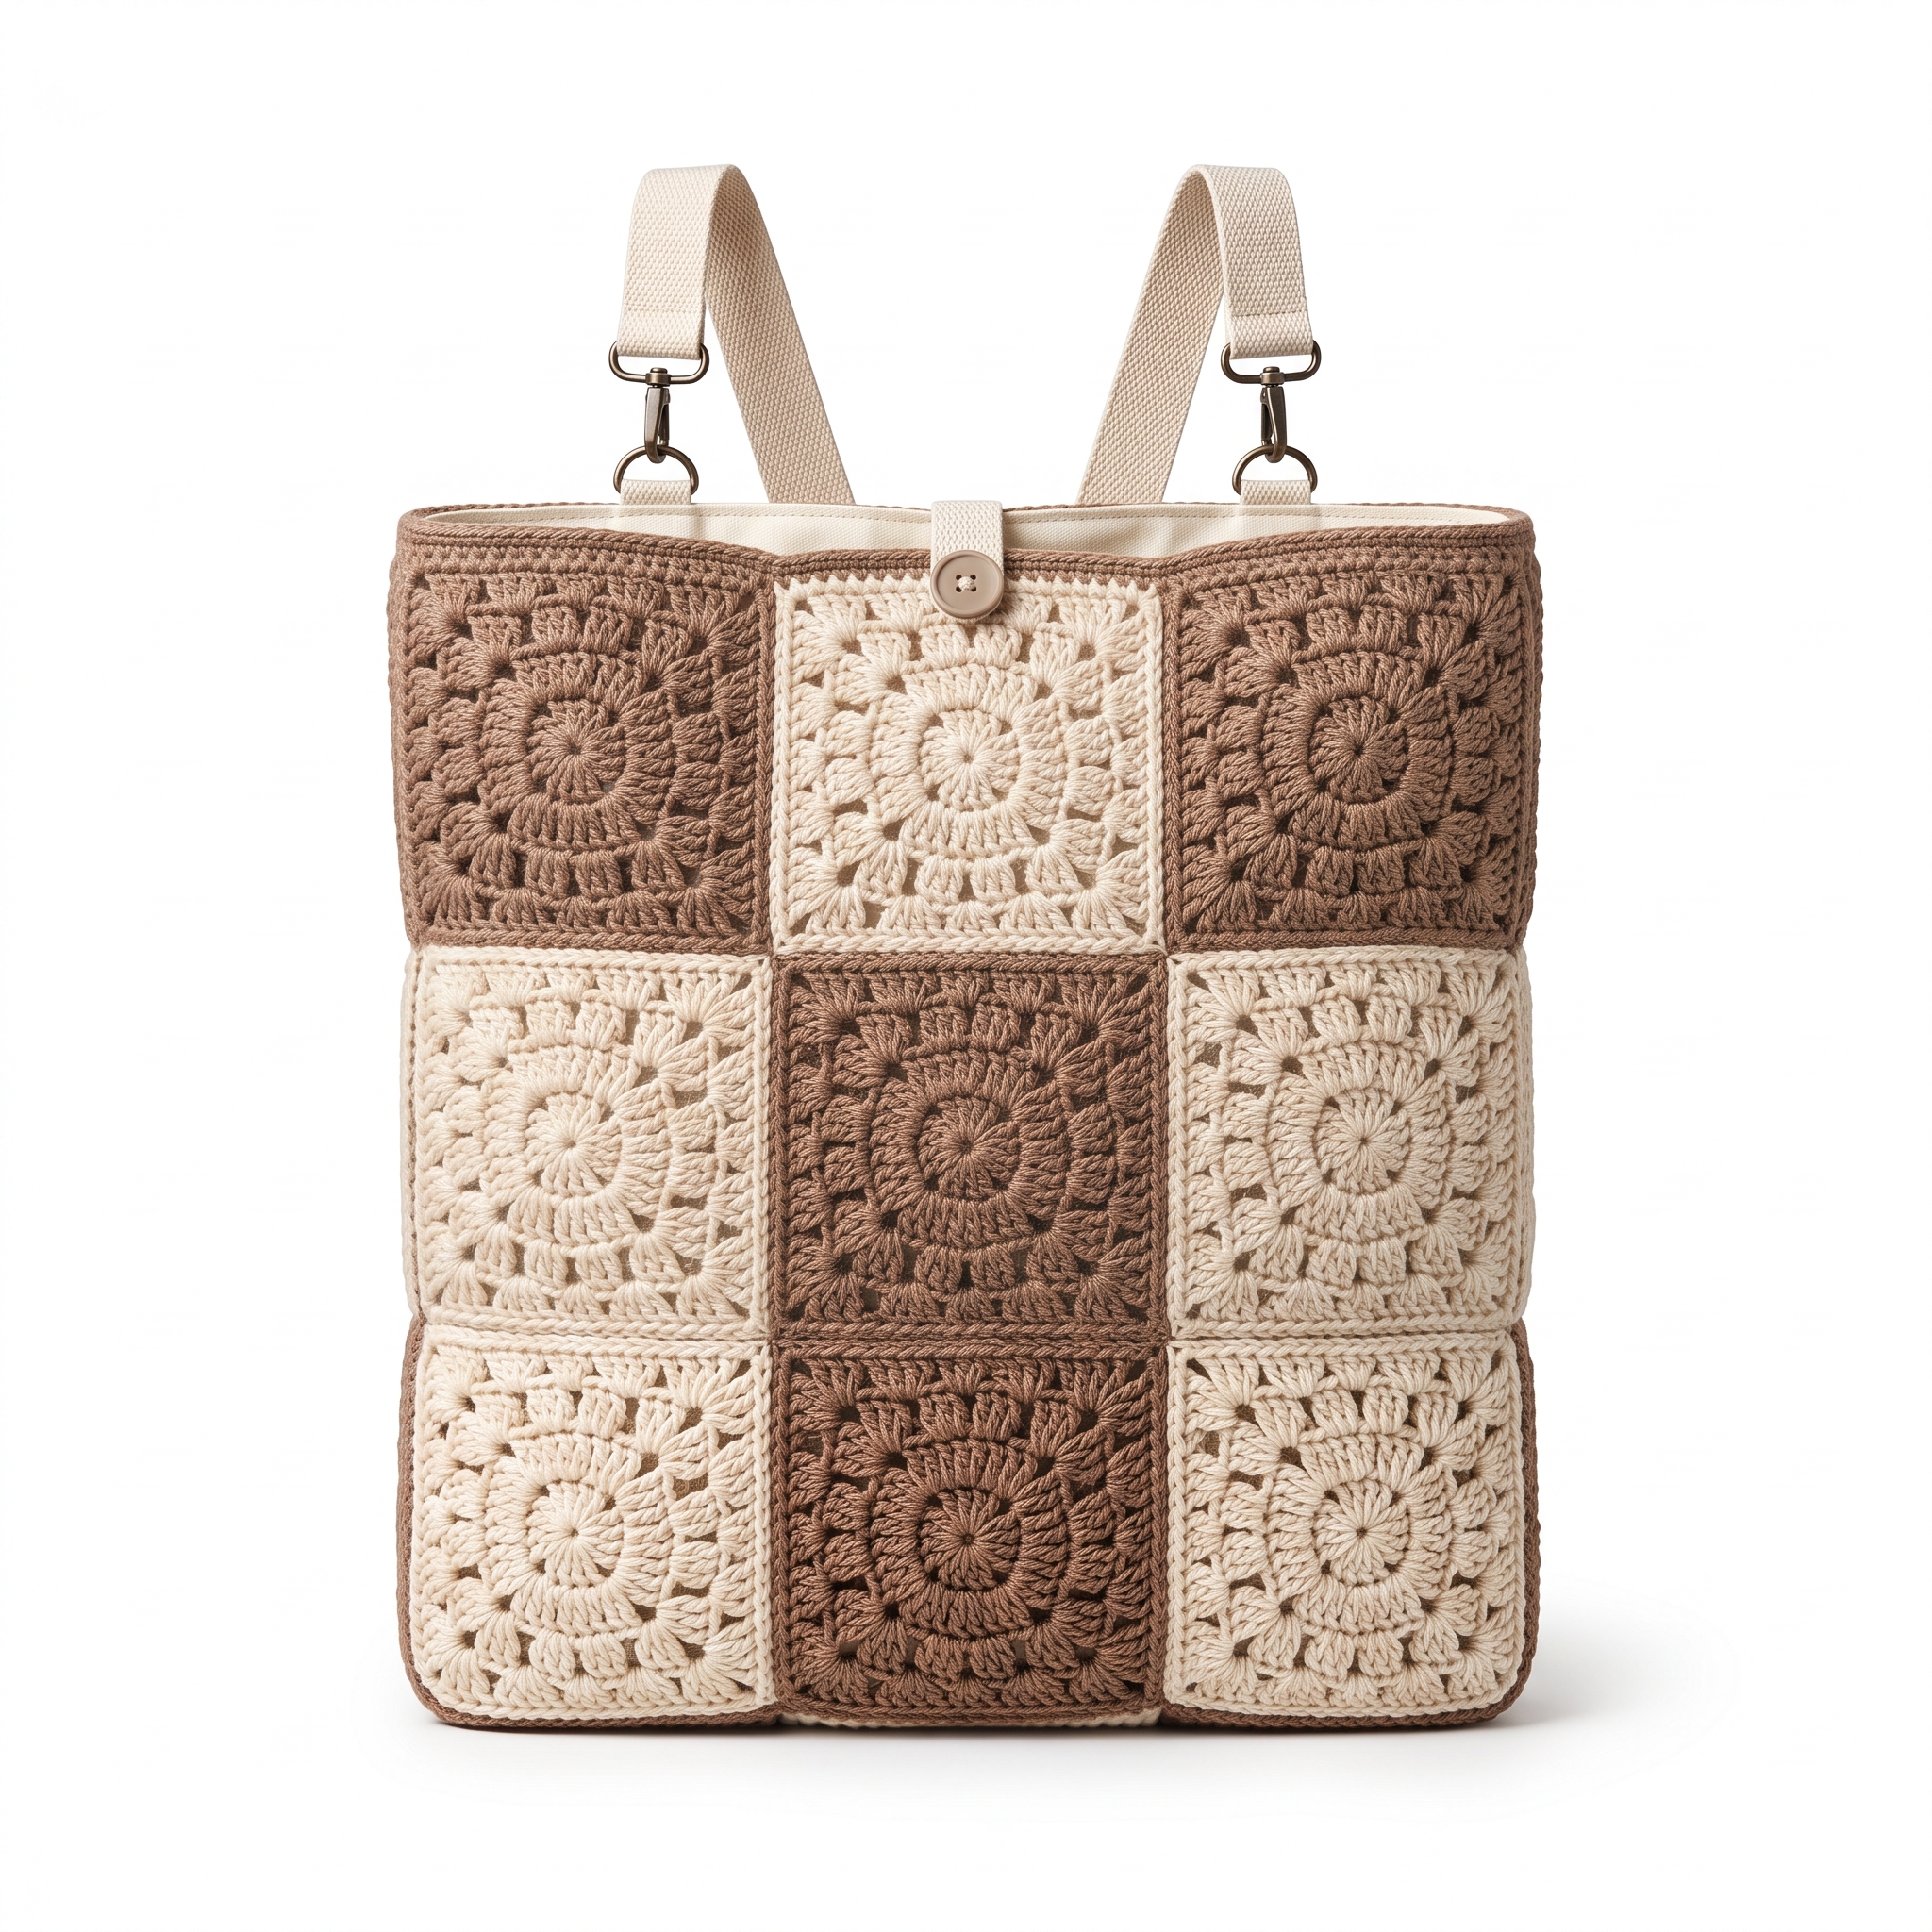
This Cream and Mocha Two-Tone Granny Backpack crochet pattern is perfect for crafting a stylish two-tone backpack that’s both functional and eye-catching. Whether you’re heading to school, running errands, or just want a unique accessory, this pattern is enjoyable to make and works up using basic crochet stitches. You'll learn to create granny squares and construct a lovely backpack.
Why You'll Love This Backpack
- Fun and creative – mix and match colors to suit your personal style.
- Quick to make – with just six granny squares, your backpack will come together in no time.
- Practical design – perfect for everyday use or a special outing.
- Great for beginners and experienced crocheters – clear instructions guide you every step of the way.
Is This Pattern Good for Beginners?
Yes! This pattern features simple stitches like chains, slip stitches, and double crochet. You’ll also get the opportunity to learn about granny squares, making it a wonderful project for beginners looking to expand their skills.
Crochet Abbreviations (US Terms)
- ch – chain
- sl st – slip stitch
- sc – single crochet
- dc – double crochet
- sp – space
- (sc, ch 2, sc) – Shell stitch used in granny squares for corner
Size and Gauge
- Finished size: Approximately 30.5 cm × 35.5 cm (12 in × 14 in)
- Gauge: 6 granny squares of 10 cm × 10 cm (4 in × 4 in) measure 9 stitches across and 9 rows high in the established pattern.
- To check gauge, make a sample square. If your square measures larger, use a smaller hook; if smaller, use a larger hook.
How to Make a Magic Ring
- Hold the yarn in a loop around your fingers.
- Insert your hook through the loop.
- Yarn over and pull through the loop on your hook.
- Chain one to secure the ring and start your project.
The Pattern
Part 1: Granny Squares
The backpack features six granny squares, alternating between cream and mocha.
Granny Square Instructions:
- Make a Magic Ring with Color A.
- Round 1: Ch 3 (counts as first dc), 2 dc in the ring, ch 2, 3 dc in the ring; repeat from * 2 more times, ch 2; sl st to top of ch 3. (12 dc, 4 ch-2 spaces)
- Round 2:
- Change to Color B.
- Sl st into next 2 dc to reach the ch-2 sp.
- (Ch 3, 2 dc) in same sp, ch 2, (3 dc) in next ch-2 sp; repeat from * to * until you finish all corners; sl st to top of ch 3. (24 dc, 4 ch-2 spaces)
- Round 3:
- Change to Color A.
- Sl st to the next ch-2 sp.
- (Ch 3, 2 dc, ch 2, 3 dc) in same sp, 3 dc in each ch-2 sp; repeat until the end; sl st to top of ch 3. (36 dc, 4 ch-2 spaces)
- Fasten off and weave in ends.
- Repeat the above steps to create six total granny squares: three with Color A dominant and three with Color B dominant.
Part 2: Backpack Construction
The granny squares will form the body of your backpack.
- Arrange the squares in a 3x2 formation, alternating colors.
- Join the Squares:
- Use sl st to join squares in rows first (three squares per row – total of two rows).
- Join each row together: sl st along the edge of squares to connect rows.
- Sides: Measure down 30.5 cm (12 in) from the top of each row for the backpack height.
- Create the Base: Slip stitch to connect the bottom squares and form a seamless fabric.
- Lining (Optional): Cut a fabric piece to fit inside the backpack. Sew the edges, leaving a couple of inches open for accessibility. Pin it and sew to the inner seams of the granny square fabric.
Part 3: Straps
- Cut two pieces of cotton webbing, each 76 cm (30 in) long.
- Attach one end of each strap to opposite top corners of the backpack using snap hooks.
- Sew the other ends of the straps to a central point on the top back of the backpack.
Assembly & Finishing
- Weave in any loose ends.
- Attach the button for the closure at the center of the top flap.
- Block your completed backpack to shape it as desired.
- If using a lining, ensure it lays smooth without wrinkles.
Beginner Tips for a Neat Backpack
- Use stitch markers to keep track of your rows, especially when making granny squares.
- Count your stitches at the end of each round to ensure you have the correct number.
- Maintain consistent tension for a uniform look in your squares.
Common Mistakes (and How to Fix Them)
- "My project is uneven." – This may be caused by varying tension; focus on keeping your tension consistent with each square.
- "The squares don’t line up." – Check to ensure you’ve joined the squares evenly; lay them out flat before permanently attaching.
- "My colors look mismatched." – Be sure to alternate colors neatly and review your pattern placement before joining squares.
How to Care for Your Backpack
Hand wash your crochet backpack in cold water and lay it flat to dry. Avoid wringing it out to maintain its shape.
FAQ
How do I resize this backpack?
To resize, simply add more granny squares in any direction–remember to maintain the same number of squares for the base and sides.
What type of yarn should I use?
A worsted weight acrylic yarn is ideal for this pattern, as it's durable and easy to work with. Choose colors you love!
Can I line the backpack?
Yes! Lining your backpack is optional but adds durability and a polished look. Use a fabric that complements your yarn colors.
Want to create a complete set? Check out our range of patterns or try the matching clutch.
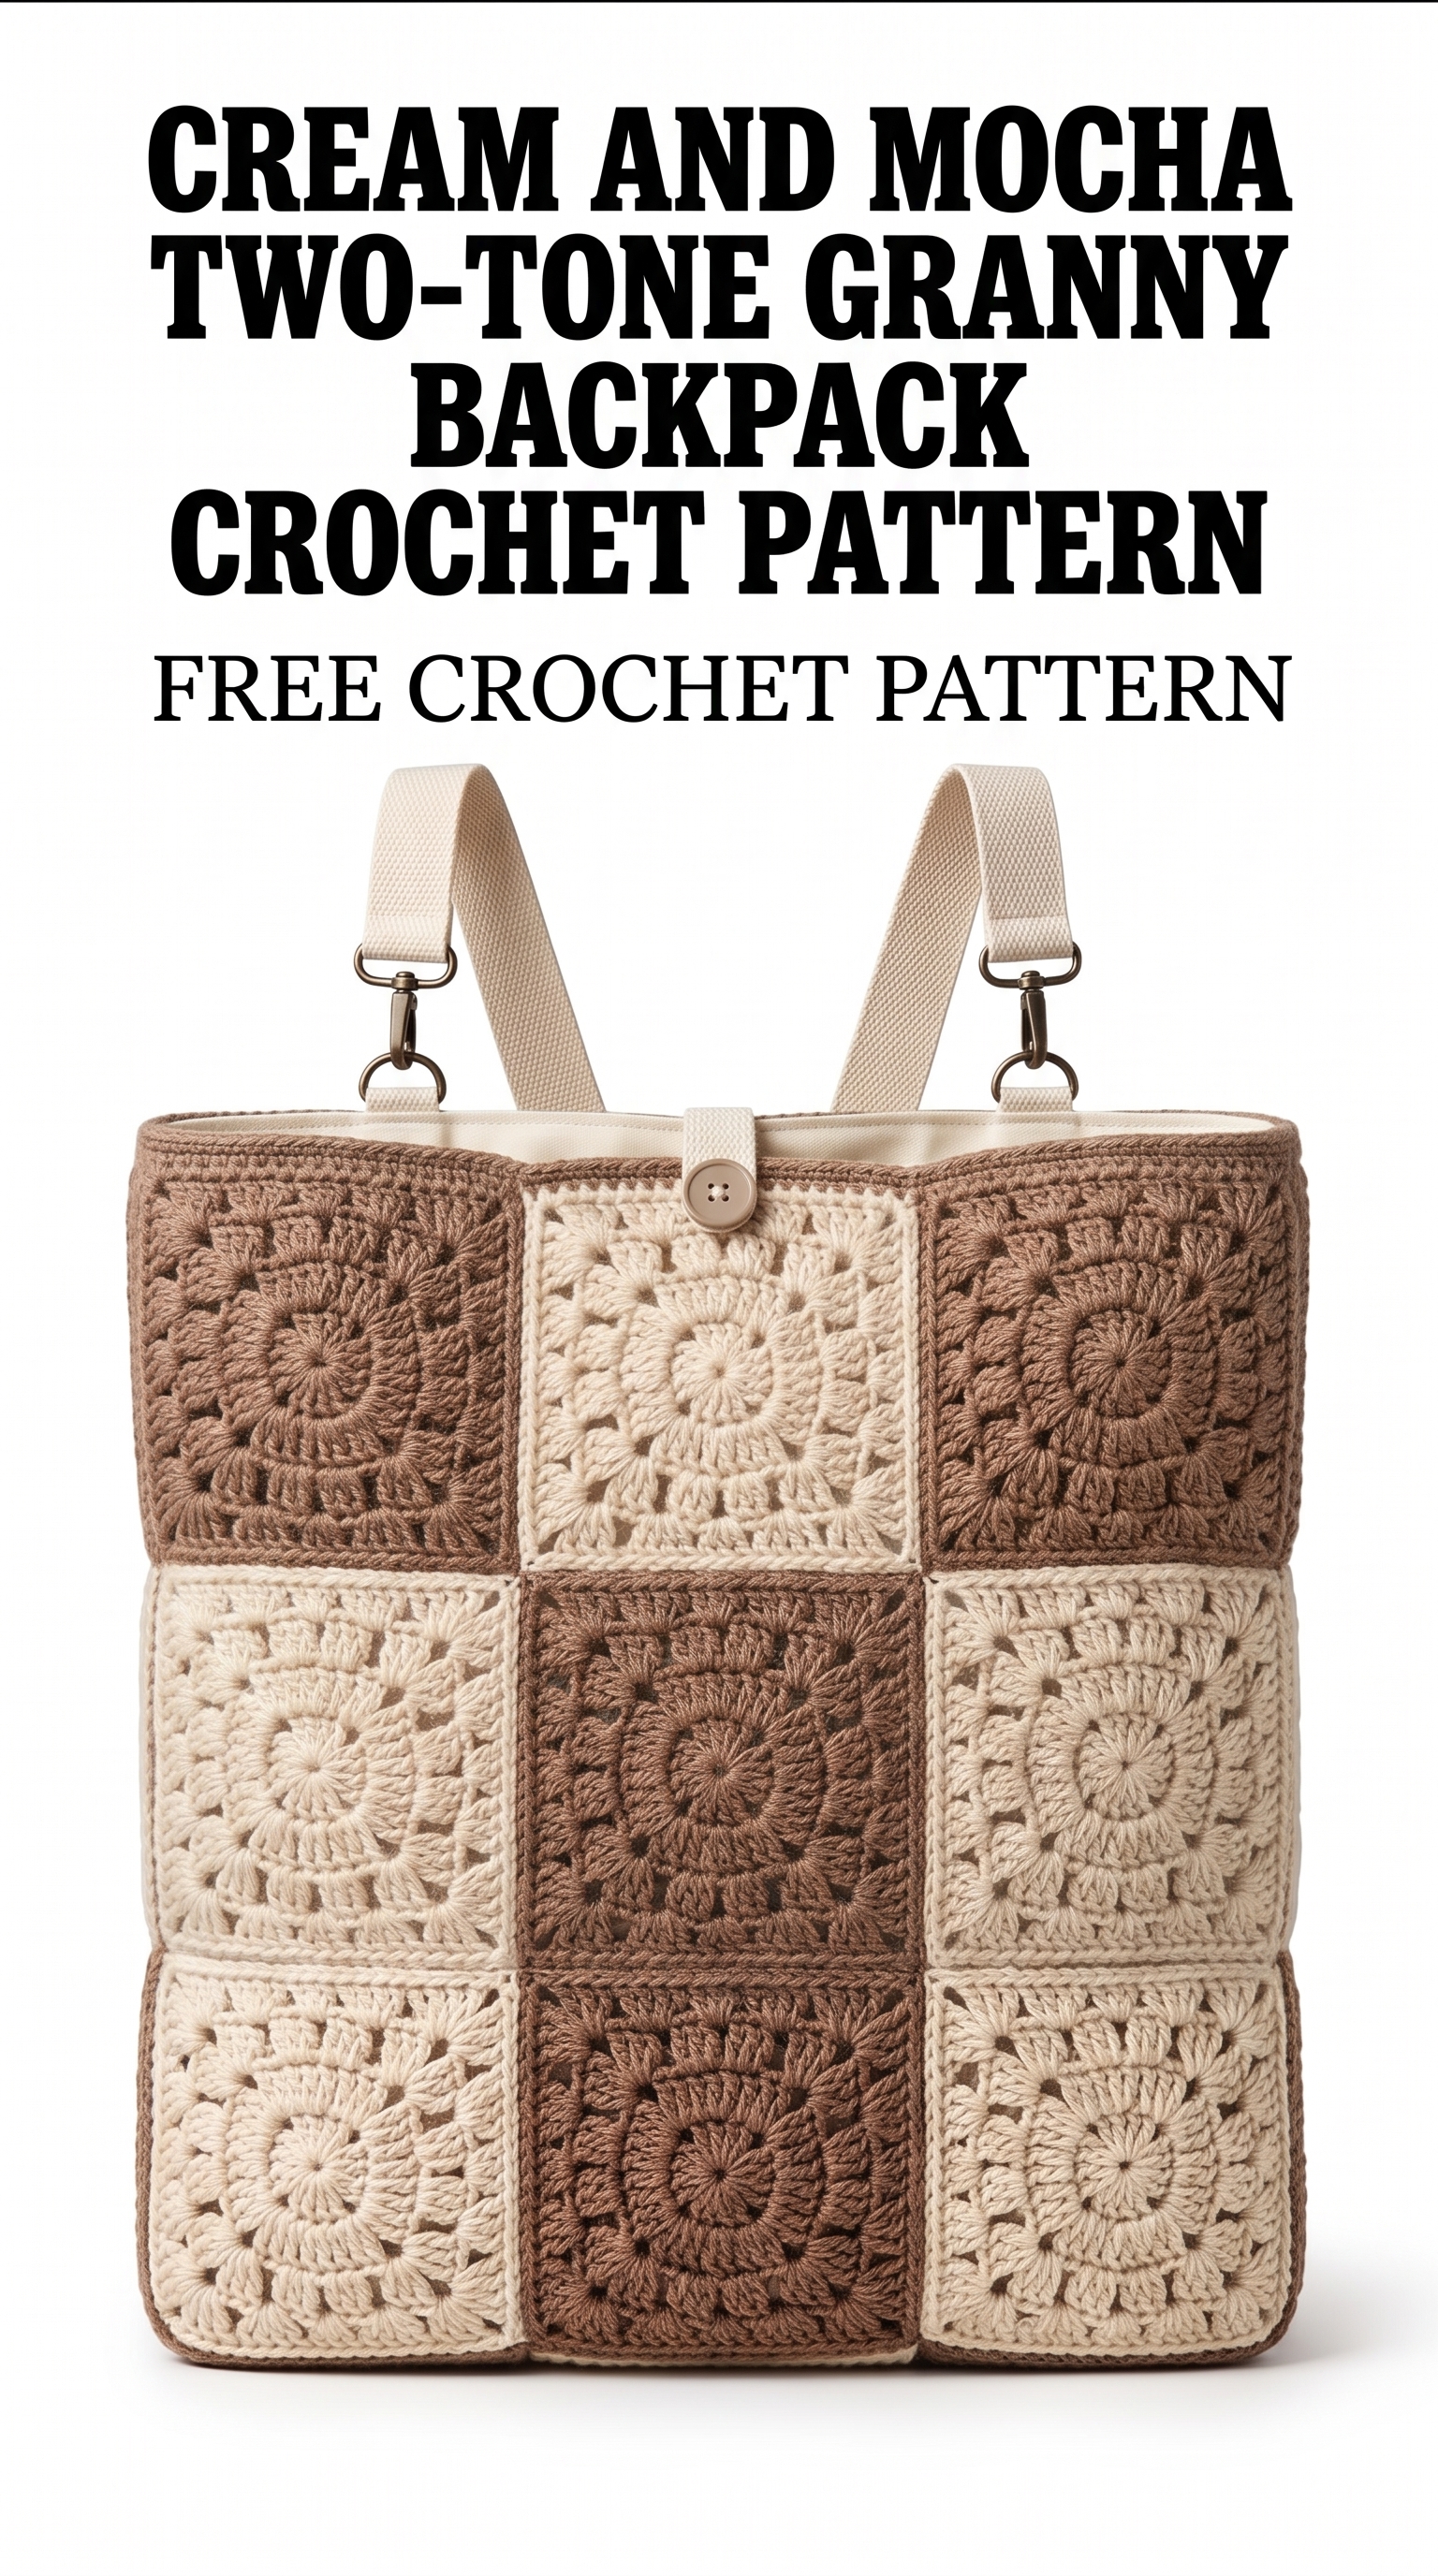
Image shown for inspiration — your finished result may vary slightly.