Mustard Yellow Crochet Sandals in Sunlit Kitchen Free Pattern
These comfortable and stylish sandals are perfect for casual summer wear. A simple pattern that anyone can follow!
Published October 5, 2026 · by Amanda
- Skill level
- Beginner
- Yarn weight
- Worsted (4)
- Hook size
- 5 mm (H-8)
- Time
- 3.5 hours
- Gauge
- 12 dc and 8 rows = 10 cm
- Yardage
- about 183 m
- Sizes
- Women’s size 7–8 (fits foot length of approximately 9 in / 23 cm)
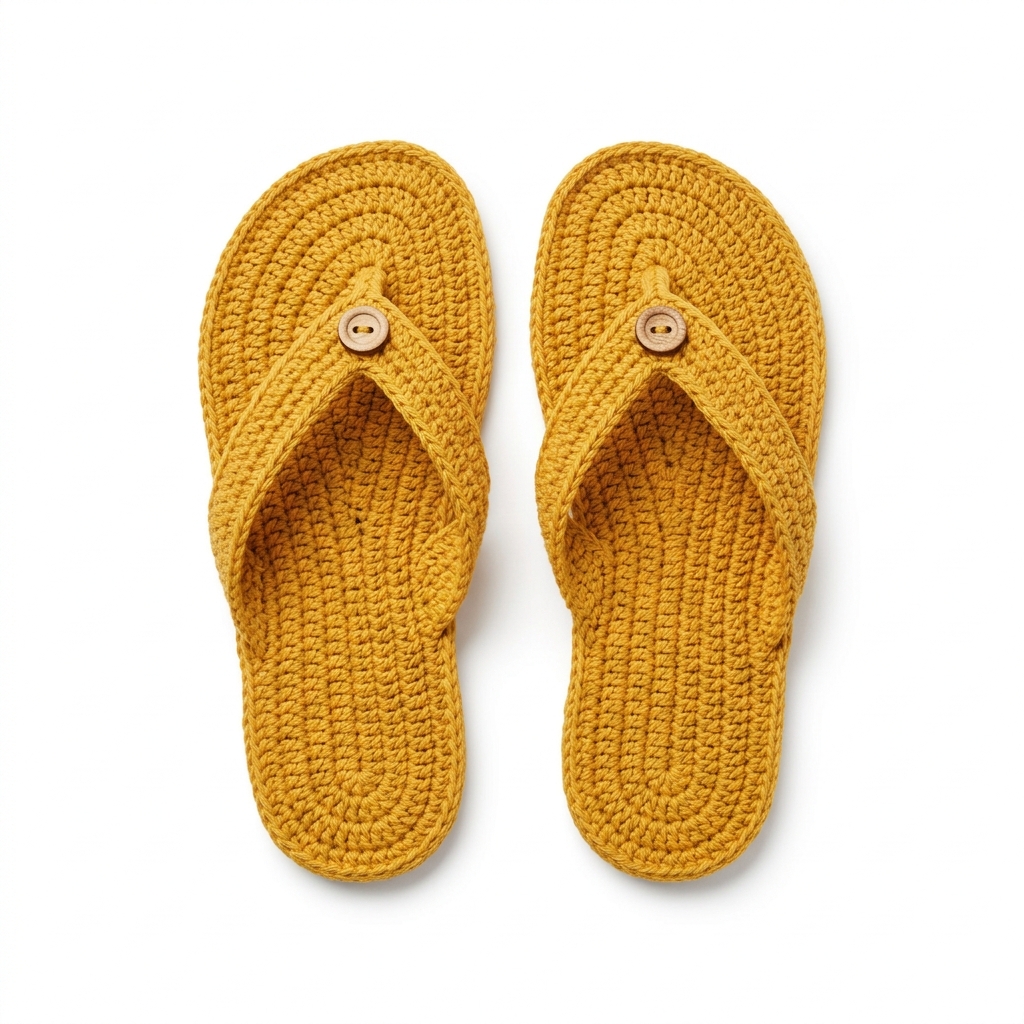
These mustard yellow crochet sandals are designed to be comfortable and stylish for casual summer wear. They are lightweight and perfect for warm weather, making them a delightful addition to any sunny day outfit. We’ll work with simple stitches like double crochet and single crochet to create the sandals step by step.
These sandals are perfect for adventurous beginners and anyone looking to add a fun accessory to their summer wardrobe. You’ll learn how to make the soles, straps, and how to put everything together.
Why You'll Love These Sandals
- Quick and easy – perfect for finishing in just a few hours.
- Comfortable fit – designed to mold to your feet as you wear them.
- Stylish look – add a pop of color to any summer outfit.
- Customizable – personalize with different colors or embellishments.
Is This Pattern Good for Beginners?
Yes! This pattern is beginner-friendly because it uses basic stitches that are easy to learn. You'll create the sandals in manageable steps, and we'll guide you through each part.
Crochet Abbreviations (US Terms)
- ch – chain
- dc – double crochet
- sl st – slip stitch
- sc – single crochet
- st(s) – stitch(es)
- inc – increase (2 stitches in the same stitch)
- dec – decrease (2 stitches together)
Gauge and Finished Size
- Finished Size: Women’s size 7–8 (fits foot length of approximately 9 in / 23 cm)
- Gauge: 12 dc and 8 rows = 10 cm (4 in)
To check gauge, crochet a swatch in double crochet. If your gauge does not match, adjust your hook size accordingly—larger hook for looser stitches, smaller hook for tighter stitches.
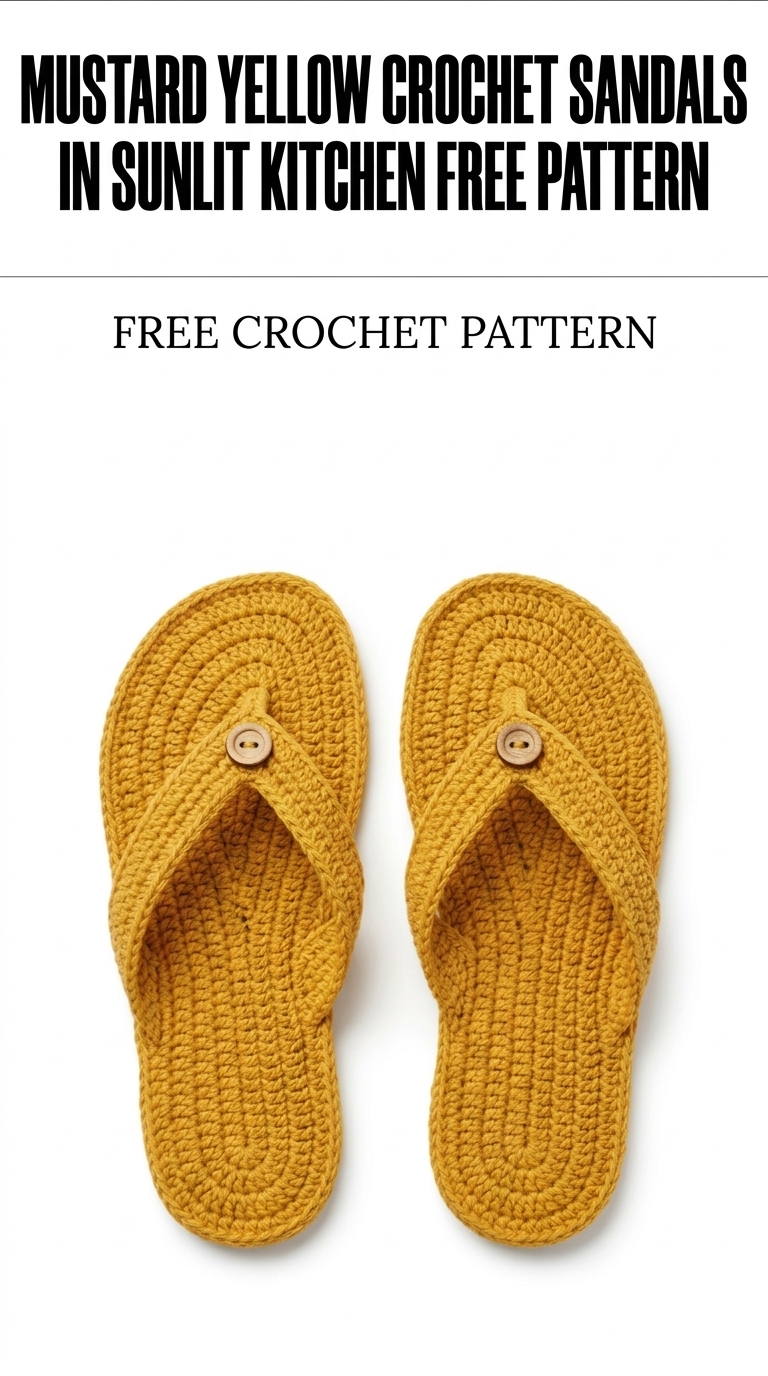
Image shown for inspiration — your finished result may vary slightly.
How to Crochet the Sole (Step by Step)
The sole of the sandal is worked flat and serves as the foundation for your sandals.
Sole (Make 2)
- Ch 12 (12 sts)
- Row 1: dc in the 4th ch from hook and in each ch across; turn (10 dc)
- Row 2: ch 3, dc in each st across; turn (10 dc)
- Rows 3–6: Repeat Row 2 until the piece measures approximately 23 cm (9 in) long.
- Row 7: ch 1, sc in each dc across; turn (10 sc)
- Row 8: ch 1, sc across but leave the last 3 sts unworked; turn (7 sc)
- Row 9: ch 1, sc in each of the 7 sc, then in the next sc make 2 sc (inc), and in the last 2 sc (9 sc total); turn.
- Row 10: ch 1, sc in each sc across; turn (9 sc)
- Row 11: Repeat Row 8 (leave 3 sc unworked, turn) (6 sc)
- Row 12: Repeat Row 9 (7 sc total); finish off leaving a long tail for sewing later.
How to Crochet the Upper Straps (Step by Step)
The upper straps add style and support to your sandals.
Upper Straps (Make 2)
- Ch 5 (5 sts)
- Row 1: sc in the 2nd ch from hook and in each ch across; turn (4 sc)
- Row 2: ch 1, sc across; turn (4 sc)
- Row 3: ch 1, dec, sc across; turn (3 sc)
- Row 4: ch 1, dec; turn (2 sc)
- Row 5: ch 1, sc in each st across; turn (2 sc)
- Row 6: ch 1, dec; finish off leaving a long tail (1 sc).
How to Assemble Your Sandals
Now it’s time to bring your sandals together!
- Place the two soles parallel with the top side facing up.
- Use the long tail from the sole to sew the upper strap to the midpoint of the sole using a whip stitch. Ensure that it is securely attached.
- Repeat for the second strap on the second sole.
Adding the Edging
For a decorative touch, you can add a scalloped edge.
- Using a contrasting color (optional), attach yarn at any point on the sole; work 5 dc in the same stitch, skip next stitch around the edge until completed.
Weaving in Ends, Blocking
- Weave in all loose ends with your tapestry needle.
- Block lightly to shape the sandals if desired, using blocking mats.
Beginner Tips for a Neat Sandals
- Use stitch markers to keep track of your rows.
- Count your stitches often to avoid mistakes.
- Maintain even tension throughout your work.
Common Mistakes (and How to Fix Them)
- "My project is uneven." – This often happens from inconsistent tension. Keep an eye on your stitches as you work.
- "The straps feel too loose." – Make sure there are no gaps by checking stitches along the edges.
- "I'm confused about where to attach straps." – Always refer to the midpoint of the sole for proper placement.
How to Care for Your Sandals
Wash your sandals by hand in cold water and lay them flat to dry. Avoid wringing, as this helps maintain their shape.
FAQ
How can I resize the sandals?
To resize, adjust the number of chains in the sole. For a larger size, add chains in multiples of 2.
What if I don’t have cotton yarn?
You can use a different yarn, but make sure it’s of similar weight. Just check your gauge to ensure a proper fit.
Can I use a different stitch pattern?
Absolutely! Feel free to explore different stitch patterns for the body of the sandal to personalize your design.
Want to create a complete set? Check out our range of patterns or try the matching hat.