Pastel Rainbow Daisy Backpack Free Crochet Pattern
A vibrant and whimsical backpack with cheerful daisy appliqués, perfect for kids and adults alike. Enjoy crocheting this colorful project!
Published October 5, 2026 · by Amanda
- Skill level
- Intermediate
- Yarn weight
- Worsted (4)
- Hook size
- 5.0 mm (H/8) for the body, 4.0 mm (G/6) for the daisies
- Time
- 8–9 hours
- Gauge
- 14 dc and 8 rows = 10 cm
- Yardage
- about 600 yards
- Sizes
- 30 × 35 cm (12 × 14 in)
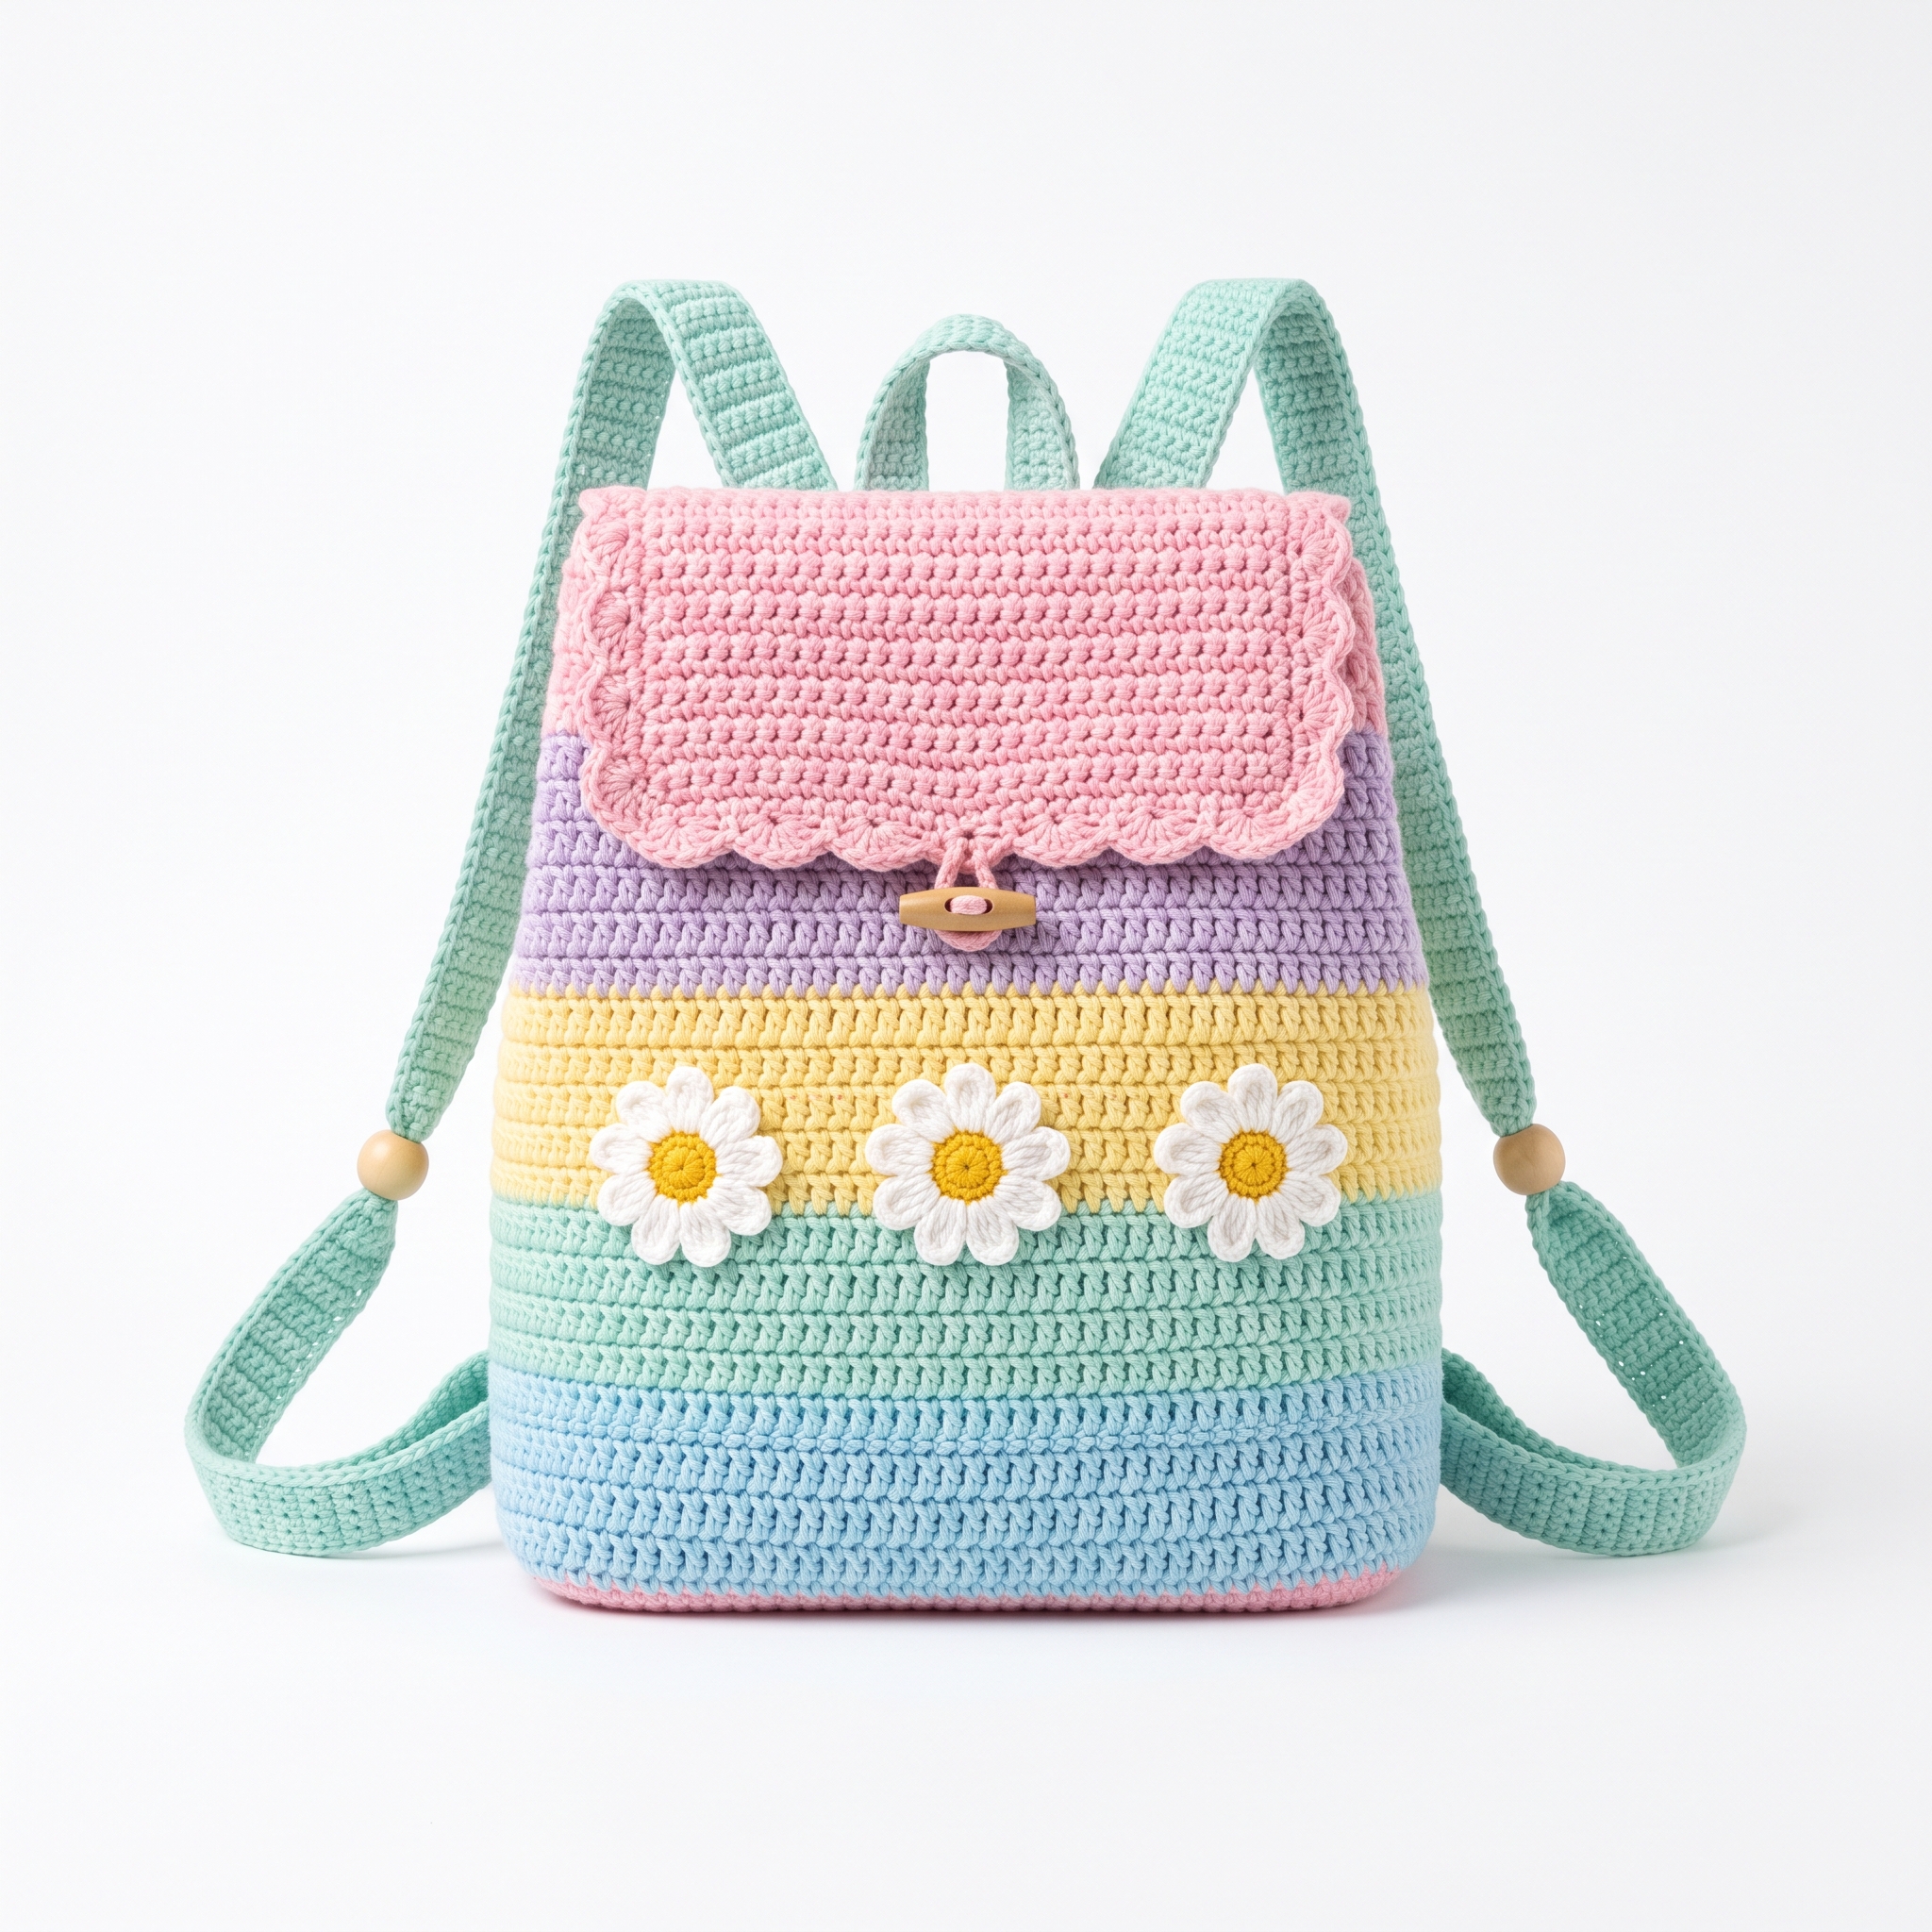
This pastel rainbow daisy backpack pattern is a perfect blend of fun and functionality. It features a colorful gradient and playful daisy appliqués, making it a delightful project for kids or as a whimsical accessory for adults. You'll be using basic stitches like double crochet and single crochet, and with some patience, you’ll create a lovely bag that showcases your crochet skills!
This pattern is suitable for those with intermediate skills, so if you're ready to take on a fun challenge, you're in the right place. You'll learn how to make a bag from start to finish, including adding custom straps and charming details.
Why You'll Love This Backpack
- Bright and cheerful – the pastel colors will brighten any outfit.
- Functional design – perfect for everyday use or special outings.
- Fun embellishments – the daisy appliqués add a unique touch.
- Customizable size – easily adjust the strap length for a perfect fit.
Is This Pattern Good for Beginners?
No, this pattern is best for intermediate crocheters. You'll be using double crochet, single crochet, and color changes, which may be challenging for beginners. However, each step is clearly explained, and you'll gain confidence as you progress with practice!
Crochet Abbreviations (US Terms)
- ch – chain
- dc – double crochet
- sc – single crochet
- sl st – slip stitch
- st(s) – stitch(es)
- sk – skip
- sp – space
- R – round
Special Stitches:
- Daisy Appliqué:
- Begin with a magic ring.
- Round 1: Ch 2, 12 dc in ring, pull tight, join with sl st to top of ch 2.
- Round 2: Ch 2, (dc, ch 2, dc) in each st around, join with sl st.
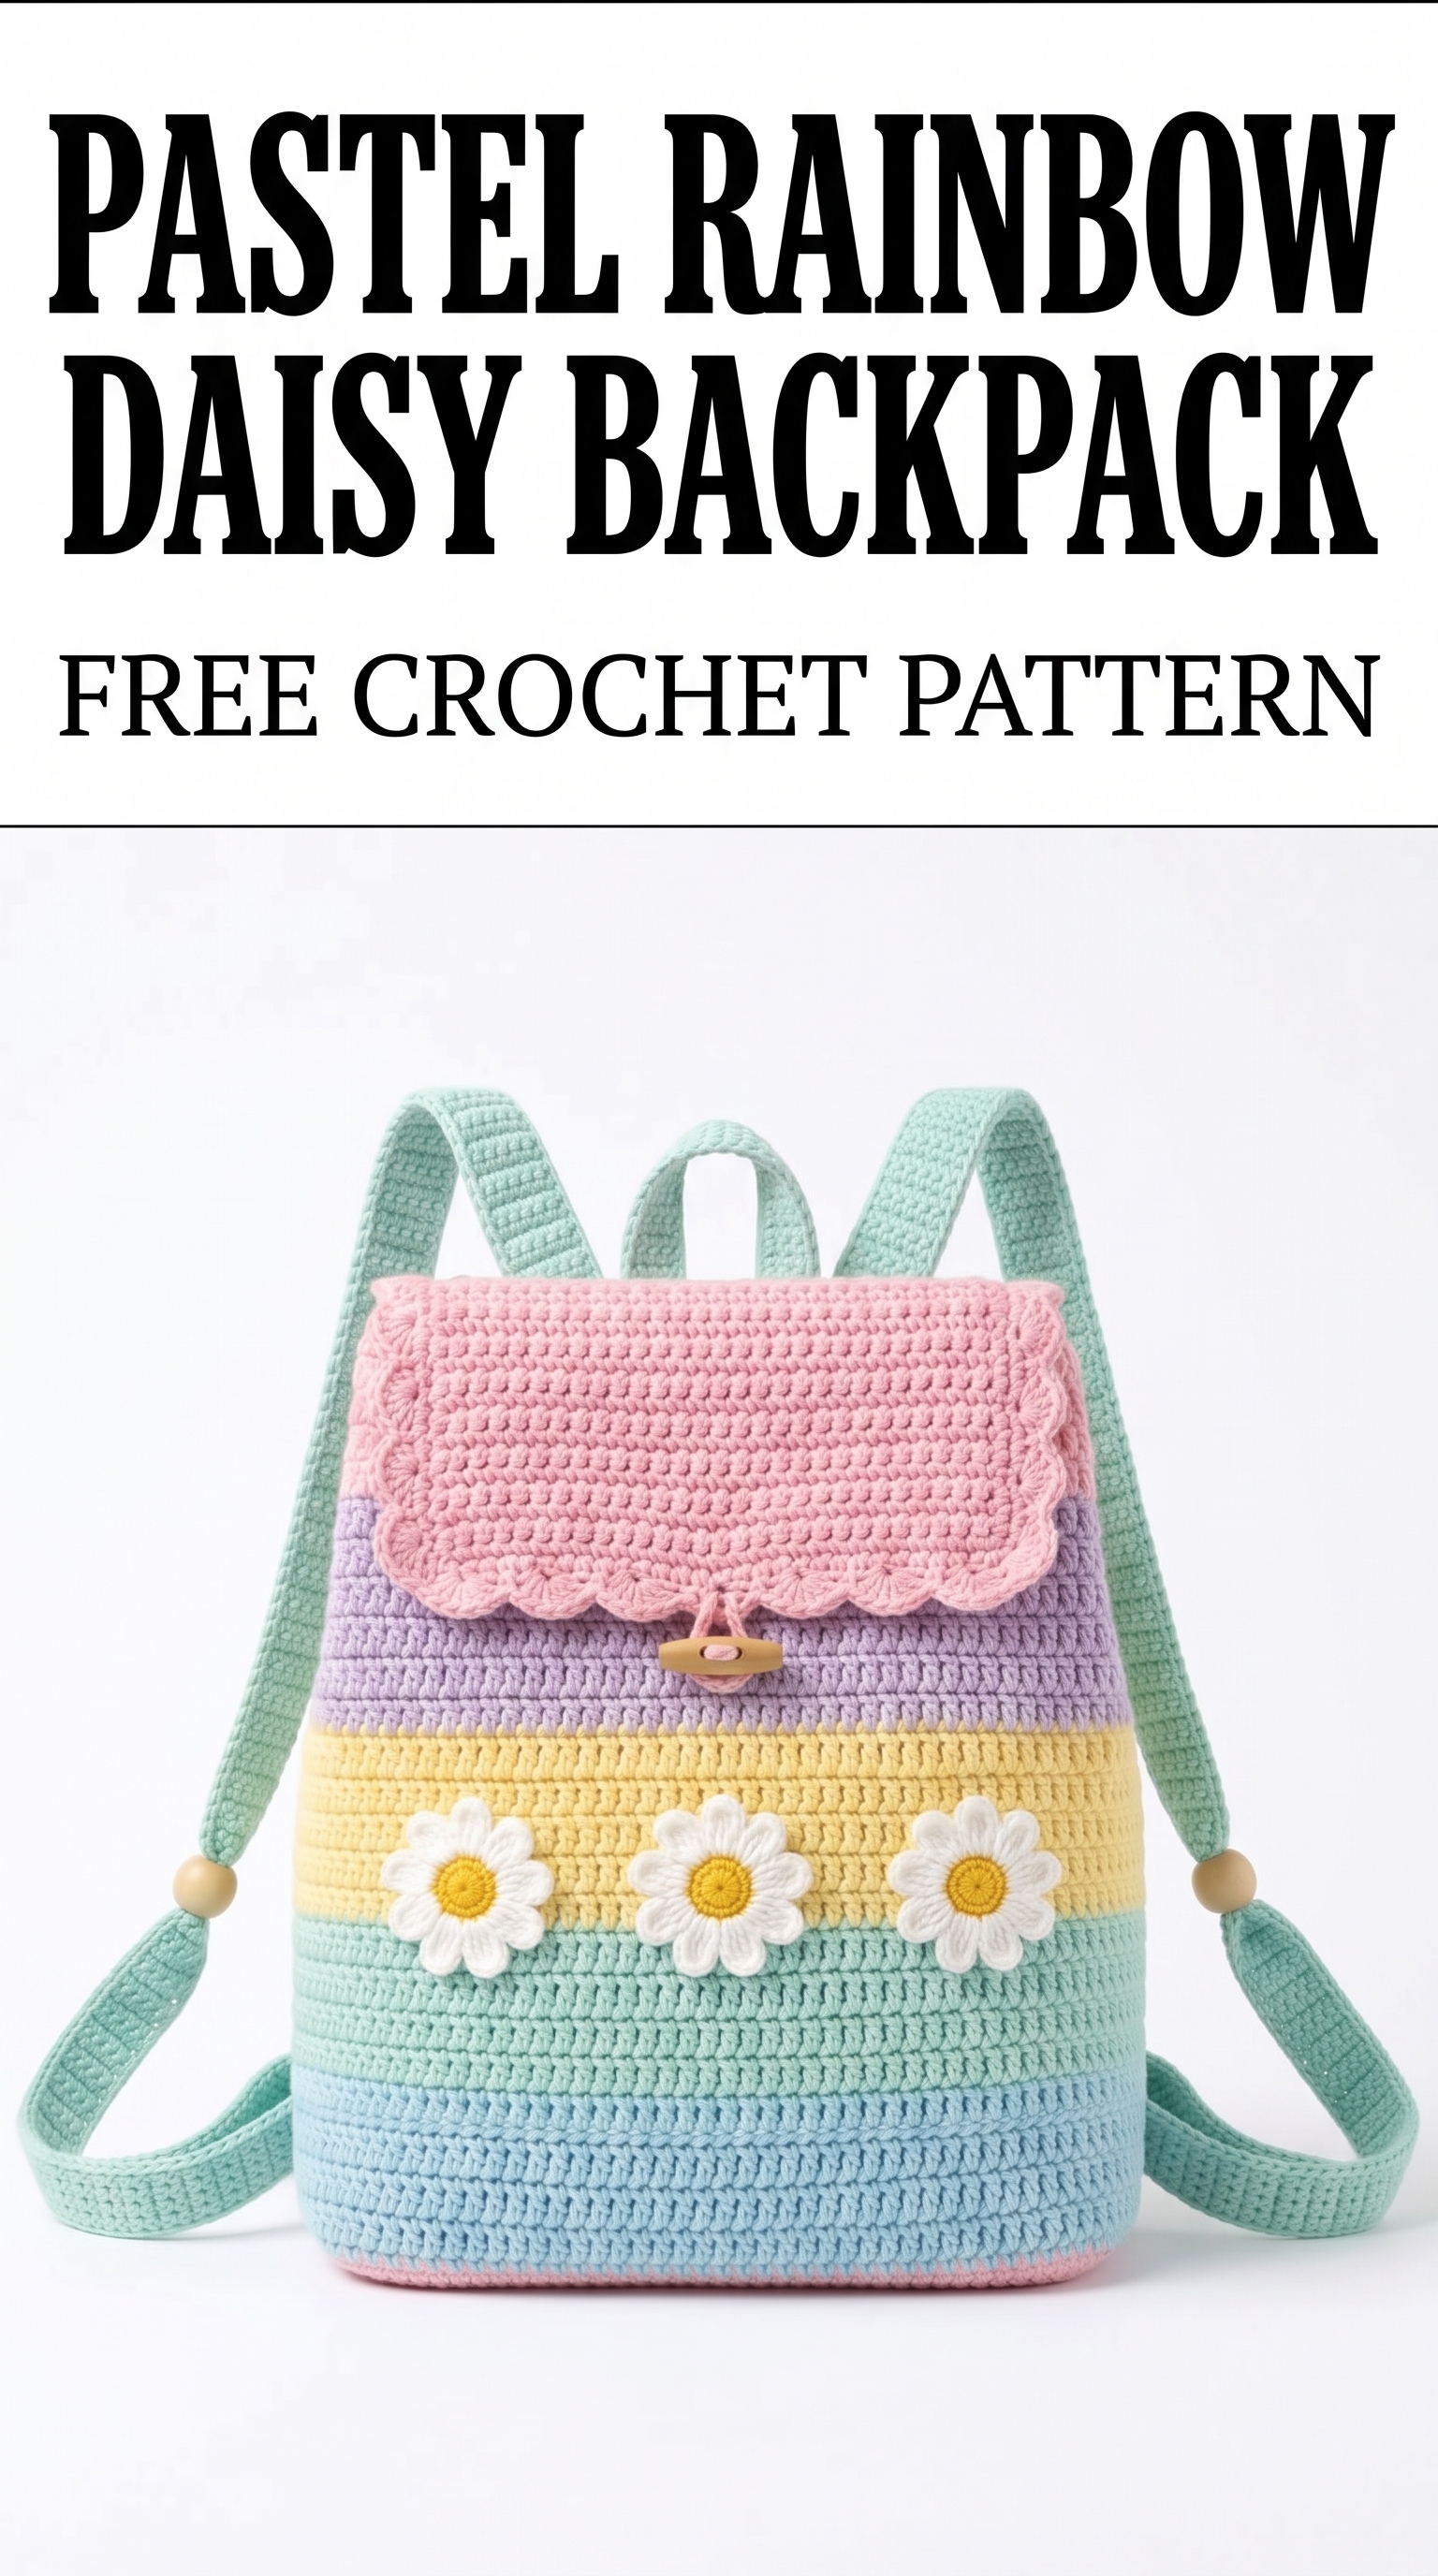
Image shown for inspiration — your finished result may vary slightly.
Size and Gauge
- Finished Size: Approximately 30 × 35 cm (12 × 14 in) wide x tall x 10 cm (4 in) deep.
- Gauge: 14 dc and 8 rows = 10 cm (4 in).
- To check gauge, crochet a swatch of 14 dc × 8 rows. If your swatch is larger, switch to a smaller hook; if smaller, switch to a larger hook.
How to Crochet a Pastel Rainbow Daisy Backpack (Step by Step)
The bag is constructed in parts: the body, flap, and straps, and then assembled together.
Body of Backpack
The body of the backpack is made using a colorful sequence of double crochet stitches.
- Base: Ch 42 (42 sts).
- Row 1: Dc in 4th ch from hook (counts as first dc), dc in each ch across (40 sts). Turn.
- Rows 2–3: Ch 3 (counts as first dc), dc in each st across (40 sts). Turn.
- Color Change:
- Row 4: Switch to Pastel Lavender, ch 3, dc in each st (40 sts).
- Row 5: Switch to Pastel Yellow, ch 3, dc in each st (40 sts).
- Row 6: Switch to Pastel Mint, ch 3, dc in each st (40 sts).
- Row 7: Switch to Pastel Blue, ch 3, dc in each st (40 sts).
- Body Height: Repeat rows 2–7 until piece measures approximately 35 cm (14 in) tall.
- Final Row: Ch 1, sc in each st across (40 sts), cut yarn.
Flap
The flap is also made from double crochet stitches.
- Flap Base: Using Pastel Pink, ch 30.
- Row 1: Dc in 4th ch from hook, dc in remaining ch (28 sts). Turn.
- Rows 2–3: Ch 3, dc in each st across (28 sts). Turn.
- Color Change:
- Row 4: Switch to Pastel Lavender, repeat.
- Continue changing colors as with the body, working a total of 5 rows.
- Final Row: Ch 1, sc across (28 sts). Cut yarn.
Straps
The straps are crocheted separately for adjustable length.
- Make 2:
- Using Pastel Mint, ch 6.
- Row 1: Sc in each ch across (5 sts). Turn.
- Rows 2–12: Ch 1, sc in each st across (5 sts) for 11 total rows.
- Cut yarn, leaving long tail for sewing.
Assembly
Now it’s time to put your backpack together!
- Fold the body in half, wrong sides together, creating a pouch.
- Join sides with a slip stitch or whip stitch along the edges.
- Attach the flap at the top with sc, ensuring it can fold down for closure.
- Sew on the toggle button at the center of the flap and the matching point on the body, about 5 cm (2 in) down from the top edge.
- Use a tapestry needle to secure the cotton webbing to the inside of the backpack to reinforce the straps.
- Attach straps to the top edges of the bag with whip stitches to secure.
Daisy Appliqués
Add a pop of fun with daisies!
- Make 3 daisies (as per the special stitches instructions).
- Sew daisies onto the front of the backpack at desired locations. Center each daisy by sewing securely at the center.
Assembly & Finishing
- Weave in all ends.
- Block the bag if desired to even out stitches and shape.
- Optionally, use fabric stiffener to maintain the backpack's form.
Beginner Tips
- Use stitch markers to keep track of rows and stitches.
- Count your stitches regularly to ensure your shape stays aligned.
- Practice consistent tension for an even finished product.
Common Mistakes (and How to Fix Them)
- "My rows are uneven." – Check your tension and make sure to count your stitches as you go.
- "The strap is too tight." – Revisit the strap length; make sure you’ve followed the chain instructions carefully.
- "My daisy shapes don't look right." – Make sure the magic ring is pulled tight, and you're following the rounds correctly.
How to Care for Your Backpack
Hand wash it in cold water and lay it flat to dry to maintain its shape and vibrant colors.
FAQ
How can I customize the strap length?
You can easily adjust the length of the chain you start with for the straps. Just remember to keep them equal for balance!
Can I use different colors for the daisy appliqués?
Absolutely! Feel free to get creative with your color choices to match the backpack or your personal style.
What if I want a bigger backpack?
To create a larger backpack, simply add more rows in the body section until you reach your desired height.
Want to create a complete set? Check out our range of patterns or try the matching daisy accessories.