Peach Blossom Diary Cover Free Crochet Pattern
A charming crochet diary cover featuring a peach blossom design, perfect for adding a touch of elegance to your notebook.
Published October 5, 2026 · by Amanda
- Skill level
- Intermediate
- Yarn weight
- Worsted (4)
- Hook size
- 4.5 mm (US 7)
- Time
- 6–8 hours
- Gauge
- 16 sc and 10 rows = 10 cm
- Yardage
- about 150 yards for Color A, 100 yards for Color B, 50 yards for Color C
- Sizes
- 21 × 29.7 cm (8.3 × 11.7 in)
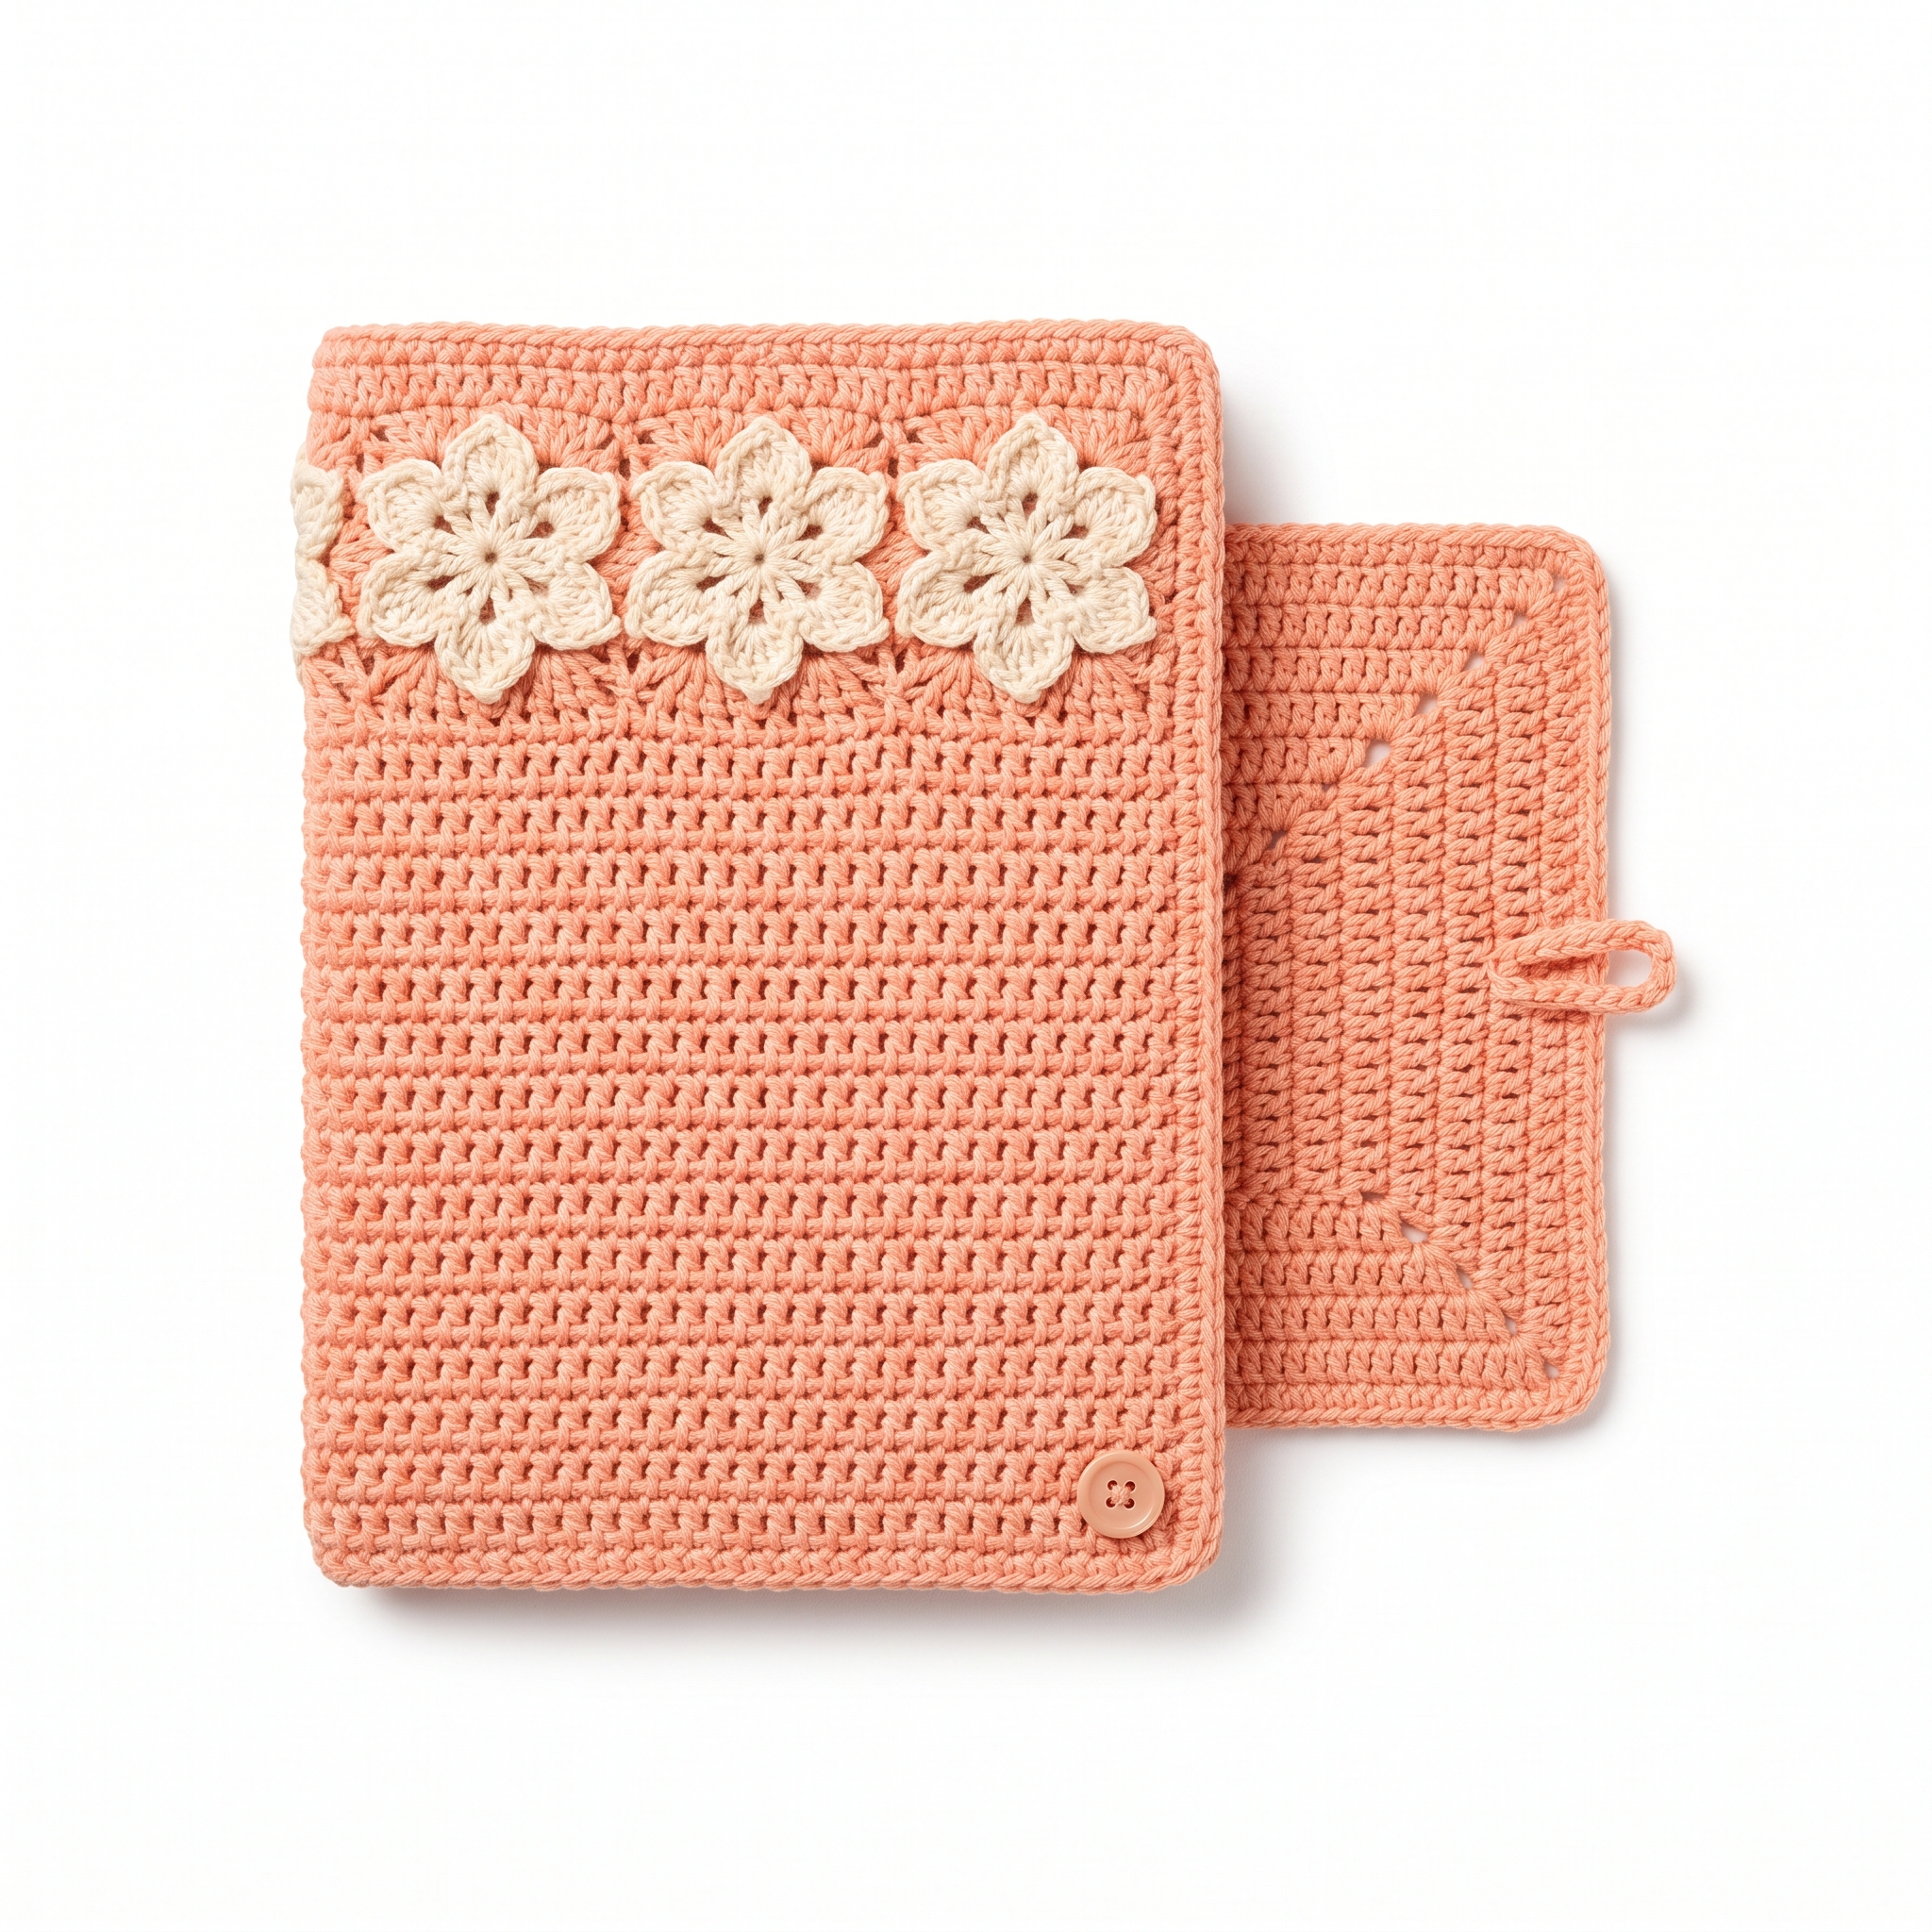
This Peach Blossom Diary Cover pattern is a delightful way to dress up a standard A5 diary. Featuring a lovely floral motif inspired by peach blossoms, this cover adds charm and functionality to your writing. The pattern includes various stitches, making it an enjoyable project for those who want to practice their skills.
This project is suitable for intermediate crocheters. As you work through the pattern, you'll enhance your abilities with new stitches and techniques, and you'll end up with a lovely cover for your diary.
Why You'll Love This Diary Cover
- Functional and stylish – keep your favorite diary protected while looking great.
- Beautiful floral design – perfect for spring and a lovely gift.
- Uses simple stitches – blend of single crochet and double crochet makes it manageable.
- Customizable with colors – mix and match shades to personalize your diary cover.
Is This Pattern Good for Beginners?
Yes! While this pattern is labeled as intermediate, you'll be engaging with stitches that many beginners can tackle with some patience. The floral motif adds a fun challenge, and you'll get to practice essential skills like changing colors and assembling pieces.
Crochet Abbreviations (US Terms)
- ch – chain
- sl st – slip stitch
- sc – single crochet
- dc – double crochet
- hdc – half double crochet
- tr – treble crochet
- st(s) – stitch(es)
- Magic Ring – form a loop with the yarn, pull yarn through to create a loop; this helps avoid gaps in the center of your work.
Size and Gauge
- Finished Size: Approximately 21 × 29.7 cm (8.3 × 11.7 in)
- Gauge: 16 sc and 10 rows = 10 cm (4 in) To check gauge, crochet a small swatch measuring 10 × 10 cm (4 × 4 in) in single crochet. Adjust your hook size if you don’t meet the gauge.
How to Crochet the Peach Blossom Flower
- Magic Ring: Form a loop with the yarn, pull yarn through to create a loop.
- Flower Center: Ch 3 (counts as first dc), then work 11 dc into the ring, pull tight and join with sl st to close the circle. (12 dc)
Step-by-Step Instructions
Part 1: Body
The body of the diary cover is where you’ll create the lovely base and floral motifs.
- Foundation Row: With Color A, ch 51.
- Row 1: Sc in 2nd ch from hook and in each ch across. (50 sc)
- Row 2: Ch 1, turn. Sc in each st across. (50 sc)
- Row 3: Ch 1, turn. Sc in each st across. (50 sc)
- Row 4: Change to Color B. Ch 3 (counts as 1 dc), dc in same st, *skip next 2 sts, (2 dc, ch 2, 2 dc) in next st (peach blossom), skip next 2 sts, dc in next st; repeat from * across. End with dc in last st. (6 petals)
- Row 5: Ch 1, turn. Sc in each dc across, sc in ch-2 spaces. (50 sc)
- Rows 6–13: Repeat Rows 2–5 for 4 complete repeats.
- Row 14: Ch 1, turn. Sc across. (50 sc)
- Row 15: Ch 1, turn. Sc in each st across. (50 sc)
Part 2: Flap
Next, we’ll make the flap to cover the diary's front.
- Row 1–5: For the second piece, ch 51, repeat Rows 1–5 of the body using Color A only.
- After completing Row 5, fasten off and leave a long tail for sewing it to the body.
Part 3: Assembly
Now it’s time to put everything together!
- Lay the body piece flat.
- Place the flap on one side, aligning the edges, and sew using slip stitches or whip stitch along the sides.
- Weave in all ends using the tapestry needle.
Finishing
For a polished look, you can sew a button onto the front side of the cover at the bottom corner for closure. Create a small chain loop in the flap's corner to match it to the button. Blocking the cover lightly will also help shape it if necessary.
Beginner Tips for a Neat Diary Cover
- Use stitch markers to keep track of your rows, especially during the floral rows.
- Count your stitches regularly to avoid mistakes and ensure even edges.
- Maintain consistent tension throughout your project for a neat finish.
Common Mistakes (and How to Fix Them)
- "My edges are uneven." – This can happen due to inconsistent tension. Focus on your grip and stitch placement.
- "The floral motifs look messy." – Make sure you’re following the stitch counts correctly and take your time with the flower details.
- "The piece is too small." – Check your gauge before starting, and adjust your hook size as needed during the project.
How to Care for Your Diary Cover
To keep your diary cover looking fresh, machine wash it in cold water and lay it flat to dry. This will help maintain its shape and color.
FAQ
How do I resize the cover for a different diary size?
You can adjust the foundation chain length and overall row counts based on your desired dimensions. Measure your diary, and add stitches accordingly.
Can I use different yarn weights?
Yes, using a different yarn weight will change the final size and drape of your cover. Adjust your hook size and stitch counts for best results.
How long does it take to make this diary cover?
The estimated working time is about 6–8 hours, depending on your skill level and familiarity with the pattern.
Want to create a complete set? Check out our range of patterns or try the matching notebook for an extra touch of personal flair.
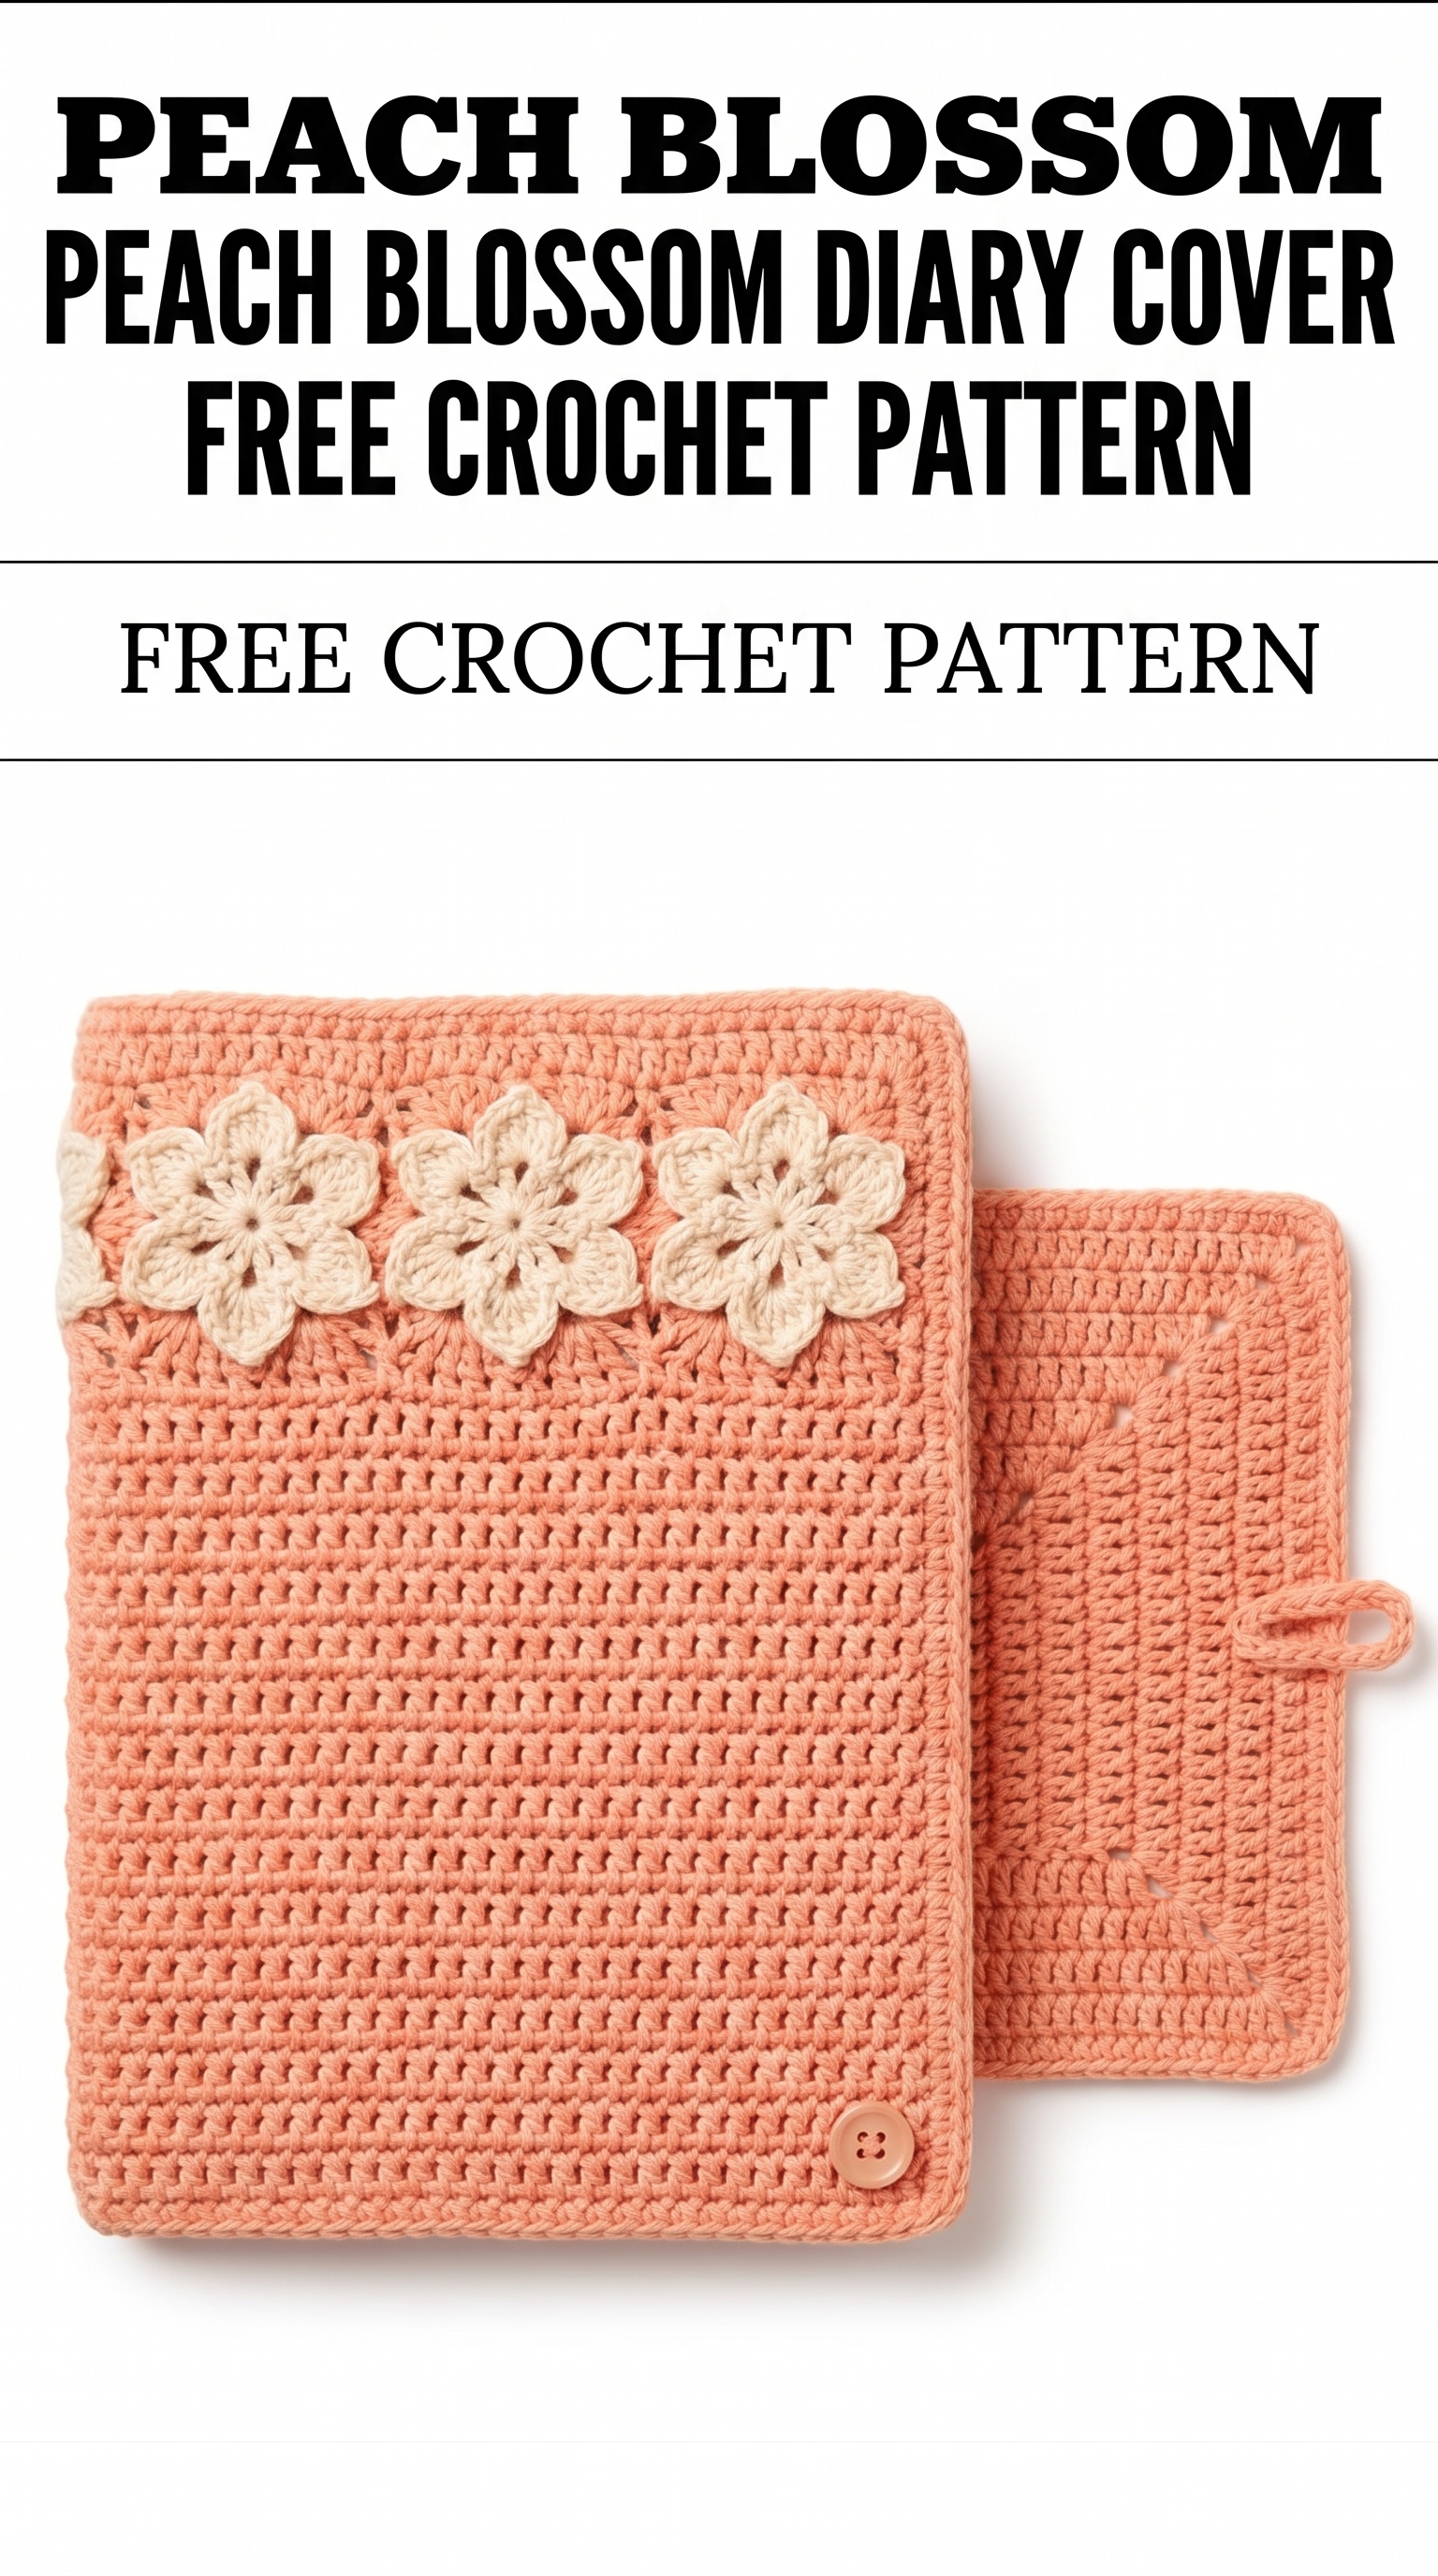
Image shown for inspiration — your finished result may vary slightly.