Rose Garden Romance Charm Bracelet Free Crochet Pattern
A delicate and whimsical crochet bracelet featuring rose motifs and charms, perfect for romantic accessories.
Published October 5, 2026 · by Amanda
- Skill level
- Beginner
- Yarn weight
- Lace (0)
- Hook size
- 2.5 mm (B)
- Time
- 2 hours 20 minutes
- Gauge
- 24 sc and 30 rows = 10 cm
- Yardage
- about 100 yards
- Sizes
- approximately 7 inches (18 cm) long, adjustable up to 8 inches (20 cm)
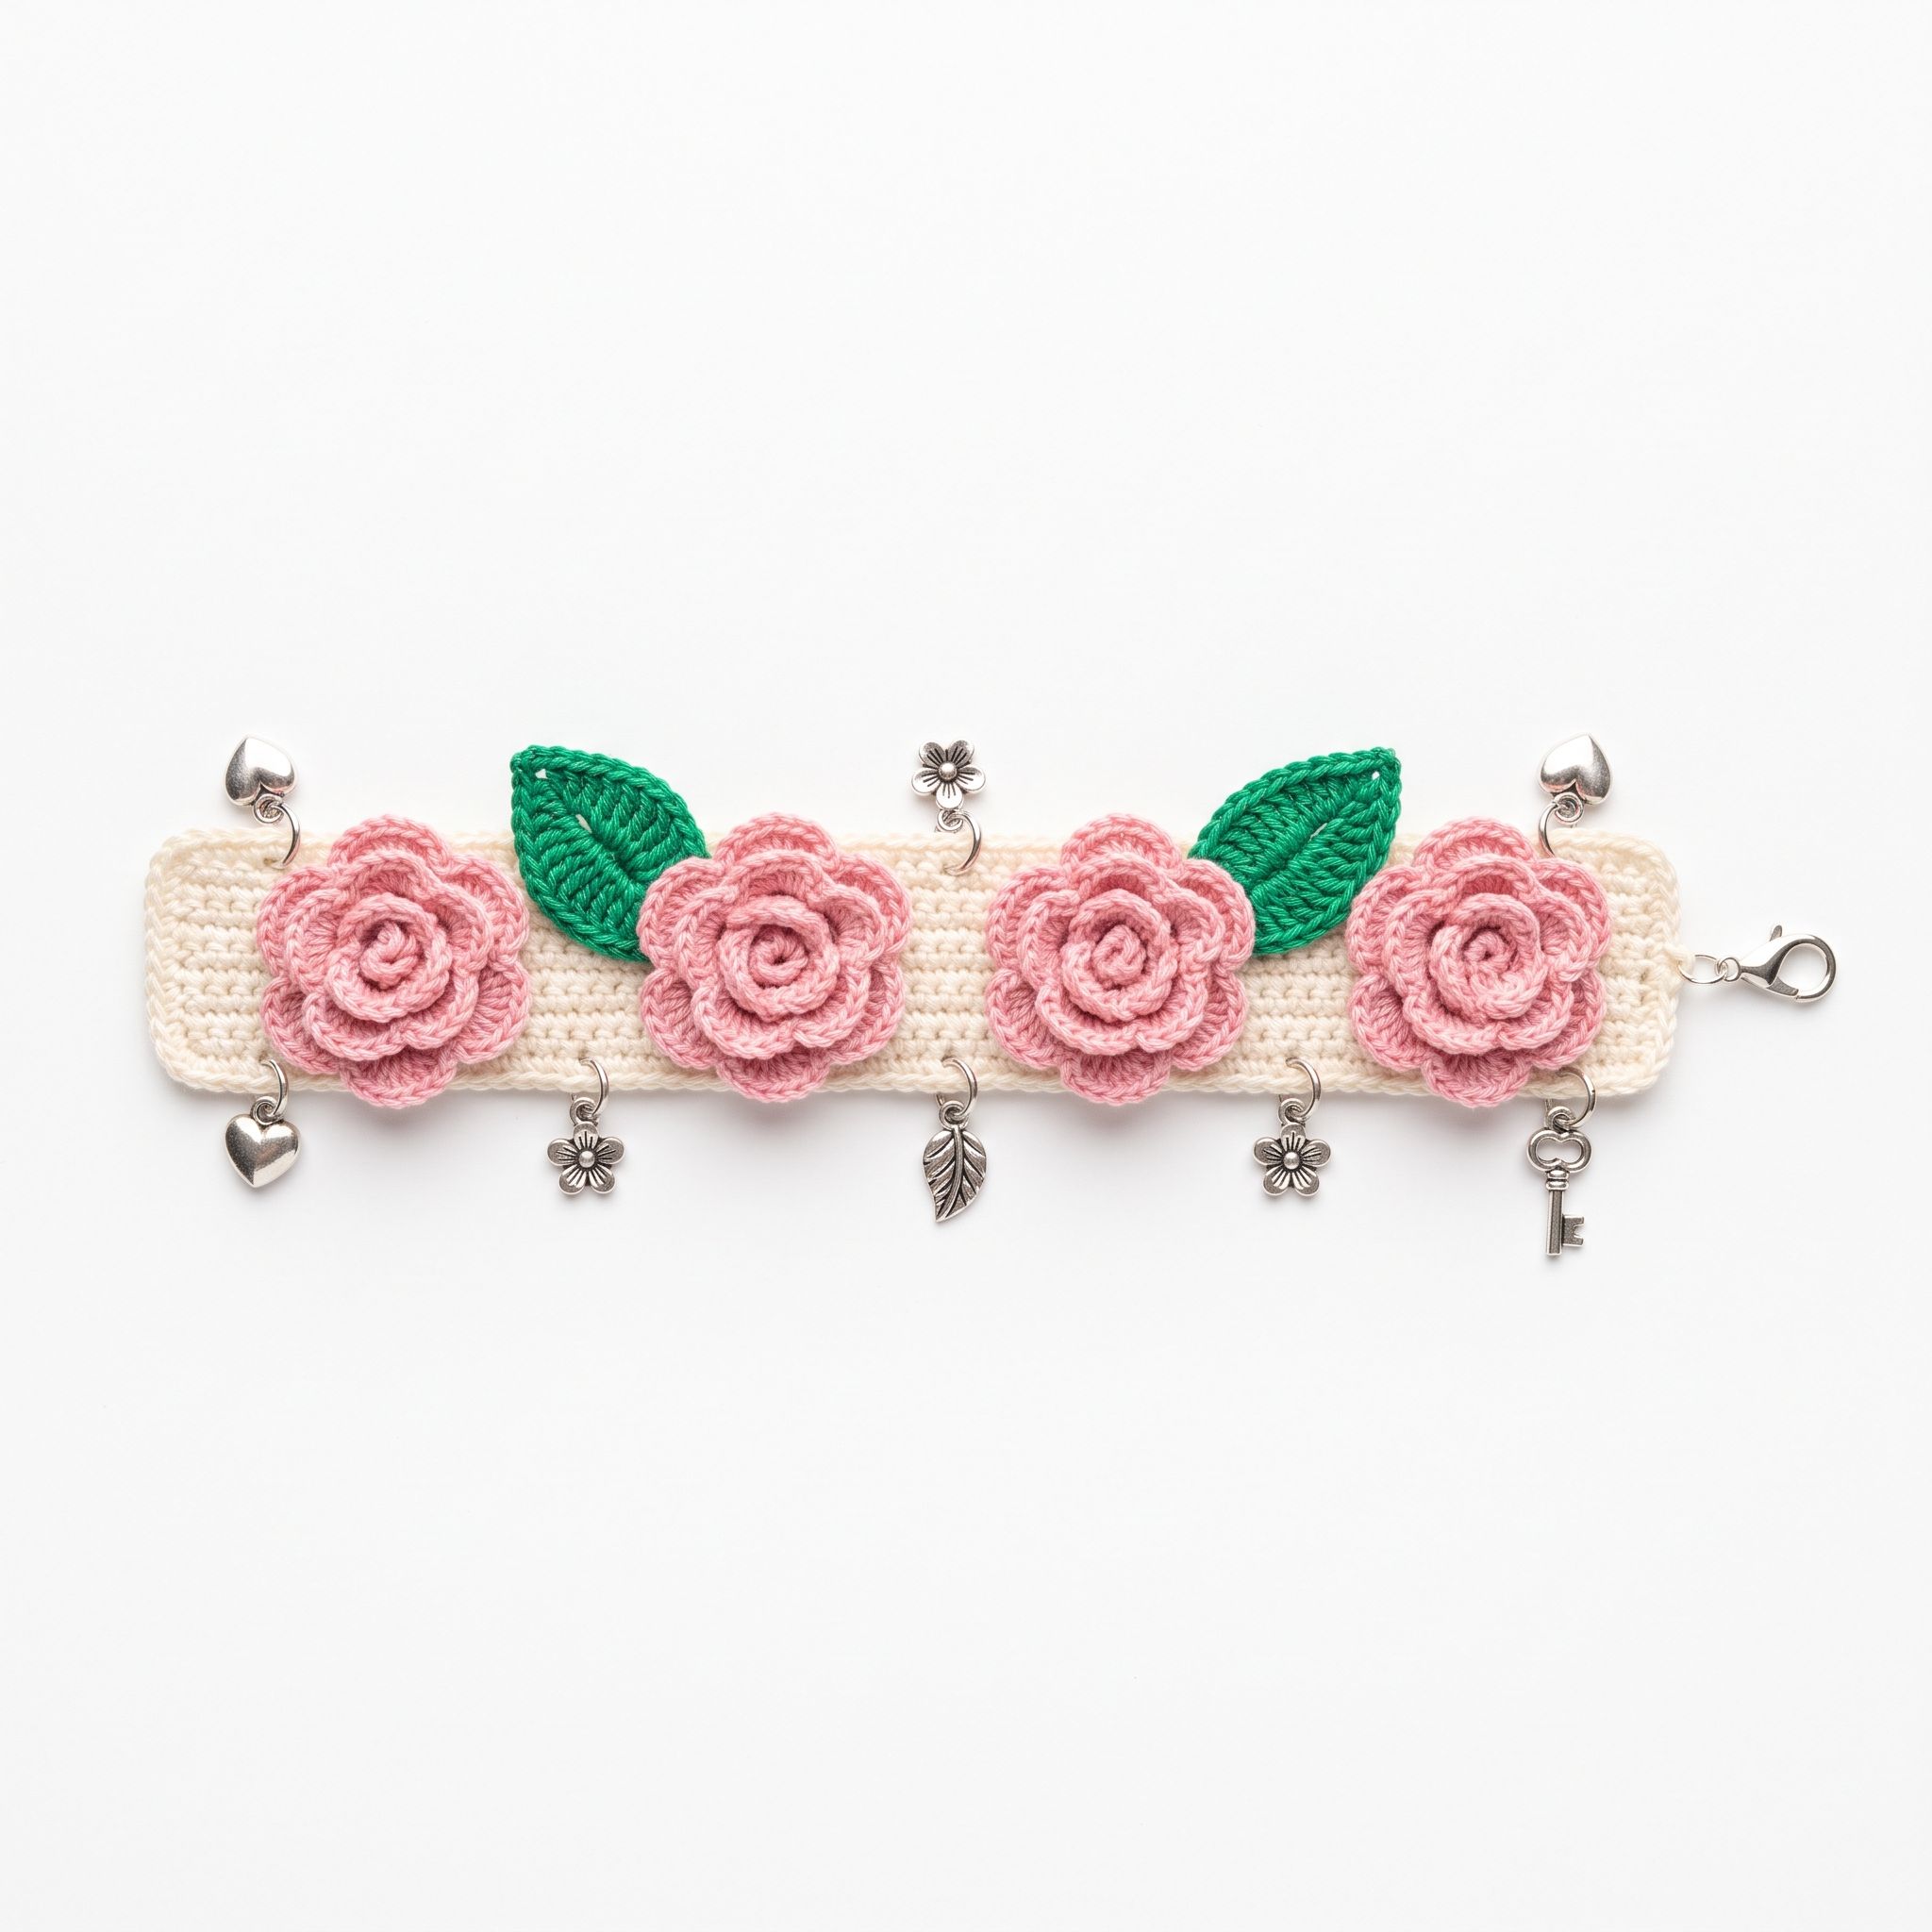
This Rose Garden Romance Charm Bracelet pattern is perfect for those who want to add a touch of whimsy to their accessories. With its sweet rose motifs and charming embellishments, this bracelet is a delightful project that utilizes basic stitches like single crochet and slip stitch. You'll enjoy creating something special and unique!
This pattern is suitable for crocheters at an easy skill level. You're encouraged to make more than one to give as gifts or to impress yourself with your handiwork!
Why You'll Love This Bracelet
- Quick to make – complete this project in about 2 hours!
- Adjustable size – customize the length up to 8 inches (20 cm).
- Charming details – add your favorite small charms for a personal touch.
- Versatile colors – use different shades to match any outfit or occasion.
Skill Level: Easy
This pattern is great for beginners and those with some experience. You’ll be using basic stitches: chain (ch), single crochet (sc), and slip stitch (sl st). The rose motifs and leaves bring a fun challenge without being overwhelming.
Crochet Abbreviations (US Terms)
- ch – chain
- sc – single crochet
- sl st – slip stitch
- rsc – reverse single crochet
- st(s) – stitch(es)
- inc – increase (2 sc in the same st)
Size and Gauge
- Finished length: approximately 7 inches (18 cm) long; adjustable up to 8 inches (20 cm).
- Finished width: approximately 1 inch (2.5 cm).
- Gauge: 24 stitches and 30 rows = 10 cm (4 in) using single crochet. To measure gauge, crochet a 4-inch (10 cm) square using the main stitch pattern.
Step-by-Step Instructions
Part 1: Rose Motifs (Make 4)
The rose motifs are made in the round for a lovely floral touch.
- Start with Rose Pink yarn.
- Ch 4, join with sl st to form a ring.
- Round 1: Ch 1, 10 sc into the ring, join with sl st. (10 sts)
- Round 2: Ch 1, sc in next st, inc in next st repeat from * to * around, join with sl st. (15 sts)
- Round 3: Ch 1, sc in next 2 sts, inc in next st repeat from * to * around, join with sl st. (20 sts)
- Round 4: Ch 1, sc in next 3 sts, inc in next st repeat from * to * around, join with sl st. (25 sts)
- Finish off, leaving a long tail for sewing.
To create petals: 8. Lay out the petals slightly overlapping at the ends and sew them together using the tail.
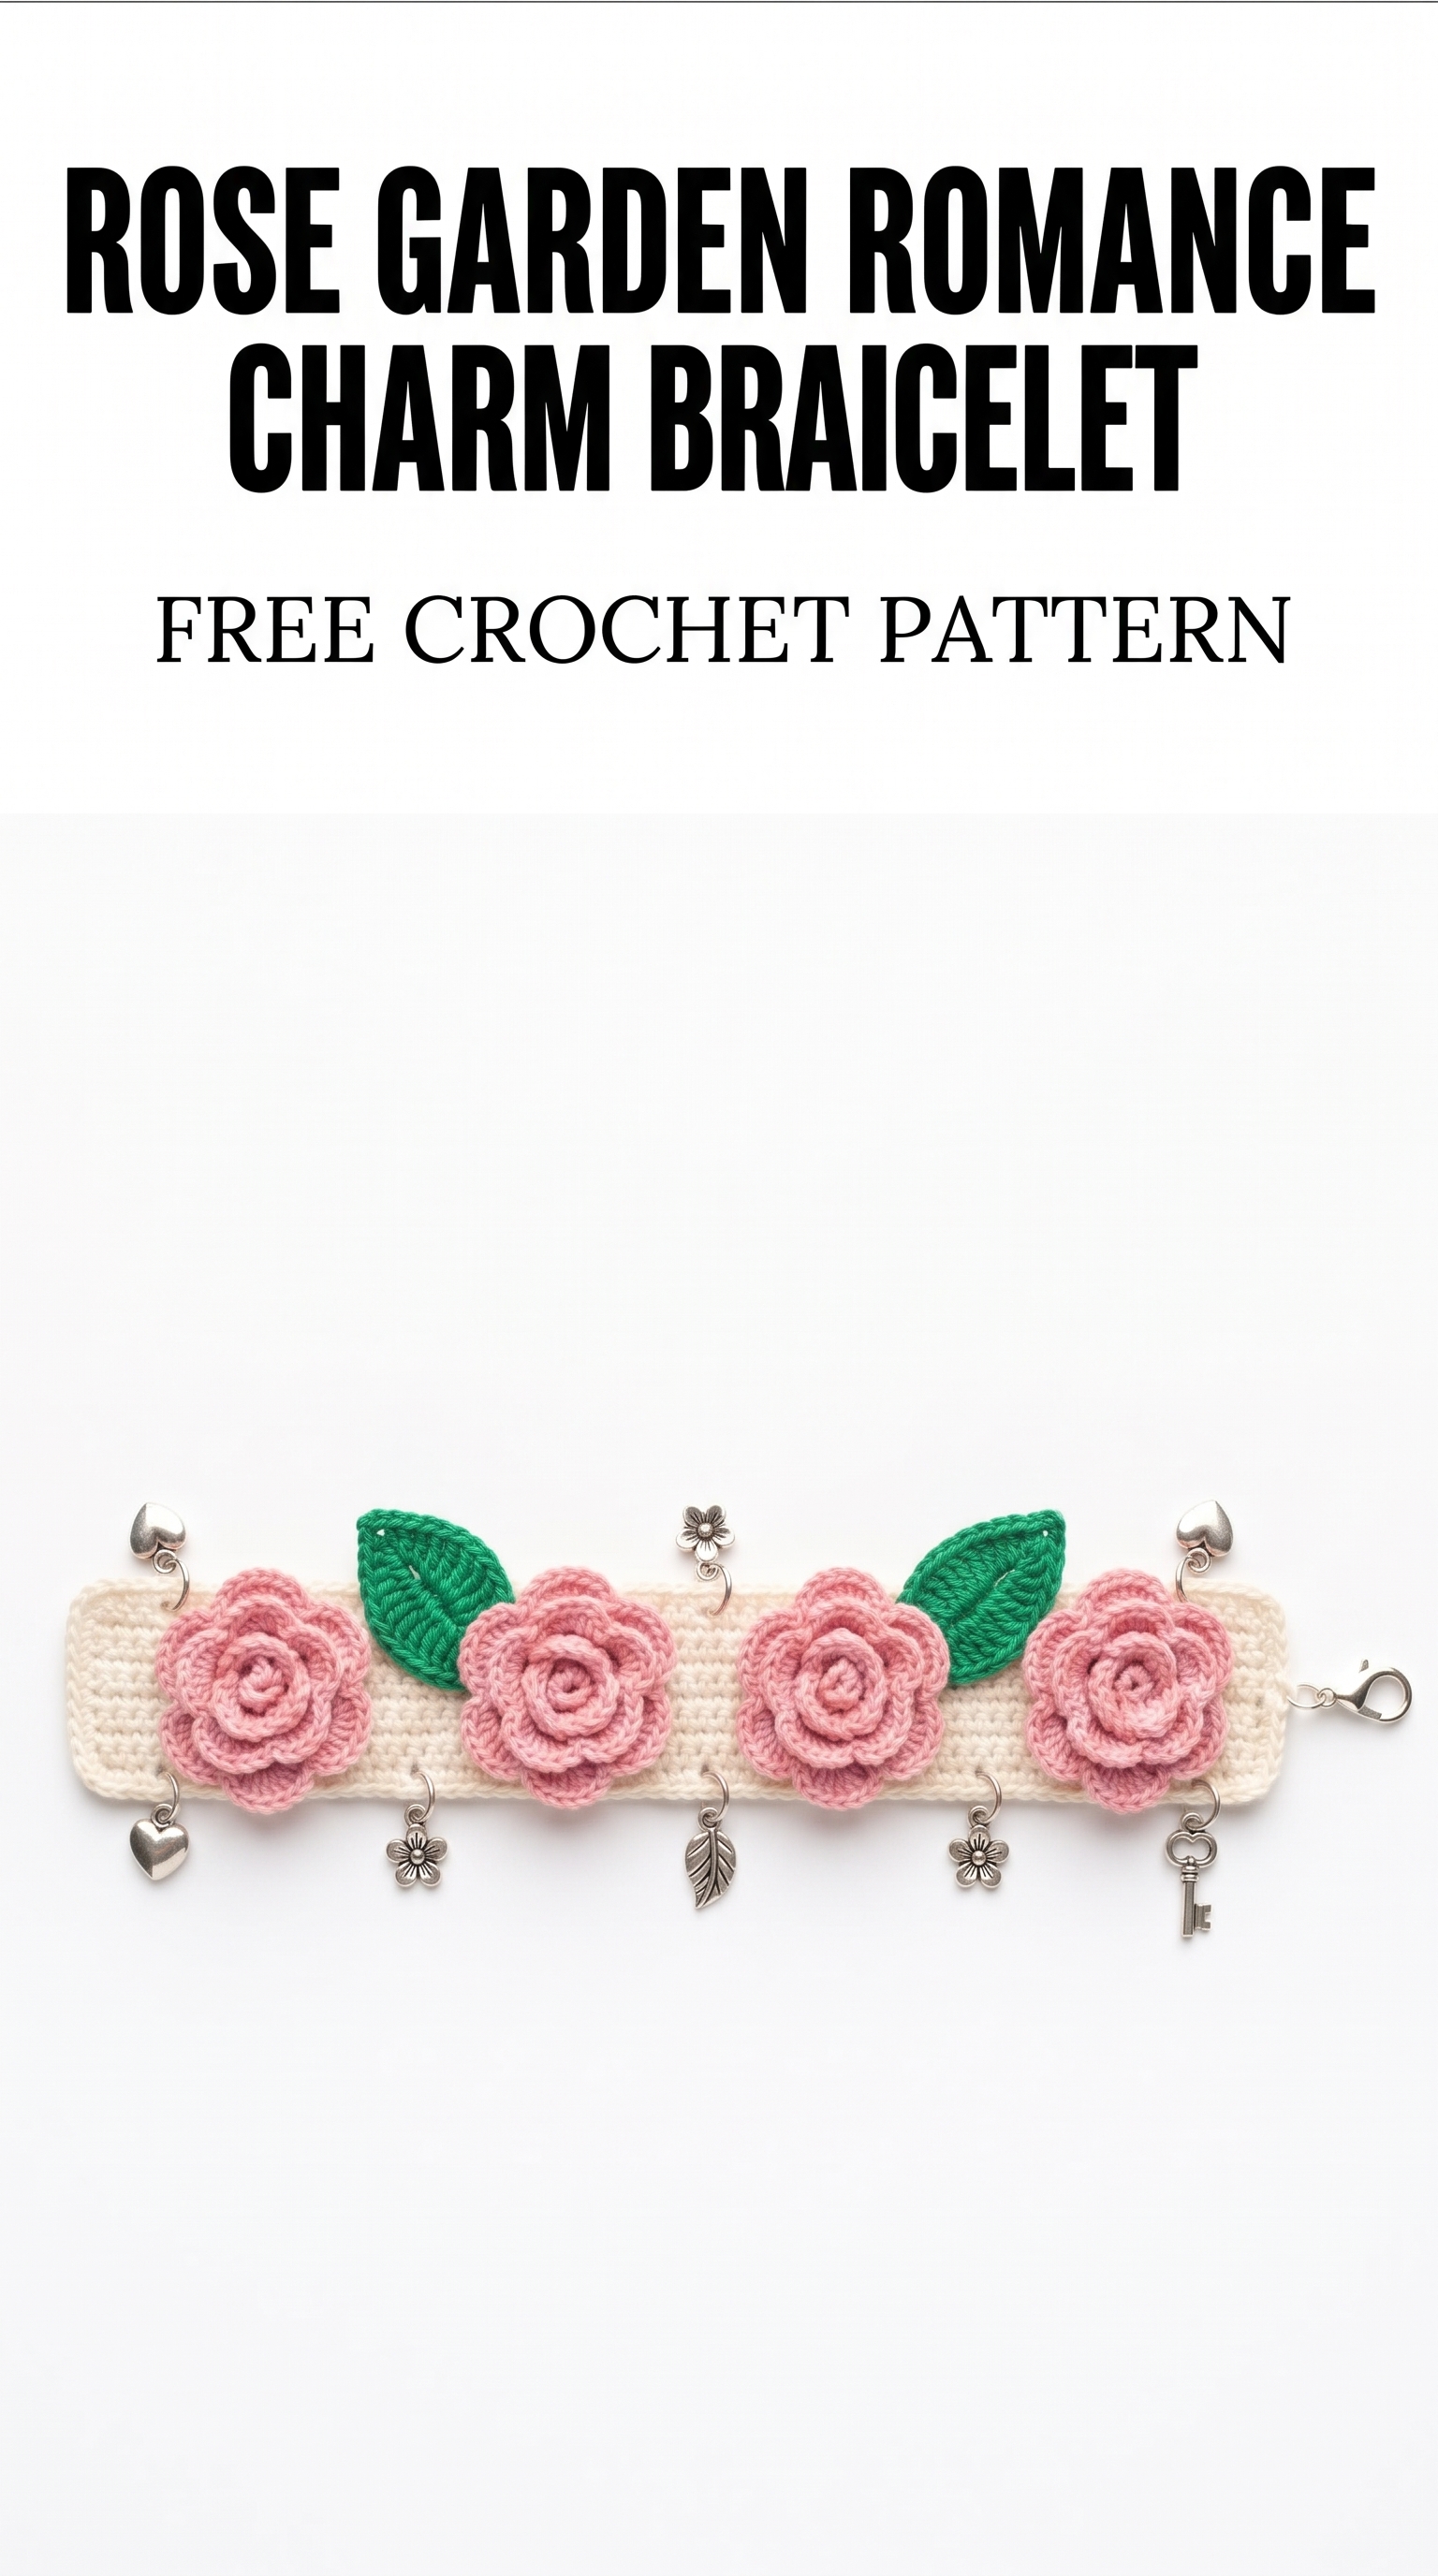
Image shown for inspiration — your finished result may vary slightly.
Part 2: Leaves (Make 2)
Leaves add a fresh look to your roses.
- Start with Emerald Green yarn.
- Ch 5, join with sl st to form a ring.
- Round 1: Ch 1, 8 sc into the ring, join with sl st. (8 sts)
- Round 2: Ch 1, sc in next st, inc in next st repeat from * to * around, join with sl st. (12 sts)
- Round 3: Ch 1, sc in next st, inc in next st repeat from * to * around. (18 sts)
- Finish off, leaving a long tail for sewing.
To shape the leaf: 7. Fold the leaf in half and seam along one side using the tail from the starting chain.
Part 3: Bracelet Base
The base of the bracelet is simple and fun to crochet.
- Using Cream yarn, create a chain:
- Ch 25 for a 7-inch (18 cm) bracelet.
- Row 1: Sc in each ch across. (25 sts)
- Row 2: Ch 1, turn, sc in each st across. (25 sts)
- Repeat Row 2 until you have 1 inch (2.5 cm) tall.
- Finish off, leaving a long tail.
Assembly
Attach the rose motifs:
- Sew the roses evenly spaced along the bracelet base.
Attach the leaves:
- Position the leaves under each rose motif, sewing through both the rose and the bracelet base.
Add charms:
- Use jump rings to attach charms to desired locations on the bracelet.
Attach the clasp:
- Use the last tail end from the bracelet to sew one half of the clasp at one end; attach the other half to the opposite end.
Beginner Tips for a Neat Bracelet
- Use stitch markers to keep track of your rounds and rows easily.
- Count your stitches after each round to ensure you have the correct number.
- Pay attention to your tension; practice ensures consistent stitches.
Common Mistakes (and How to Fix Them)
- "My project is uneven." – This may be due to inconsistent tension; try to keep your yarn tension steady as you work.
- "The rose motifs look flat." – Ensure you're creating them in the round and following the increases; adding an extra round can help shape them better.
- "The bracelet is too tight." – If this happens, consider using a larger hook next time, or adjust the chain length for a looser fit.
How to Care for Your Bracelet
For the best care, gently hand wash the bracelet in cold water and lay it flat to dry. Avoid twisting or wringing it out.
FAQ
How long does it take to make this bracelet?
The total time for this bracelet is about 2 hours and 20 minutes, depending on your skill level and speed.
Can I use different yarn types?
Yes! You can experiment with other lace weight yarns in different colors. Just remember it may affect your gauge and finished size.
How can I make the bracelet longer?
To make the bracelet longer, simply add more chains at the beginning. Ensure that your gauge and pattern are adjusted accordingly.
Want to create a beautiful matching set? Check out our range of patterns for more bracelet designs or try the matching earrings!