Sage Garden Granny Square Tote Free Crochet Pattern
A delightful tote bag made from colorful granny squares, perfect for everyday use and a great project for beginners.
Published October 5, 2026 · by Amanda
- Skill level
- Beginner
- Yarn weight
- Worsted (4)
- Hook size
- 5.5 mm (I-9)
- Time
- approximately 4 hours
- Gauge
- 4 granny squares = 10 cm
- Yardage
- about 400 m
- Sizes
- 35.5 × 30.5 cm (14 × 12 in)
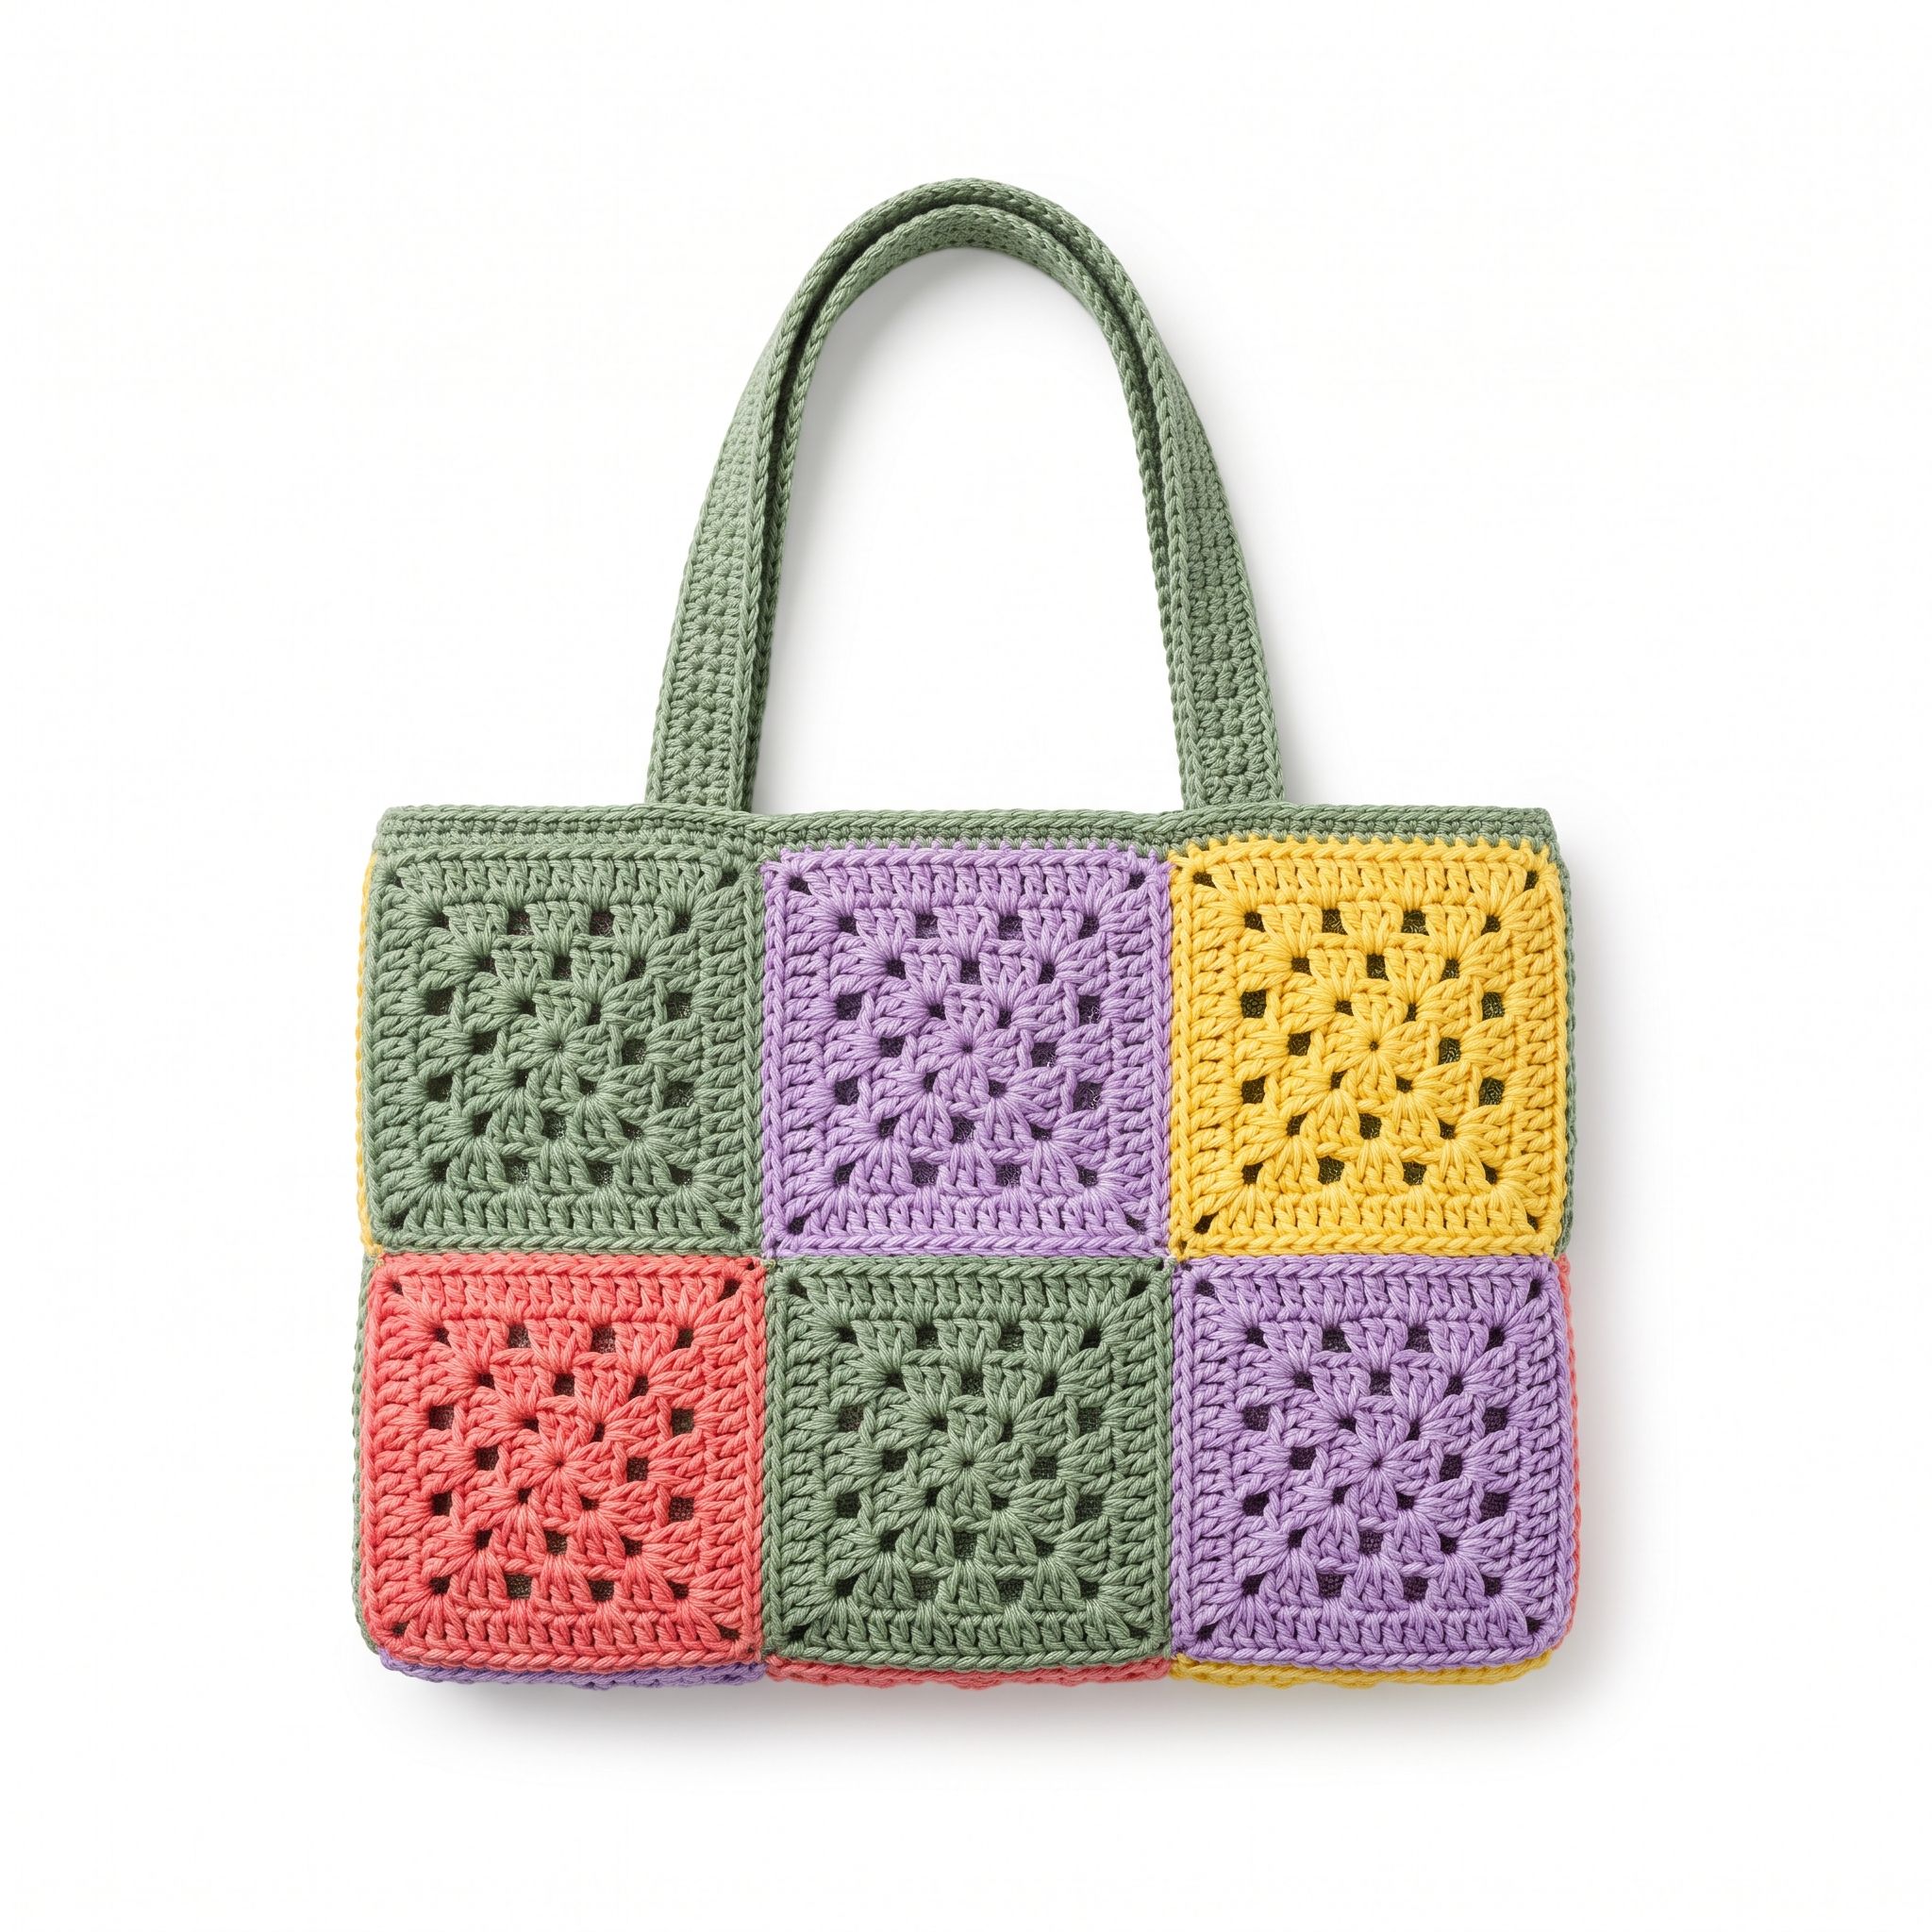
This Sage Garden Granny Square Tote pattern is a stylish and practical bag made from colorful granny squares, perfect for carrying your everyday essentials. It’s enjoyable to make and features a vibrant design reminiscent of a lush garden, using simple stitches like chains, double crochets, and slip stitches. This pattern is ideal for beginners, offering a fun project that helps you practice your crochet skills while creating something functional.
You'll learn how to make granny squares and assemble your tote, making it a delightful introduction to crocheting bags. With just a few materials and a bit of time, you’ll have a beautiful handmade accessory to enjoy!
Why You'll Love This Tote
- Quick and manageable – complete the tote in just a few hours.
- Colorful and customizable – play with different hues to match your style.
- Practical for daily use – perfect for carrying groceries, books, or beach essentials.
- A great beginner project – learn essential skills while having fun.
Is This Pattern Good for Beginners?
Yes! The Sage Garden Granny Square Tote is perfect for beginners. You’ll learn how to create granny squares, change colors, and join pieces together, all while making something useful and beautiful. Plus, the repetitive nature of granny squares makes them a great way to practice your stitches.
Crochet Abbreviations (US Terms)
- ch – chain
- sl st – slip stitch
- dc – double crochet
- sc – single crochet
- sp – space
- – work instructions in brackets in the same stitch
Size and Gauge
- Finished Size: Approximately 14" × 12" (35.5 × 30.5 cm)
- Gauge: 4" (10 cm) = 4 granny squares (each square measuring about 4" × 4" / 10 × 10 cm).
- To check gauge, make a granny square with the selected yarn and hook. If it measures smaller or larger than 4", adjust your hook size.
Step-by-Step Instructions
Part 1: Granny Squares
Make a total of 12 granny squares (3 in each color).
Start a Granny Square:
- With Sage Green, ch 5, join with sl st to form a ring.
- Round 1: Ch 3 (counts as 1 dc), [2 dc, ch 2, 3 dc] in the ring. Repeat [2 dc, ch 2, 3 dc] two more times. Join with sl st to top of beginning ch 3. (12 dc, 3 ch 2 spaces)
Rounds 2 – 4:
- Round 2: Sl st into next 2 dc to reach ch 2 sp. Ch 3 (counts as 1 dc), [2 dc, ch 2, 3 dc] in same ch 2 sp. *In each ch 2 sp of the previous round, repeat [3 dc, ch 2, 3 dc]. Join. (24 dc, 6 ch 2 spaces)
- Round 3: Sl st to next ch 2 sp. Ch 3 (counts as 1 dc), [2 dc, ch 2, 3 dc] in same ch 2 sp. *In each ch 2 sp of the previous round, repeat [3 dc, ch 2, 3 dc]. Join. (36 dc, 9 ch 2 spaces)
- Round 4: Repeat Round 3 for the last color until you reach the desired size of 4" × 4".
Color Change:
- Change colors every round as follows:
- Sage Green - Round 1
- Lavender - Round 2
- Sunshine Yellow - Round 3
- Coral Pink - Round 4
- Change colors every round as follows:
Part 2: Assembling the Tote
- Arrange Squares: Lay out the 12 granny squares in 4 rows of 3 squares each.
- Join Squares:
- Using a whip stitch or slip stitch, join the squares along the edges. Start with the top row, then continue through the second, third, and finally the bottom row.
- Form the Tote Body:
- Fold the joined rectangle wrong sides together (about 12" × 42"). Seam the two long sides together using a slip stitch.
Part 3: Creating the Handles
Handles:
- With Sage Green, ch 40.
- Row 1: Sc in 2nd ch from hook and in each ch across (39 sc).
- Row 2 – 4: Ch 1, turn, sc in each sc across.
- Repeat for 2 handles.
Attach Handles:
- Position the handles approximately 5" (12.5 cm) in from each side of the tote opening. Secure with slip stitches and ensure durability by weaving through stitches.
Assembly & Finishing
- Weaving in Ends:
- Use a tapestry needle to weave in all yarn tails.
- Edging:
- Optionally, work a round of sc around the top edge for a neater finish.
Beginner Tips for a Neat Tote
- Use stitch markers to keep track of corners in your granny squares.
- Count your stitches frequently to maintain consistency in size.
- Keep your tension even to avoid uneven edges.
Common Mistakes (and How to Fix Them)
- "My squares are uneven." – Check your tension and make sure you are using the same hook size throughout.
- "The colors don’t match up." – Ensure you change colors correctly at the end of each round.
- "Handles feel weak." – Make sure to secure them well with slip stitches and weave the yarn through stitches for added strength.
How to Care for Your Tote
Hand wash in cold water and lay flat to dry. Avoid wringing out the fabric to keep the shape intact.
FAQ
How many squares do I need for a tote?
You'll need a total of 12 granny squares to complete the Sage Garden Granny Square Tote.
Can I use different yarn types?
Absolutely! You can use different yarn fibers and weights, but make sure to adjust your hook size for the best results.
How long will it take to complete this tote?
You can expect to spend about 4 hours in total, including making the granny squares, assembling the tote, and creating the handles.
Want to create a complete set? Check out our range of patterns or try matching accessories.
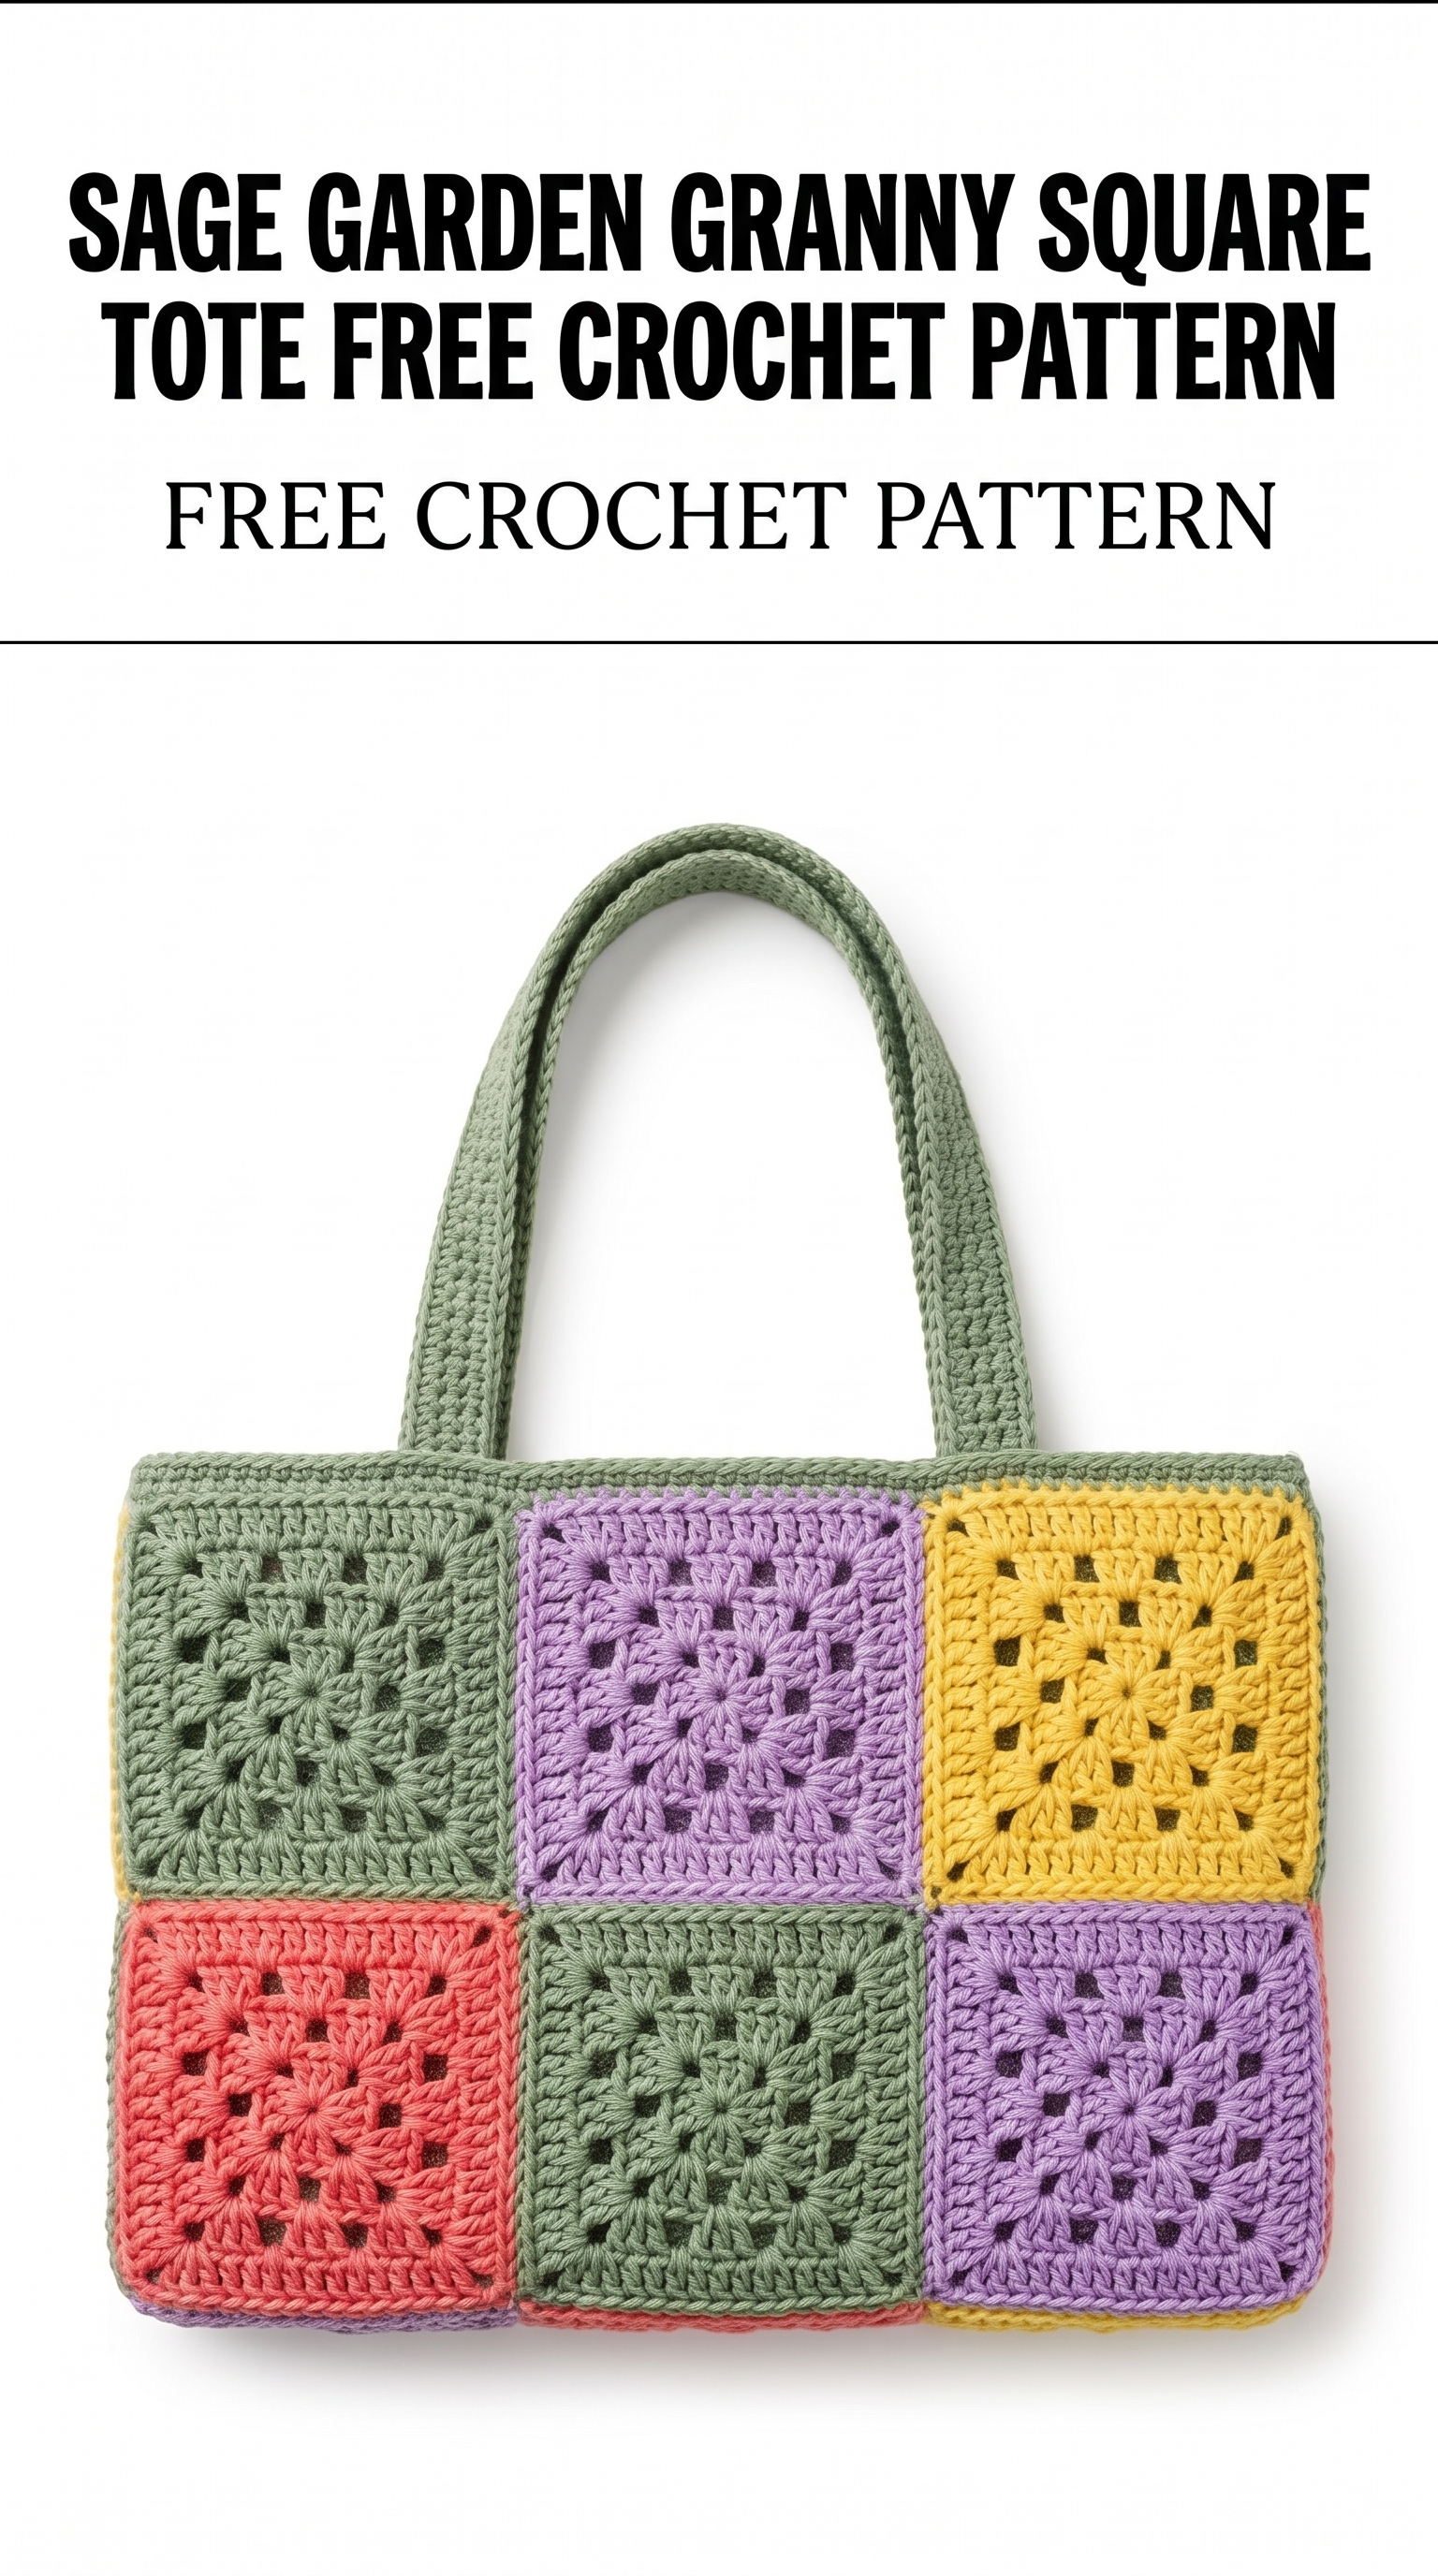
Image shown for inspiration — your finished result may vary slightly.