Spring Garden Granny Tote Bag Free Crochet Pattern
A delightful tote bag pattern featuring granny squares, perfect for spring outings.
Published October 5, 2026 · by Amanda
- Skill level
- Beginner
- Yarn weight
- Worsted (4)
- Hook size
- 5.5 mm (I/9)
- Time
- about 3 hours
- Gauge
- 4 squares = 30 cm
- Yardage
- about 650 yards
- Sizes
- 30 × 30 cm (12 × 12 in)
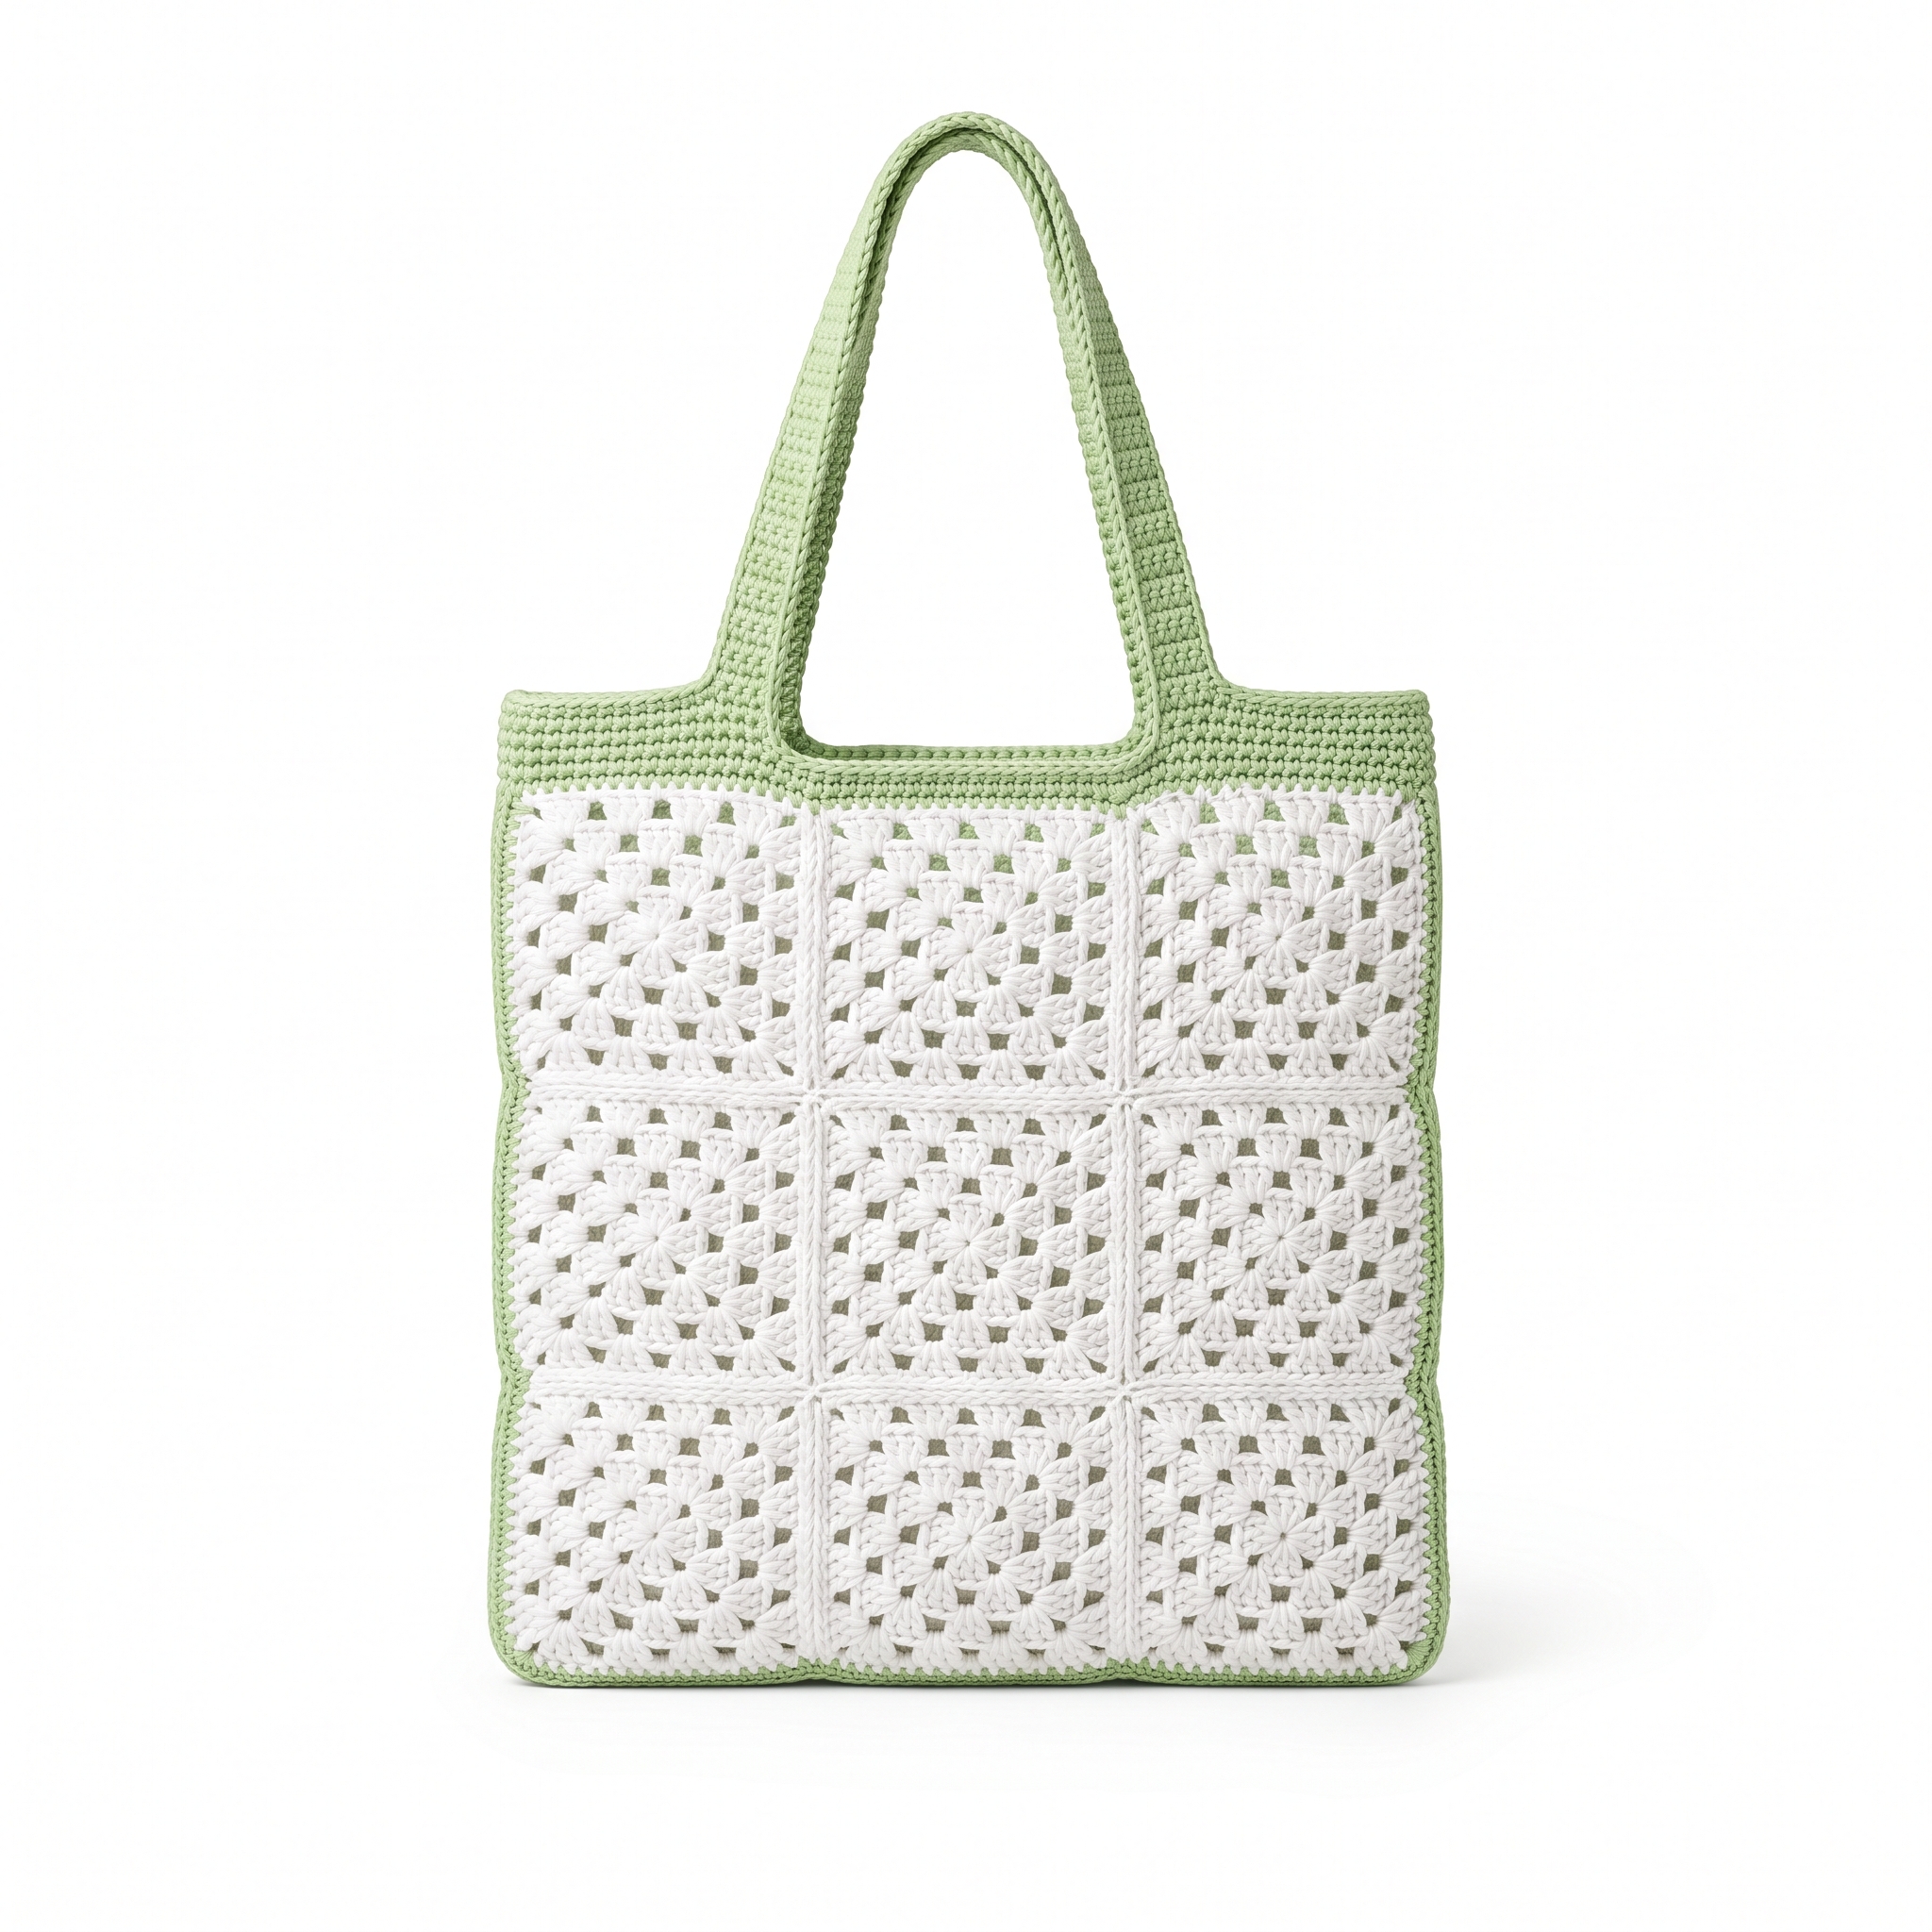
This Spring Garden Granny Tote Bag pattern is a delightful and easy project that showcases the classic granny square motif. Perfect for carrying your essentials or for shopping at your local market, this tote bag combines a charming design with practicality. You'll be using basic stitches like double crochet and slip stitch, making it accessible and enjoyable for all skill levels.
This pattern is great for crocheters who want to explore granny squares while creating a functional accessory. You'll learn how to make squares, assemble them, and add sturdy handles, all while adding your own splash of color.
Why You'll Love This Tote Bag
- Fun and creative – enjoy playing with different colors and designs for your tote.
- Quick to make – complete the bag in just a few hours.
- Practical use – perfect for everyday errands or outings.
- Great for beginners – learn to make granny squares and how to assemble them.
Is This Pattern Good for Beginners?
Yes! This pattern uses basic crochet stitches and teaches you how to create and assemble granny squares. You'll gain confidence in your crochet skills through simple steps that build upon one another.
Crochet Abbreviations (US Terms)
- ch – chain
- sl st – slip stitch
- dc – double crochet
- hdc – half double crochet
- sp – space
- RS – right side
- WS – wrong side
- Granny Square – (dc, ch 1) 3 times into a stitch or space to create a cluster, separated by a chain.
Size and Gauge
- Finished bag size: 30 cm (12 in) wide x 30 cm (12 in) high, not including handles
- Gauge: 4 squares = 30 cm (12 in)
How to Crochet a Spring Garden Granny Tote Bag (Step by Step)
Part 1: Granny Squares (Make 9 Squares)
The granny squares are the foundation of our bag.
- Square 1-9:
- With White yarn: Ch 4, join to form a ring.
- Round 1: Ch 3 (counts as first dc), work 2 dc into ring, ch 1, 3 dc, ch 1 around. Join with sl st to the top of ch 3. (12 dc, 4 ch-1 spaces)
- Round 2: Sl st to first ch-1 sp, ch 3, * (dc, ch 1, dc) in same sp, * (3 dc, ch 1) in each ch-1 sp around. Join with sl st. (24 dc, 8 ch-1 spaces)
- Round 3: Sl st to first ch-1 sp, ch 3, (dc, ch 1, dc) in same sp, 3 dc in next 3 dc, (3 dc, ch 1) in next ch-1 sp and repeat around. Join with sl st. (36 dc, 12 ch-1 spaces)
Part 2: Assembling the Bag
Now we'll put our squares together.
- Lay out the 9 granny squares in a 3x3 grid with the RS facing up.
- Join squares:
- Place 3 squares in each row.
- Use whip stitch or slip stitch to join squares together along edges. Repeat for each row.
- Join rows together in the same manner.
- You should now have a large square made up of 9 smaller squares.
Part 3: Top Edging
Let's add a finishing touch to the top edge of the bag.
- With Light Green, attach to any corner:
- Ch 1, sc around the top edge of the bag, placing 2 sc in each corner.
- Join with sl st to the first sc.
Part 4: Handle Straps (Make 2)
Handles will give your tote a personal touch.
- With same Light Green yarn:
- Ch 32 for short handles (or 50 for longer).
- Row 1: In 2nd ch from hook, hdc in each ch across. (31 hdc or 49 hdc)
- After completing, join to the opposite side of the bag directly at the top edge with a sl st.
- Repeat for the second handle on the opposite side.
Assembly & Finishing
- Weave in all ends using the tapestry needle.
- Block the bag to shape and enhance the appearance of the granny squares.
- Optionally apply fabric stiffener to give the bag additional structure.
Beginner Tips for a Neat Tote Bag
- Use stitch markers to keep track of your rows and stitches.
- Count your stitches as you work to avoid mistakes.
- Pay attention to your tension – consistent tension makes a better-looking project.
Common Mistakes (and How to Fix Them)
- "My squares are different sizes." – Check your tension and gauge; adjust your hook size if needed.
- "The bag looks uneven." – Ensure all squares are facing the same direction during assembly.
- "The handle is too tight." – If you're feeling resistance, reevaluate your chain stitches and ensure they’re not too tight.
How to Care for Your Tote Bag
Hand wash in cold water and lay flat to dry. Avoid bleaching to keep the colors vibrant.
FAQ
How do I change colors in my granny squares?
Simply finish off your current color and attach the new color in the same stitch before continuing.
Can I make this bag bigger?
Yes! You can add more squares to increase the size while keeping the same assembly instructions.
What kind of fabric stiffener should I use?
Opt for a fabric stiffener that is safe for cotton; follow the manufacturer's instructions for best results.
Want to create a complete set? Check out our range of patterns or try the matching pouch.
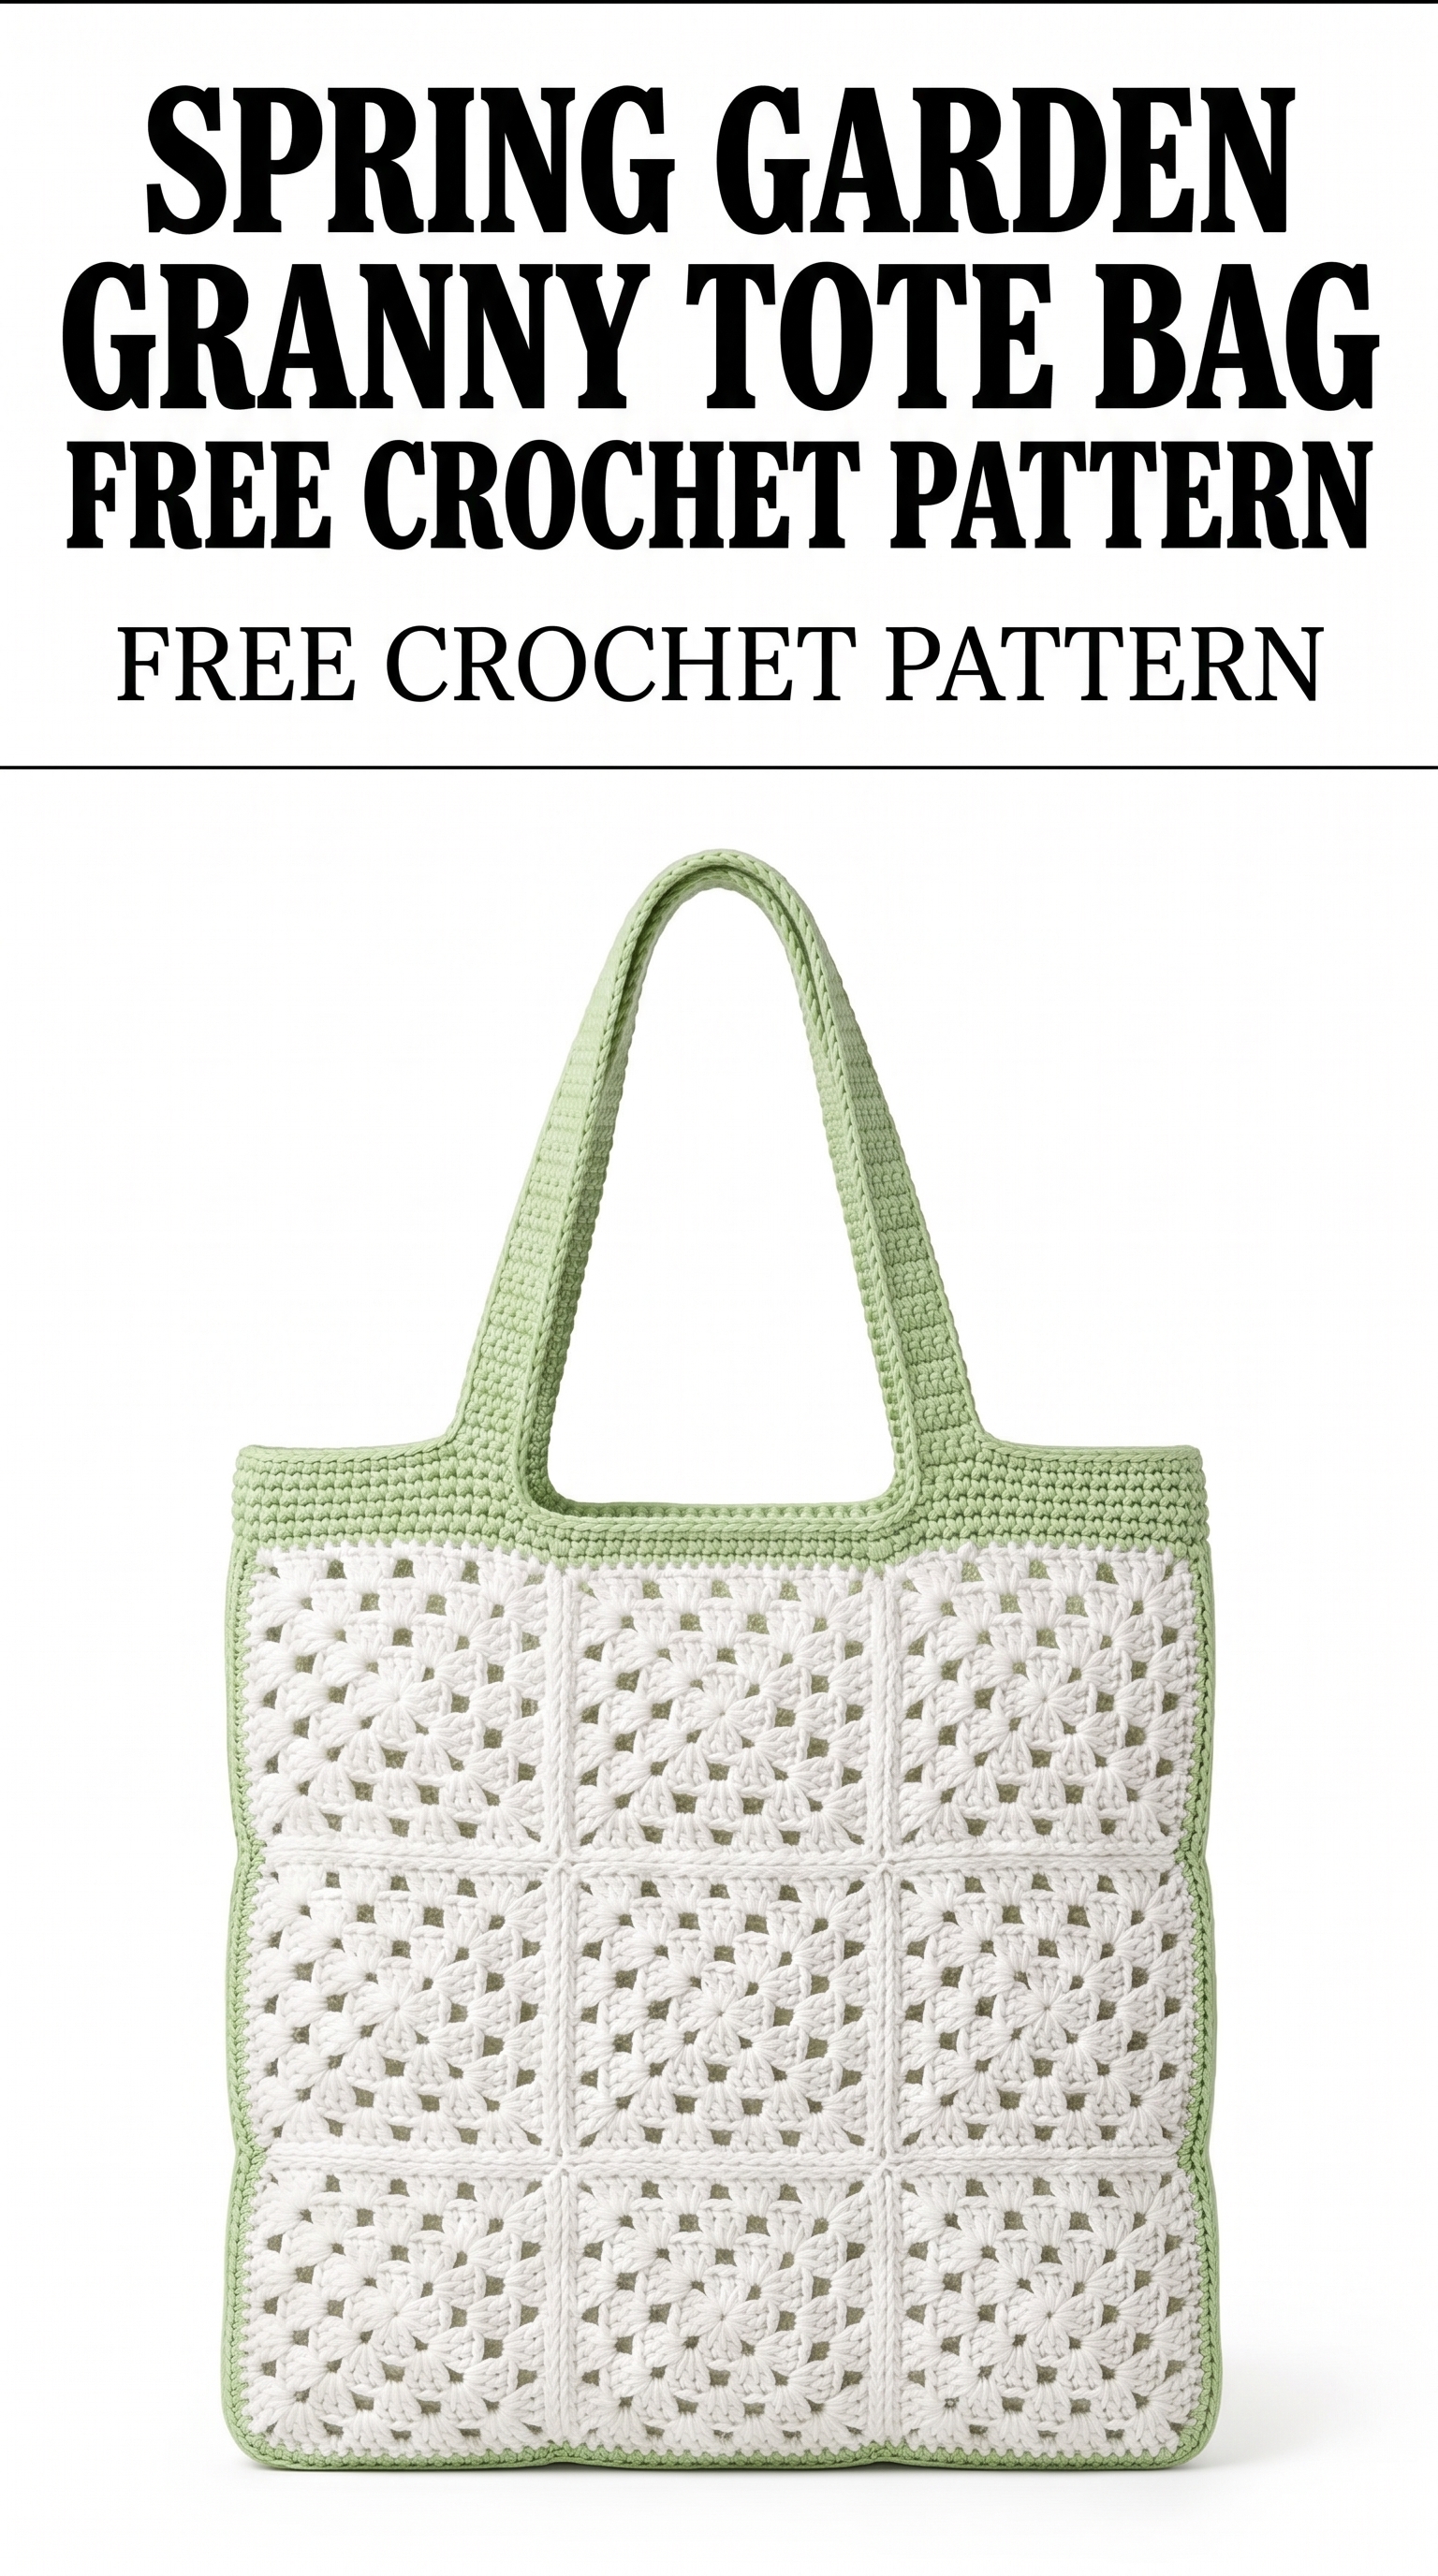
Image shown for inspiration — your finished result may vary slightly.