Terracotta Sunset Moon Bag with Bronze Hardware Free Crochet Pattern
A stylish crescent-shaped bag with a beautiful sunset gradient, featuring bronze hardware for a chic touch.
Published October 5, 2026 · by Amanda
- Skill level
- Intermediate
- Yarn weight
- Worsted (4)
- Hook size
- 5.0 mm (H)
- Time
- 4.5 hours
- Gauge
- 12 dc and 8 rows = 10 cm
- Yardage
- about 600 yards
- Sizes
- 30 × 20 cm (12 × 8 in)
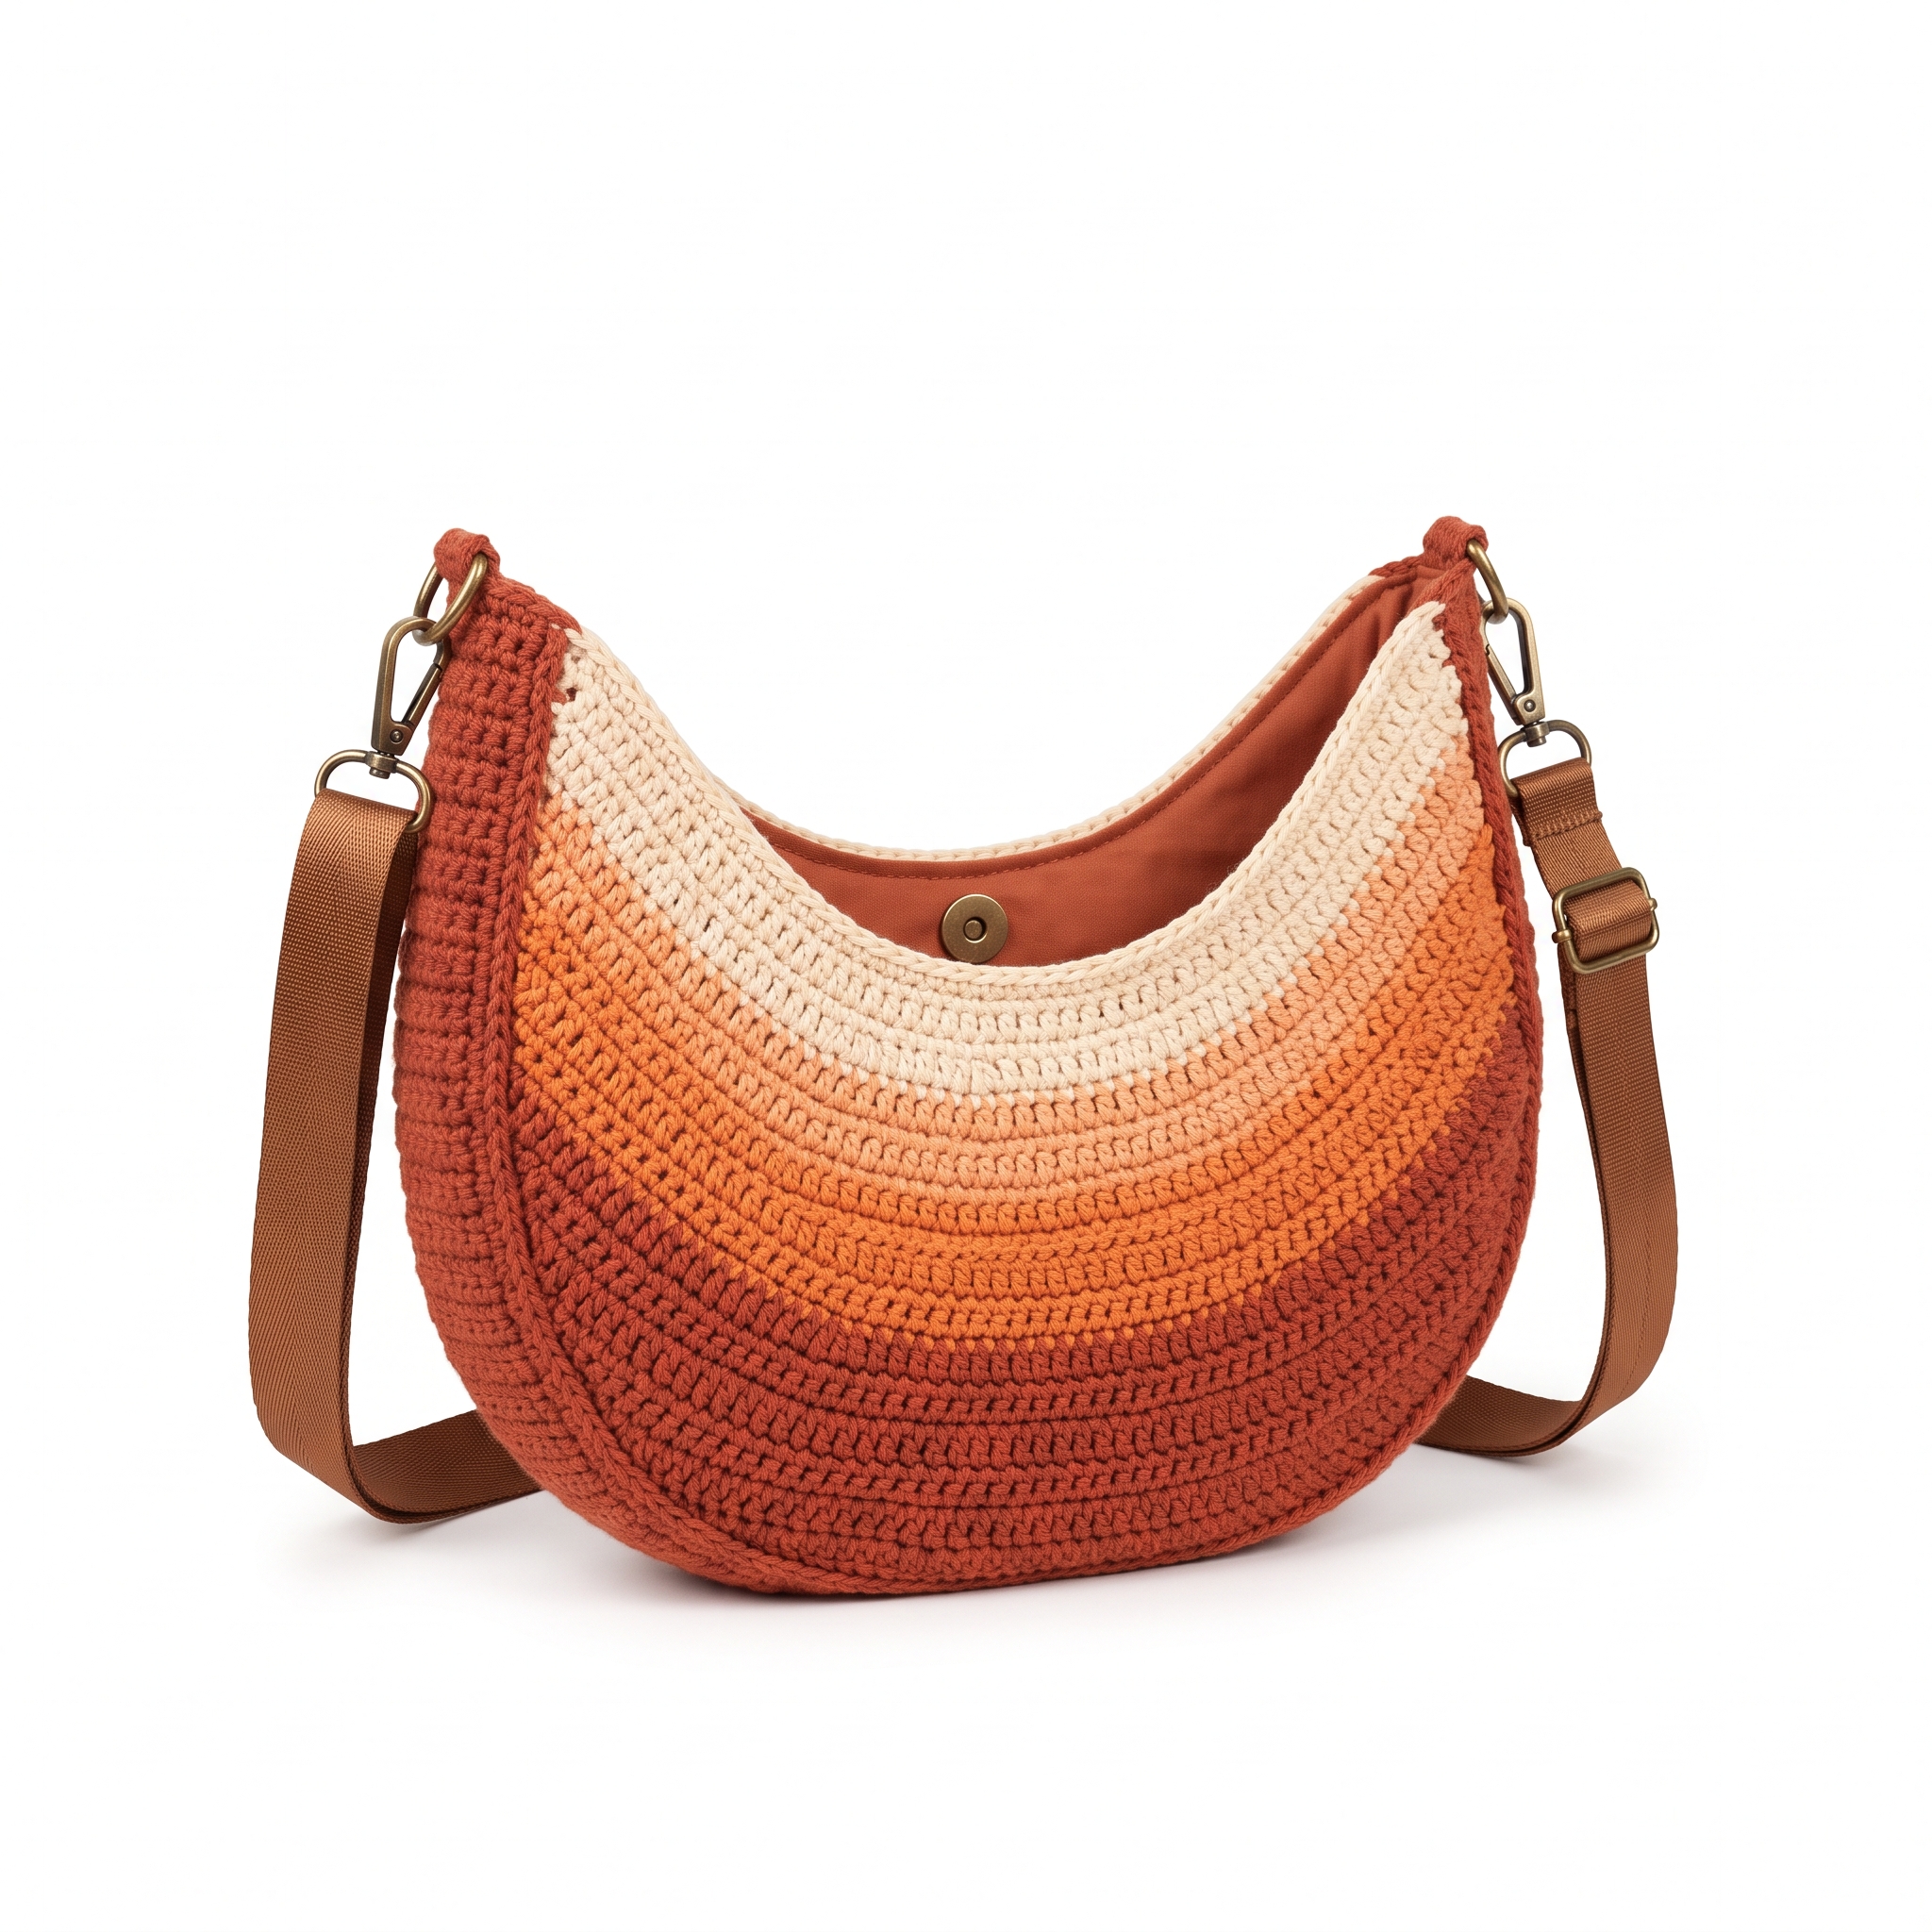
This Terracotta Sunset Moon Bag is a lovely crescent-shaped crochet bag that captures the beauty of a sunset with its color gradient. It’s perfect for everyday use and features chic bronze hardware for a stylish touch. This project uses basic stitches like single and double crochet, making it enjoyable for those with some crochet experience.
You'll learn how to create a bag from start to finish, including shaping and assembly techniques. It's suitable for crocheters with an intermediate skill level, ready to take on a fun accessory project.
Why You'll Love This Bag
- Colorful gradient effect – creates a stunning sunset look with three colors.
- Stylish hardware – bronze details add a chic finish to your bag.
- Practical design – perfect for carrying essentials every day.
- Fun intermediate project – practice your skills while making something beautiful.
Skill Level: Intermediate
This pattern requires knowledge of the following stitches:
- ch – chain
- sc – single crochet
- hdc – half double crochet
- dc – double crochet
- sl st – slip stitch
- dc2tog – double crochet two together (decrease)
New Stitch: DC2TOG is crucial for creating the bag's moon shape.
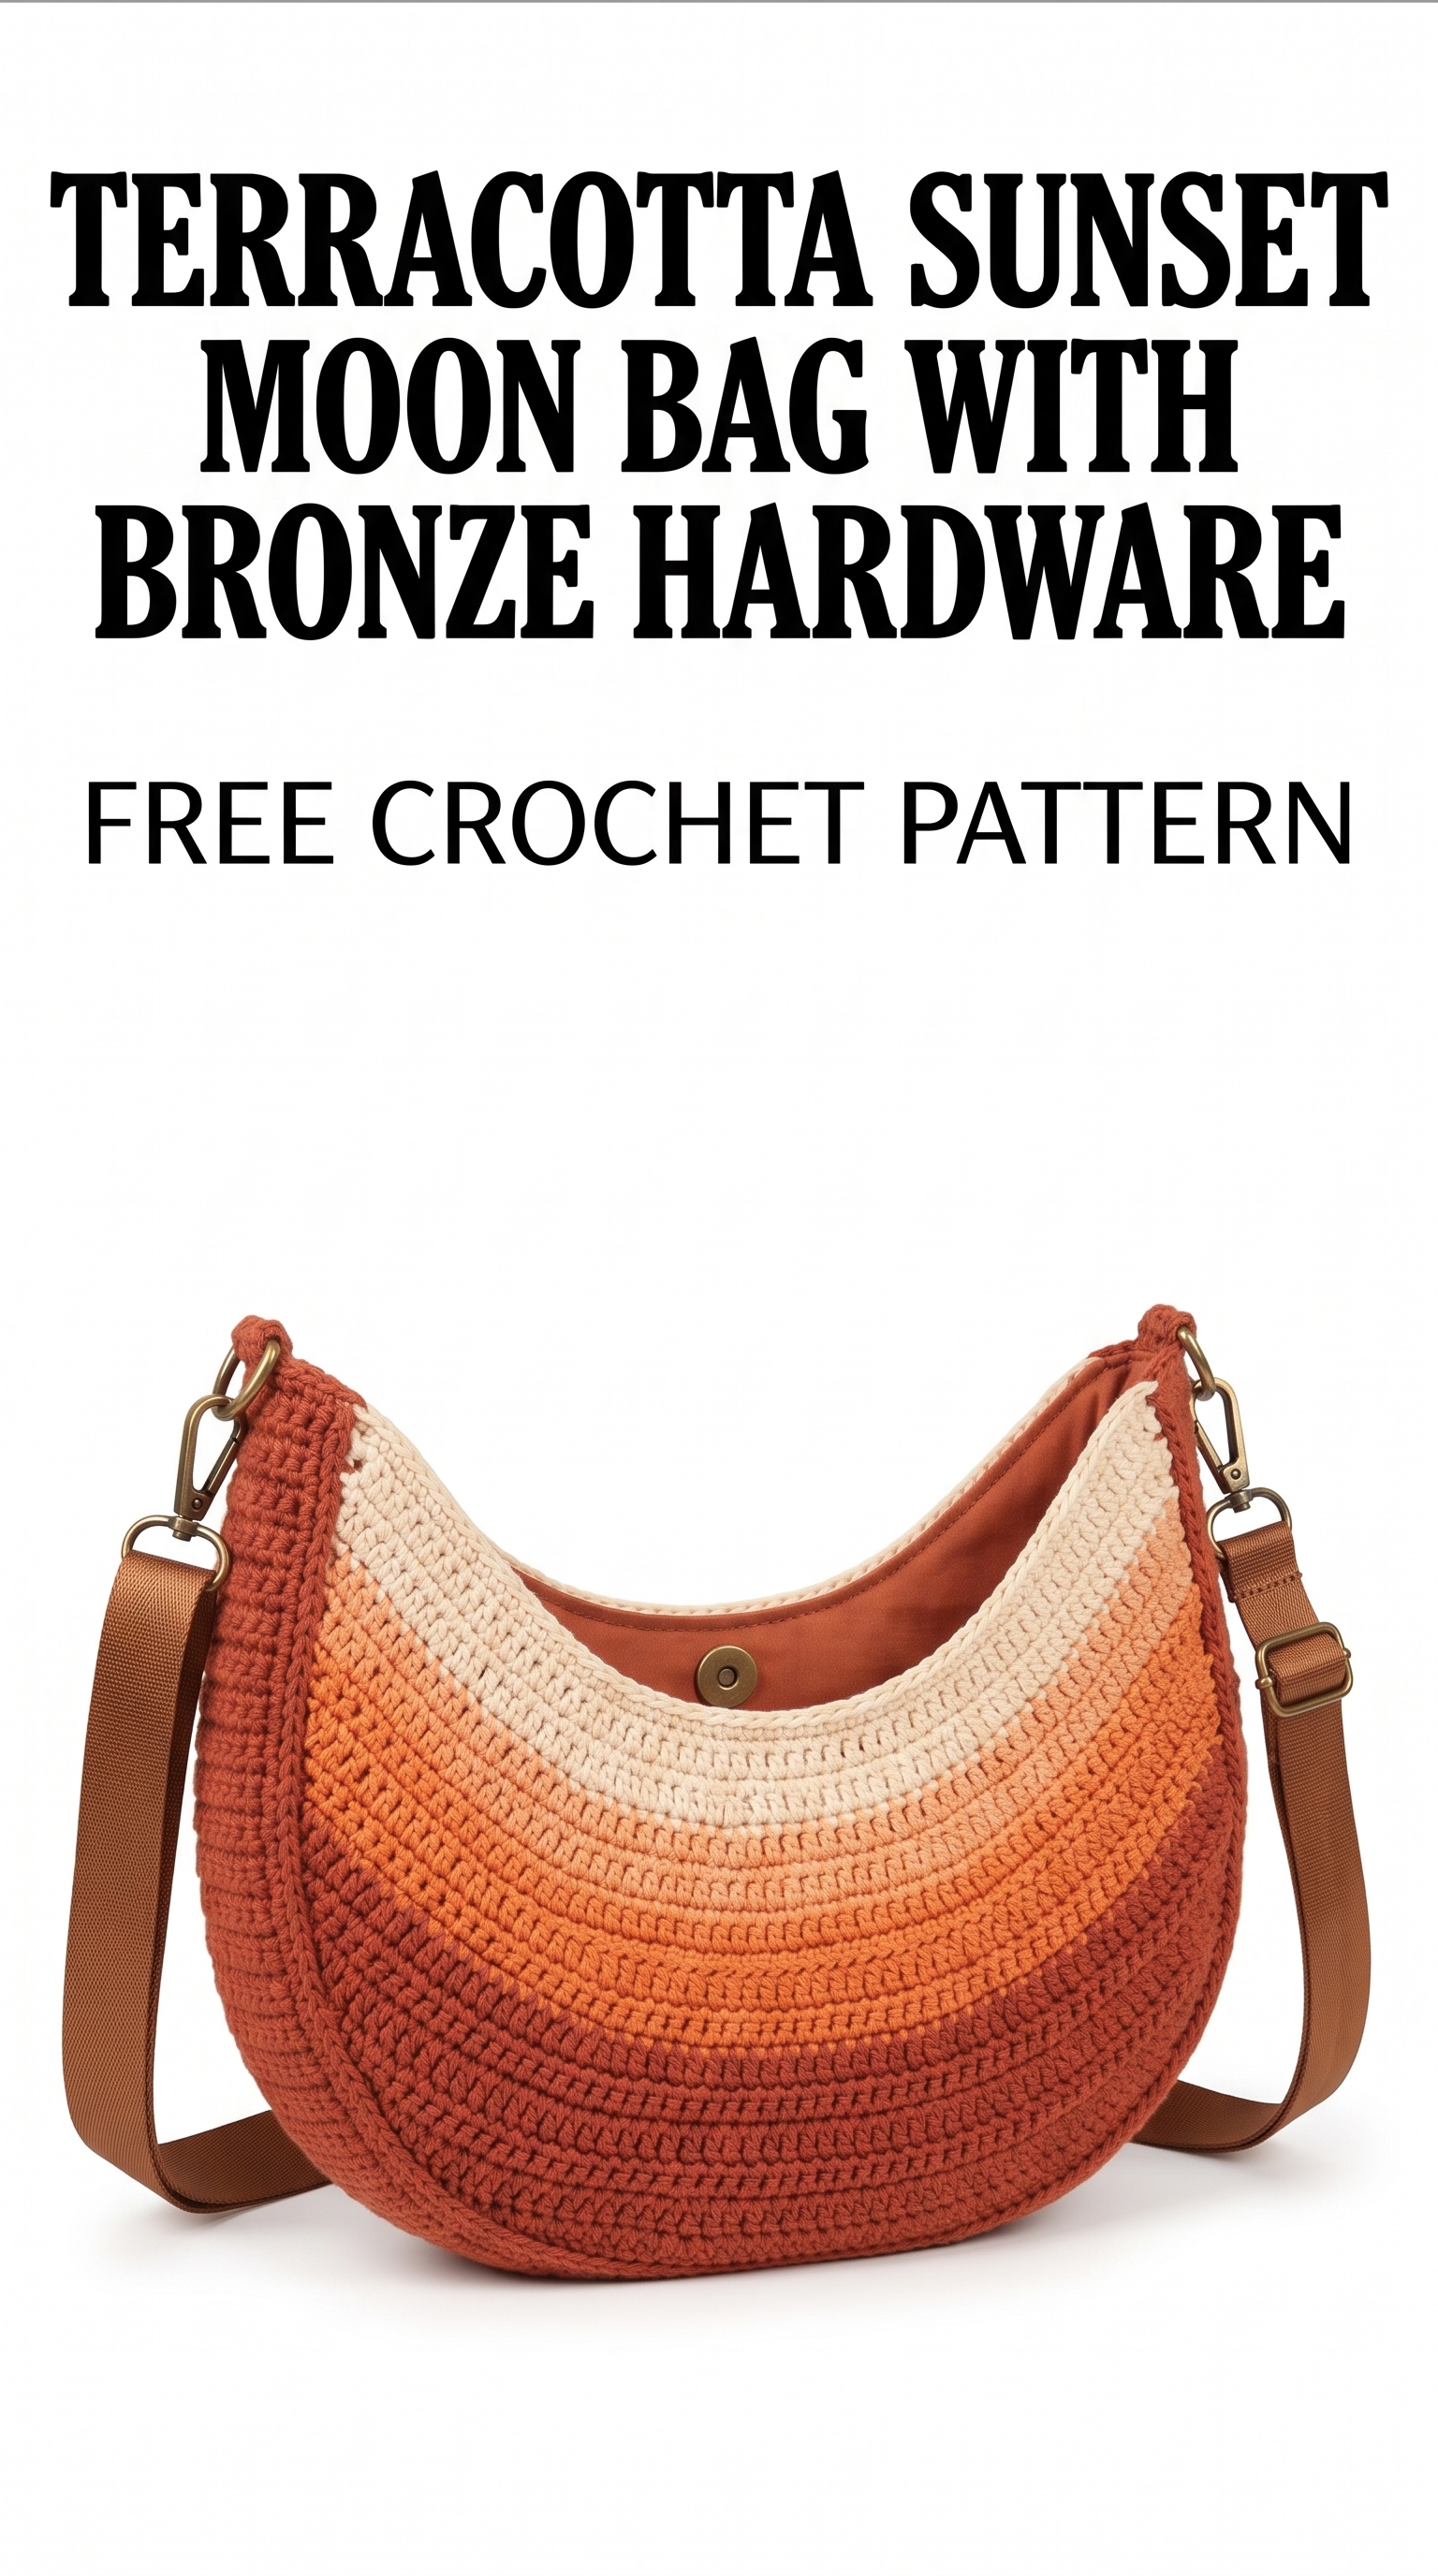
Image shown for inspiration — your finished result may vary slightly.
Crochet Abbreviations (US Terms)
- ch – chain
- sc – single crochet
- hdc – half double crochet
- dc – double crochet
- sl st – slip stitch
- dc2tog – double crochet two together (decrease)
- MC – main color
- CC1 – contrast color 1
- CC2 – contrast color 2
Special Stitch:
DC2TOG (Double Crochet Two Together): Yarn over, insert the hook into a stitch, yarn over, pull through (3 loops on hook). Yarn over, pull through the first two loops (2 loops remaining). Yarn over again, pull through the remaining two loops.
Size and Gauge
- Finished Size: Approximately 30 cm wide × 20 cm tall (12 × 8 in), not including the strap.
- Gauge: 12 dc and 8 rows = 10 cm (4 in) in double crochet (DC). To check your gauge, crochet a swatch of 20 dc for 10 rows and measure. Adjust your hook size if needed.
How to Crochet the Base of the Bag
The base of the bag is worked in rows.
- With MC (Terracotta), ch 39.
- Row 1: In the 4th ch from the hook, dc. Dc across (36 dc). (36 sts)
- Row 2: Ch 3 (counts as first dc), turn, dc in each dc across (36 dc). (36 sts)
- Row 3: Ch 3, turn, dc in each dc across (36 dc). (36 sts)
- Row 4: Change to CC1 (Sunset Orange); ch 3, turn, dc across (36 dc).
- Row 5: Ch 3, turn, dc across (36 dc).
- Row 6: Change to CC2 (Cream); ch 3, turn, dc across (36 dc).
- Rows 7-12: Repeat rows 4-6 (2 rows for each color for a gradient effect).
At the end of Row 12, you should have a total of 6 rows in each color.
How to Crochet the Sides of the Bag
Next, we'll build the sides of the bag, working in the round.
9. Row 13: Working in the round, ch 1, sc around (36 sc).
10. Rows 14-20: Ch 1, sc in each stitch around (36 sc). Repeat for 7 rounds total.
At the end of Row 20, you’ll have the main body of the bag.
How to Create the Moon Shape
Now we'll shape the bag's moon form.
11. Row 21: Decrease row, ch 1, sc in next 17, sc2tog (18 sc + 1 decrease).
12. Row 22: Ch 1, sc in next 16, sc2tog (17 sc + 1 decrease).
13. Row 23: Ch 1, sc in next 15, sc2tog (16 sc + 1 decrease).
14. Row 24: Ch 1, sc in next 14, sc2tog (15 sc + 1 decrease).
15. Row 25: Ch 1, sc in next 13, sc2tog (14 sc + 1 decrease).
16. Row 26: Ch 1, sc in next 12, sc2tog (13 sc + 1 decrease).
17. Row 27: Ch 1, sc in next 11, sc2tog (12 sc + 1 decrease).
18. Row 28: Ch 1, sc in next 10, sc2tog (11 sc + 1 decrease).
19. Row 29: Ch 1, sc in next 9, sc2tog (10 sc + 1 decrease).
20. Row 30: Ch 1, sc in next 8, sc2tog (9 sc + 1 decrease).
21. Row 31: Ch 1, sc in next 7, sc2tog (8 sc + 1 decrease).
22. Row 32: Ch 1, sc in a final row for closure (8 sc).
How to Finish the Bag
Once you’ve shaped your moon bag, it’s time to finish.
- Cut yarn, leaving a tail for weaving.
- Weave in all ends securely.
Assembly & Attaching Hardware
- Prepare Lining: Cut lining fabric in a similar crescent shape, slightly smaller than the bag. Sew the edges and attach the bronze snap clasp to the outer part of the bag and the corresponding part of the lining.
- Sew Lining: Pin lining inside the bag, sewing along the top edge.
- Attach Hardware: Secure bronze D-rings on either side near the top seam of the bag for the strap attachment.
Beginner Tips for a Neat Bag
- Use stitch markers to keep track of your rows and decreases.
- Count your stitches regularly, especially when decreasing.
- Keep a steady tension while working to ensure uniformity.
Common Mistakes (and How to Fix Them)
- "My stitches are uneven." – This can happen if your tension changes. Focus on keeping it consistent as you work.
- "The shape doesn’t look right." – Make sure you're following the stitch counts exactly, especially during decreases.
- "I lost track of my stitches." – Use stitch markers and count your stitches at the end of each row to keep on track.
How to Care for Your Bag
Hand wash your bag in cold water and lay it flat to dry to maintain its shape and color.
FAQ
How can I modify the size of the bag?
To modify the size, simply adjust the starting chain and work more or fewer rows in the base of the bag according to your desired size.
Can I use different yarn weights?
Yes, using a different yarn weight will change the size and look of your bag. Just be sure to check your gauge!
How do I choose colors?
Choose colors that complement each other. You might go for a monochromatic scheme or a vibrant contrast—it's all about your style!
This pattern is perfect for enhancing your crochet skills while creating a functional and stylish accessory. Want to create a complete set? Check out our range of patterns or try the matching wallet.