Winter Rose Ear Cuff Free Crochet Pattern
A stunning and stylish ear cuff inspired by winter roses, featuring petal and leaf design.
Published October 4, 2026 · by Amanda
- Skill level
- Intermediate
- Yarn weight
- Worsted (4)
- Hook size
- 4.5 mm (US 7), 5.0 mm (US H8)
- Time
- 1.5 hours
- Gauge
- 16 dc and 10 rows = 10 cm
- Yardage
- about 100 yards
- Sizes
- approximately 7.5 × 5 cm (3 × 2 in)
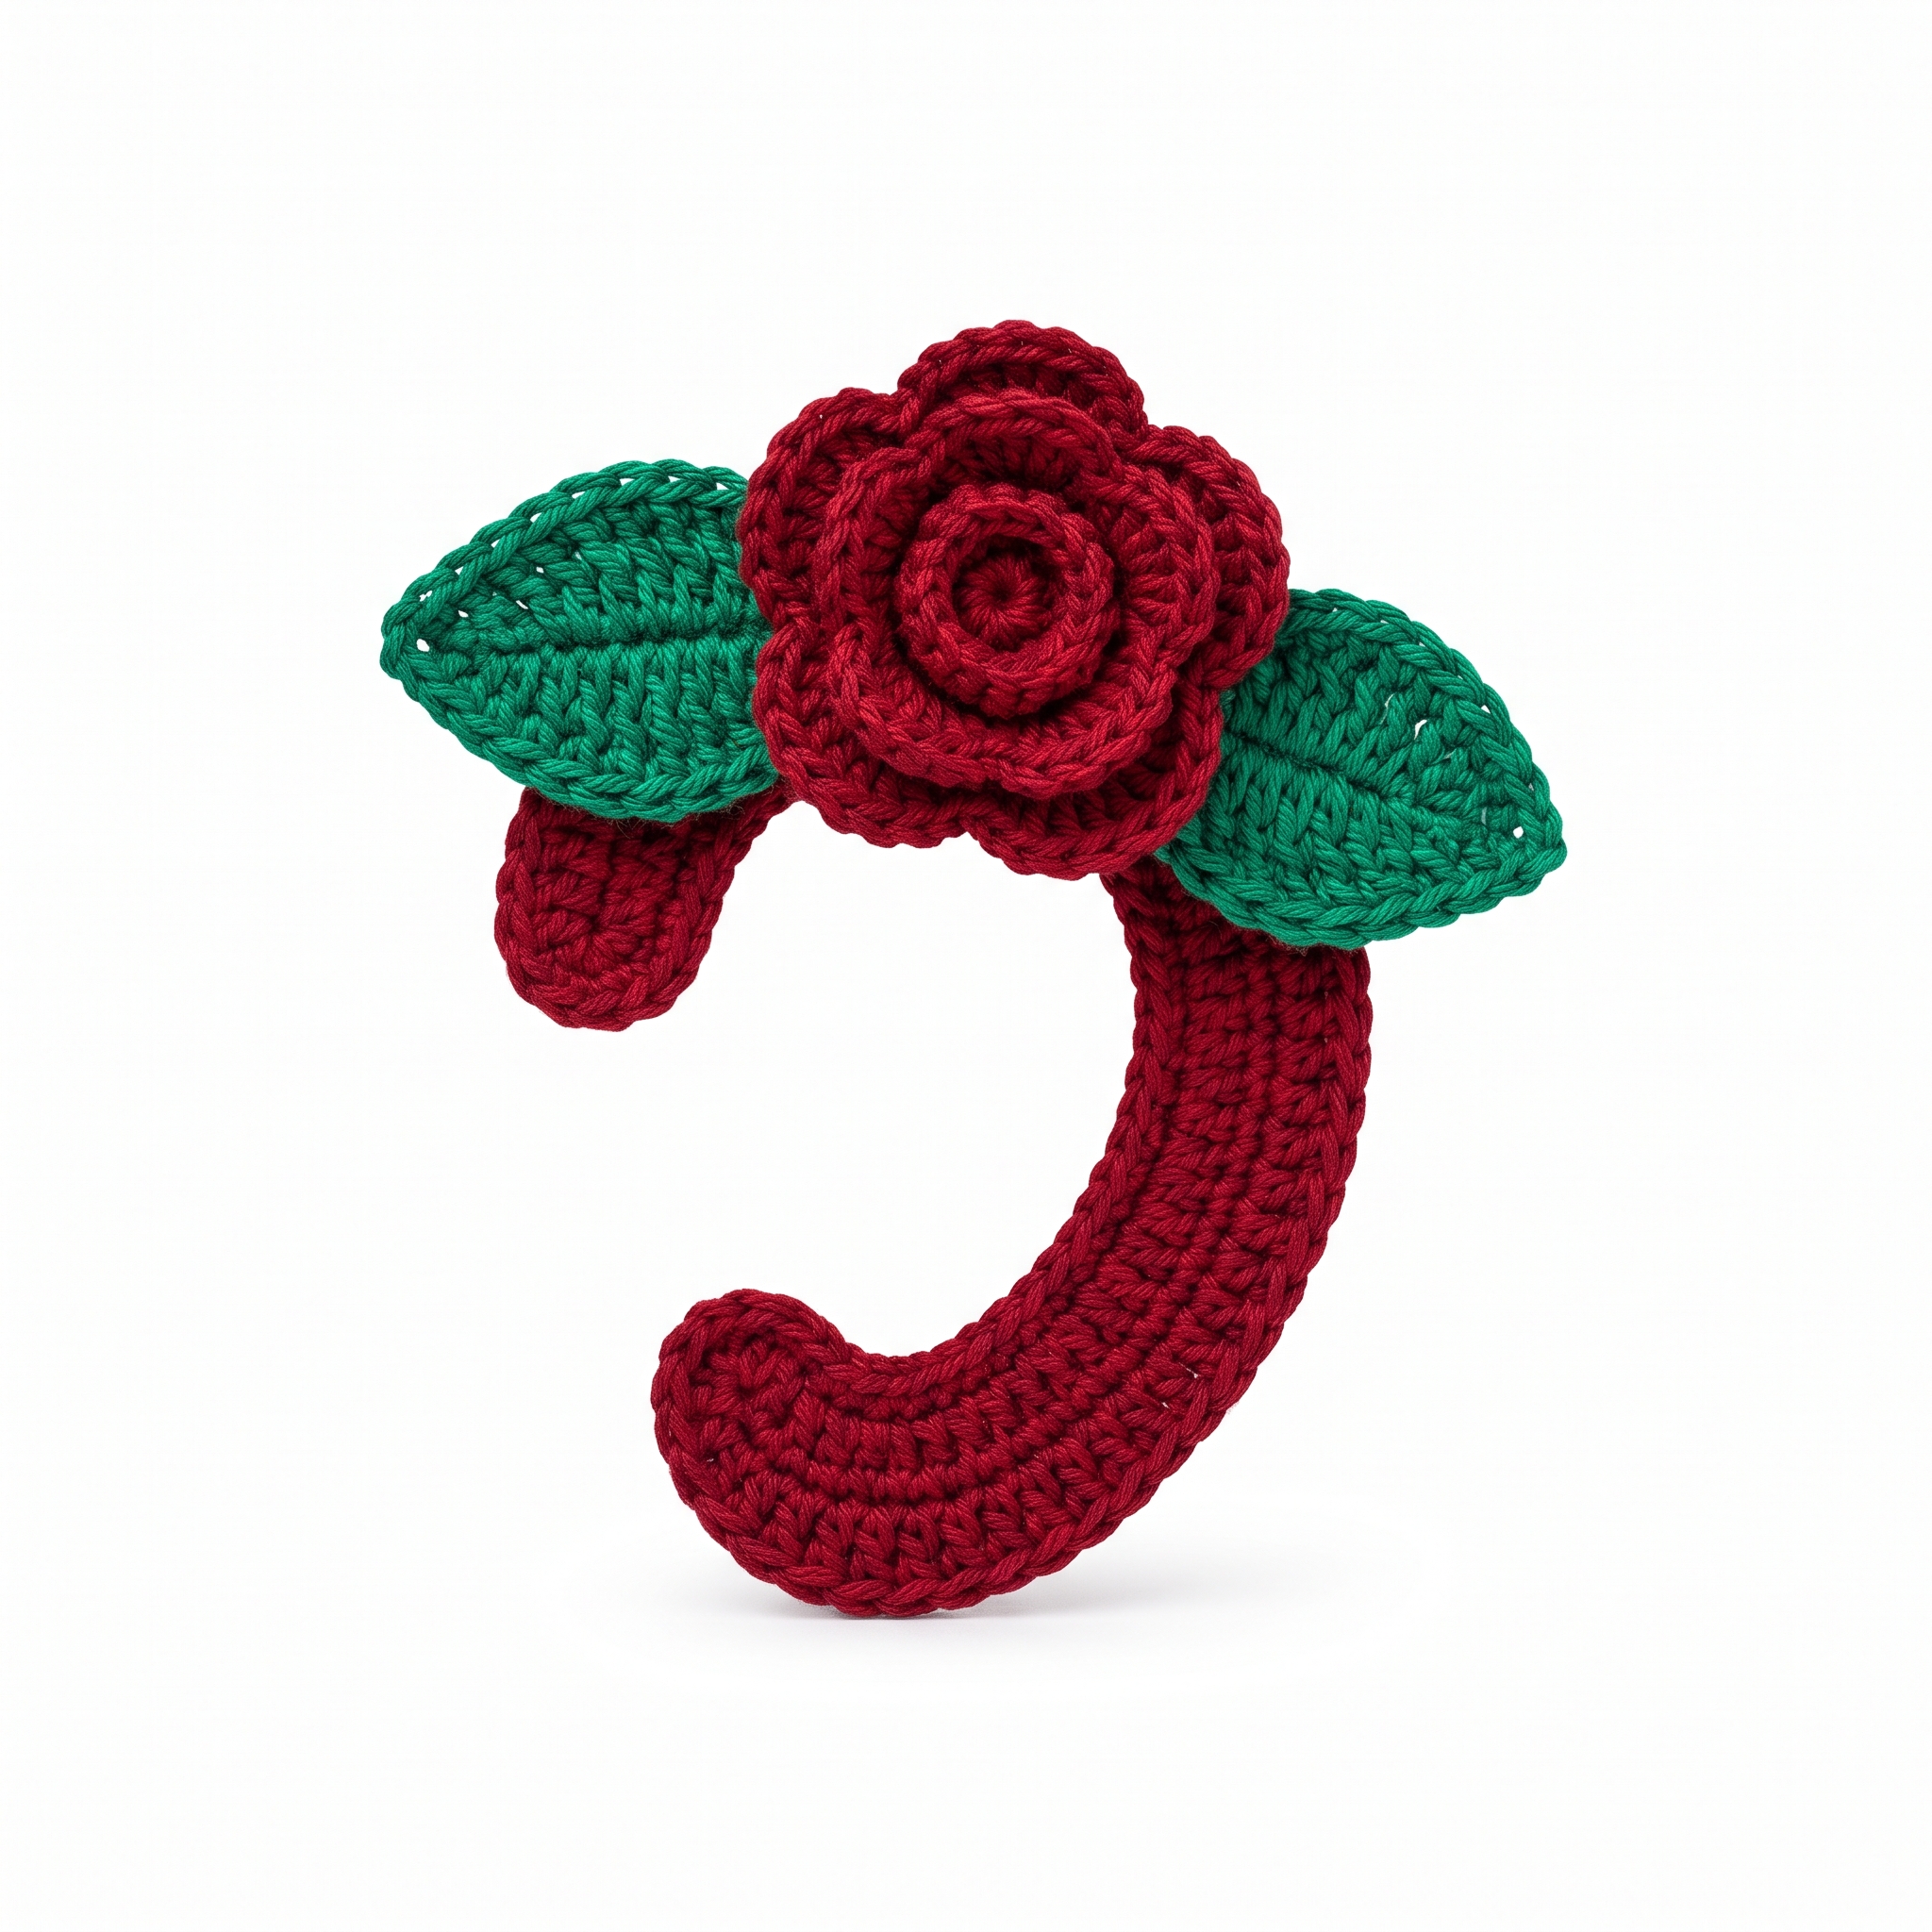
This Winter Rose Ear Cuff pattern is a beautiful accessory that wraps delicately around your ear, adding a touch of winter charm to any outfit. It combines a few basic stitches, including chains and double crochets, with a special petal stitch to create a lovely floral design. You'll find that making this piece is enjoyable and a great way to practice your skills.
This pattern is perfect for intermediate crocheters. You’ll learn how to craft petal shapes, create leaves, and assemble them into a finished piece that fits any adult ear comfortably.
Why You'll Love This Ear Cuff
- Unique design – create a stunning accessory that showcases your crochet skills.
- Quick project – whip this up in about 1.5 hours.
- Learn new techniques – practice working with floral wire and special stitches like the petal stitch.
- Versatile decoration – customize it with your favorite yarn colors.
Skill Level: Intermediate
This pattern requires knowledge of basic stitches such as chain (ch), slip stitch (sl st), double crochet (dc), and single crochet (sc). You’ll also learn a special petal stitch and how to handle floral wire for structure.
Crochet Abbreviations (US Terms)
- ch – chain
- sc – single crochet
- hdc – half double crochet
- dc – double crochet
- tr – treble crochet
- sl st – slip stitch
- inc – increase (2 stitches in the same stitch)
- dc2tog – double crochet two together (decrease)
- Petal Stitch – work 1 tr, 1 dc, 1 sc, ch 2, sl st in the same stitch.
Size and Gauge
- Finished size of the Ear Cuff: approximately 7.5 cm tall and 5 cm wide (3 × 2 in).
- Gauge: 16 dc and 10 rows = 10 cm (4 in) in double crochet.
- Measure your gauge by making a small swatch and adjust your hook size if necessary.
Step-by-Step Instructions
Base of Ear Cuff
The base of the ear cuff is crocheted flat and will be shaped later.
- Using a 5.0 mm hook and Deep Red yarn, ch 6.
- Round 1: In the 2nd ch from the hook, sc, then sc in each ch across (5 sc) (5 sts).
- Round 2: Ch 1, turn. Sc in each sc (5 sc) (5 sts).
- Round 3: Ch 2, turn. Dc in each sc (5 dc) (5 sts).
- Round 4: Ch 1, turn. Sc in each dc (5 sc) (5 sts).
- Round 5: Ch 1, turn. Sc in the next 2 sc, inc in the next (7 sts).
- Rounds 6-10: Repeat Round 2 for a total of 5 rows (7 sc).
- Cut yarn and fasten off.
Rose Petals
The rose petals are created in the round using a magic ring.
- Switch to a 4.5 mm hook and Deep Red yarn; create a magic ring.
- Round 1: Ch 3 (counts as first dc), work 11 dc into the ring (12 dc).
- Round 2: Ch 1, dc in the same stitch, 1 tr in the next dc, 1 dc in the next, repeat from * around (18 sts, includes petals).
- Finish off and weave in ends.
Leaves
The leaves are handmade to complement the rose.
- Using a 4.5 mm hook and Emerald Green yarn, ch 8.
- Row 1: In the 2nd ch from the hook, sc, hdc in the next, dc in the next 3, hdc in the next, sc in the last ch (8 stitches).
- Row 2: Create a leaf shape by working another leaf on the other side of the ch, or sew two leaves together.
Assembly
This step shapes and combines all parts of your ear cuff.
- Shape the ear cuff base into a curve that fits the ear comfortably.
- Attach the rose using a tapestry needle: sew the base of the rose securely at the top of the curved base.
- Position the leaves around the base of the rose and sew in place.
Beginner Tips
- Use stitch markers to keep track of your rounds or rows.
- Count your stitches regularly to ensure even sizing.
- Pay attention to tension: too tight can distort the shape, too loose may compromise sturdiness.
Common Mistakes (and How to Fix Them)
- "My petals look uneven." – This could be due to inconsistent tension; focus on maintaining a steady gauge throughout.
- "The ear cuff is too tight." – Make sure you’re measuring the base correctly before shaping it for your ear. Adjust if necessary.
- "The wire is poking out." – Be careful while shaping the wire; ensure it’s tucked securely within the yarn.
How to Care for Your Ear Cuff
Hand wash your ear cuff in cold water and lay it flat to dry. This will help maintain its shape and keep it looking beautiful.
FAQ
How can I customize the ear cuff?
You can switch colors for the rose or make the cuff smaller by adjusting the chain lengths and rows.
Can I add embellishments to my ear cuff?
Absolutely! Adding beads or other decorative elements can enhance the beauty of your ear cuff.
How do I ensure a good fit?
Before finishing, shape the cuff and try it on your ear. Adjust the curve for the best fit, and reinforce any parts that need it.
Want to create a complete set? Check out our range of patterns or try the matching flower brooch.
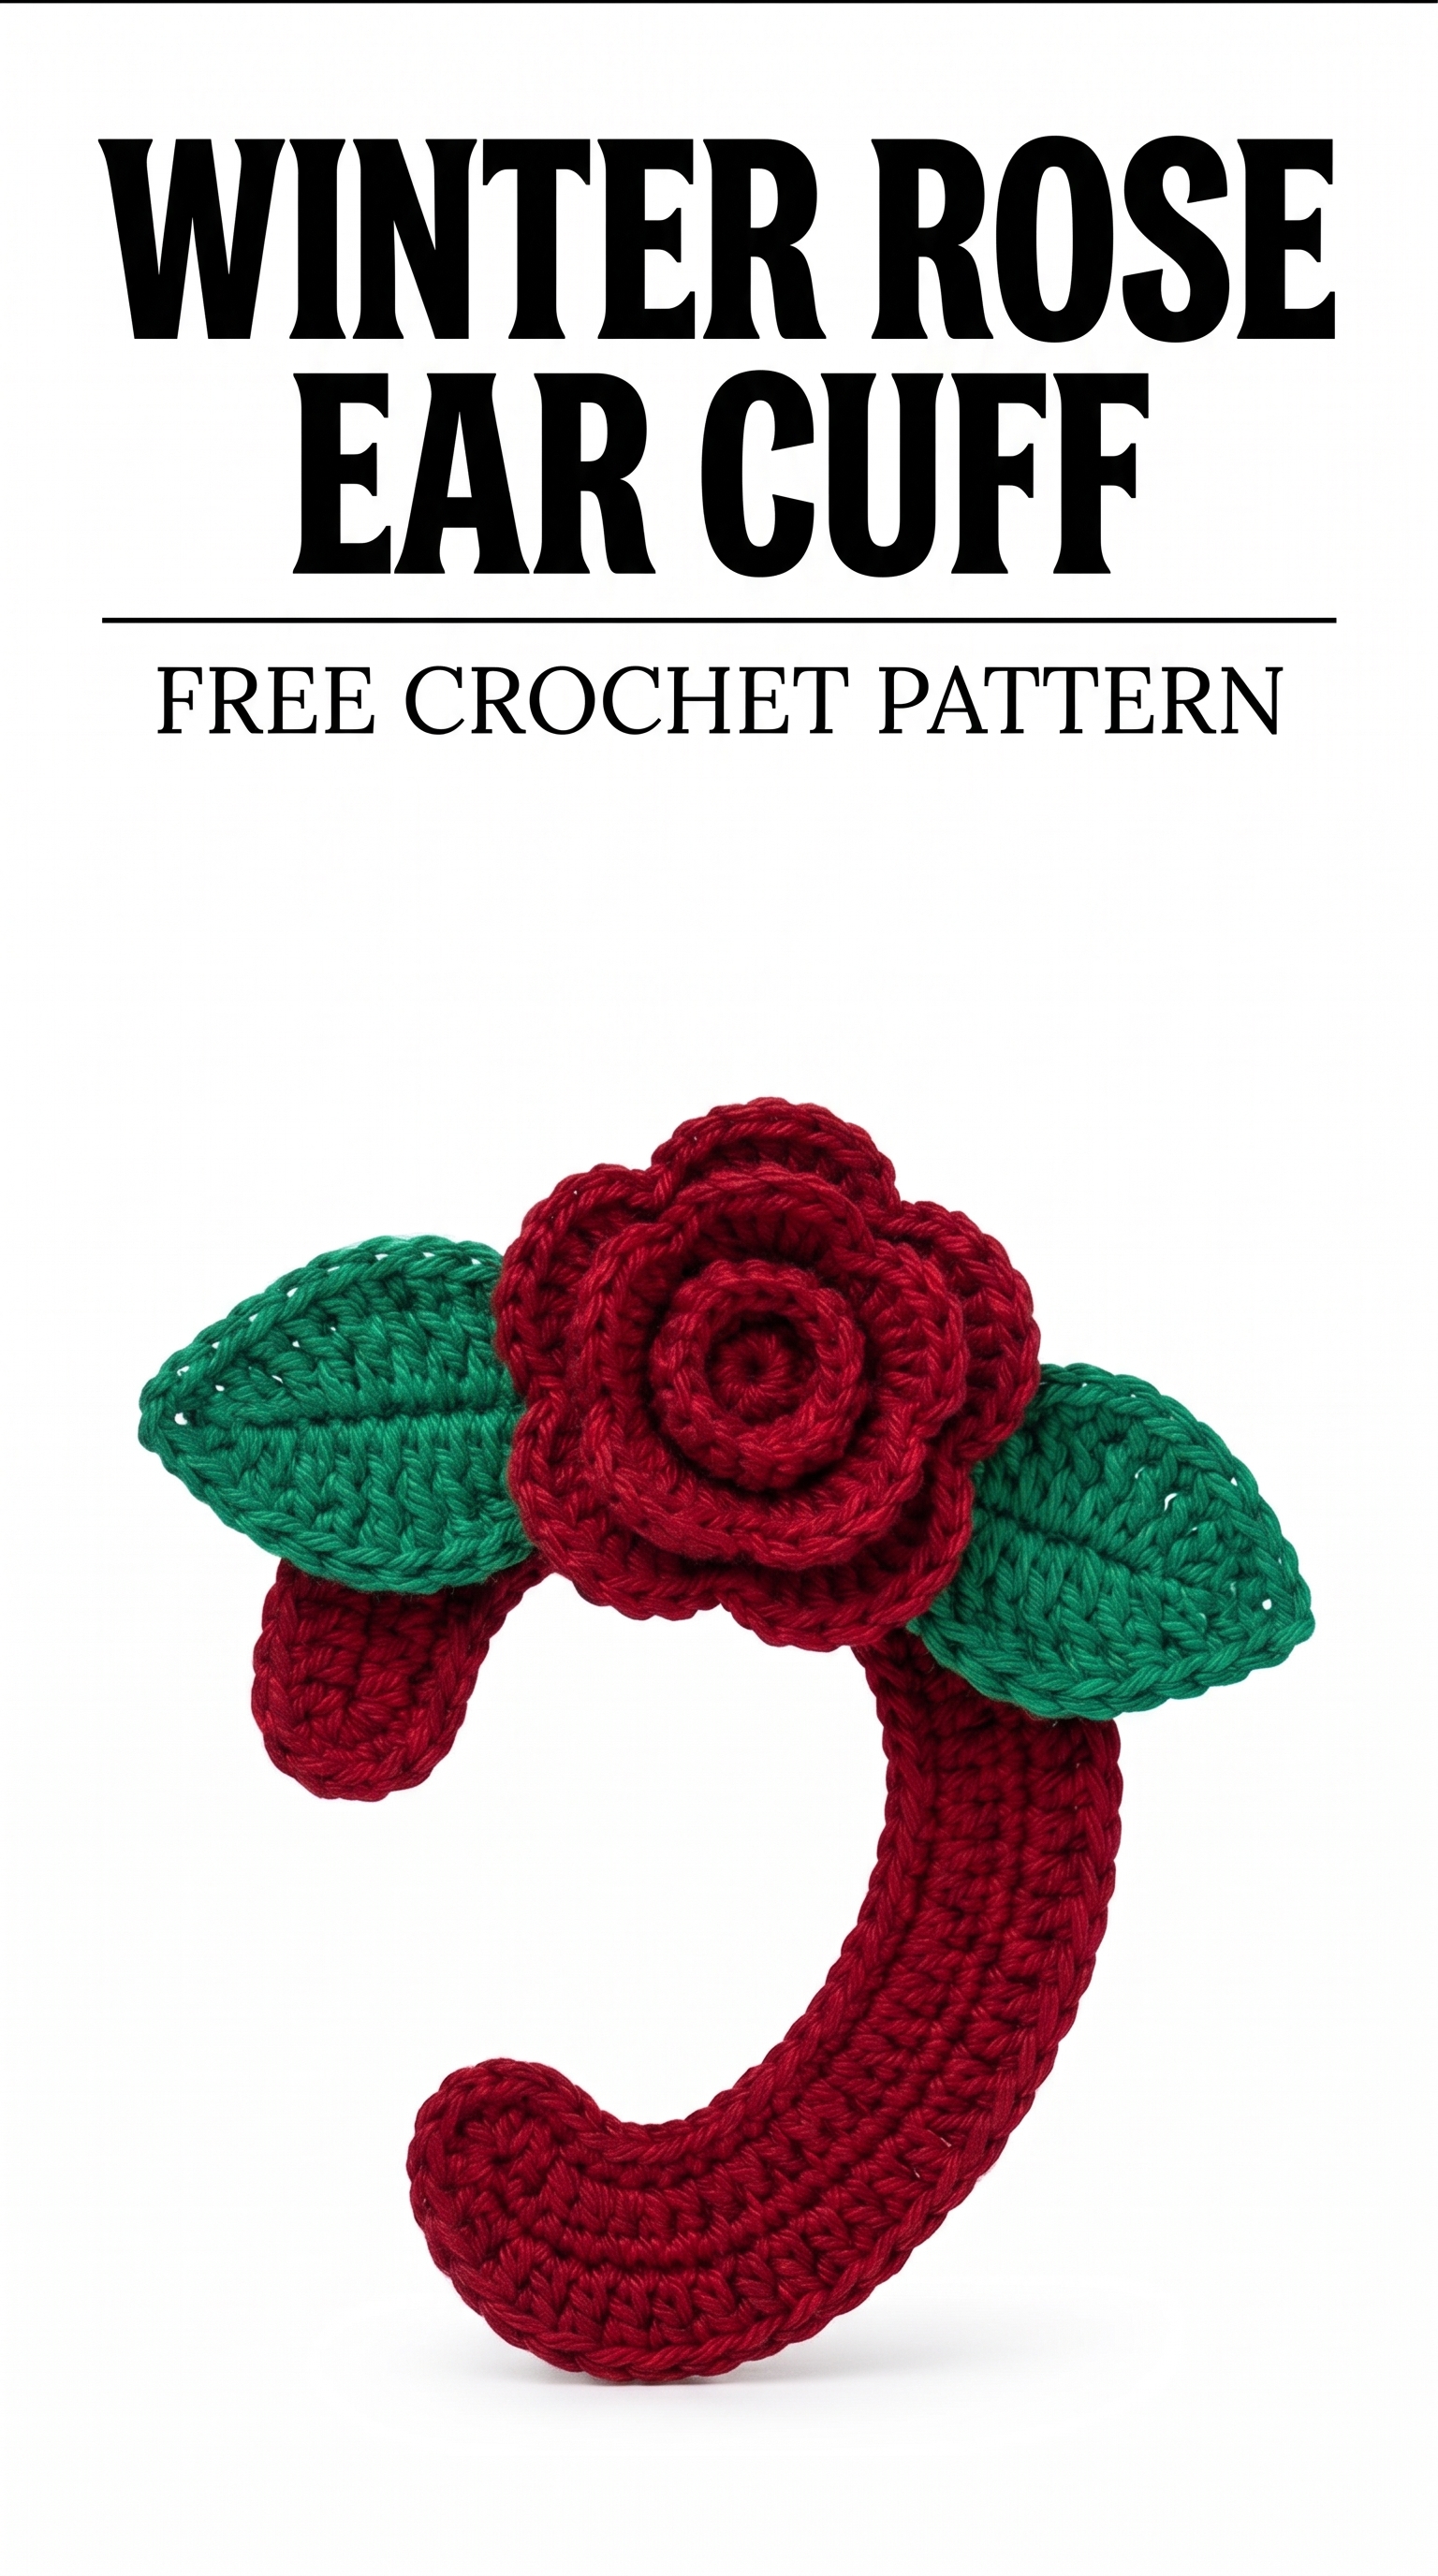
Image shown for inspiration — your finished result may vary slightly.