Blush Pink Strawberry Baby Romper Set Free Crochet Pattern
A lovely romper set for infants featuring a playful strawberry design, perfect for warm-weather outings.
Published October 5, 2026 · by Amanda
- Skill level
- Beginner
- Yarn weight
- Worsted (4)
- Hook size
- 5 mm (H-8)
- Time
- 7 hours
- Gauge
- 16 dc and 8 rows = 10 cm
- Yardage
- about 300 yards
- Sizes
- 0-6 months
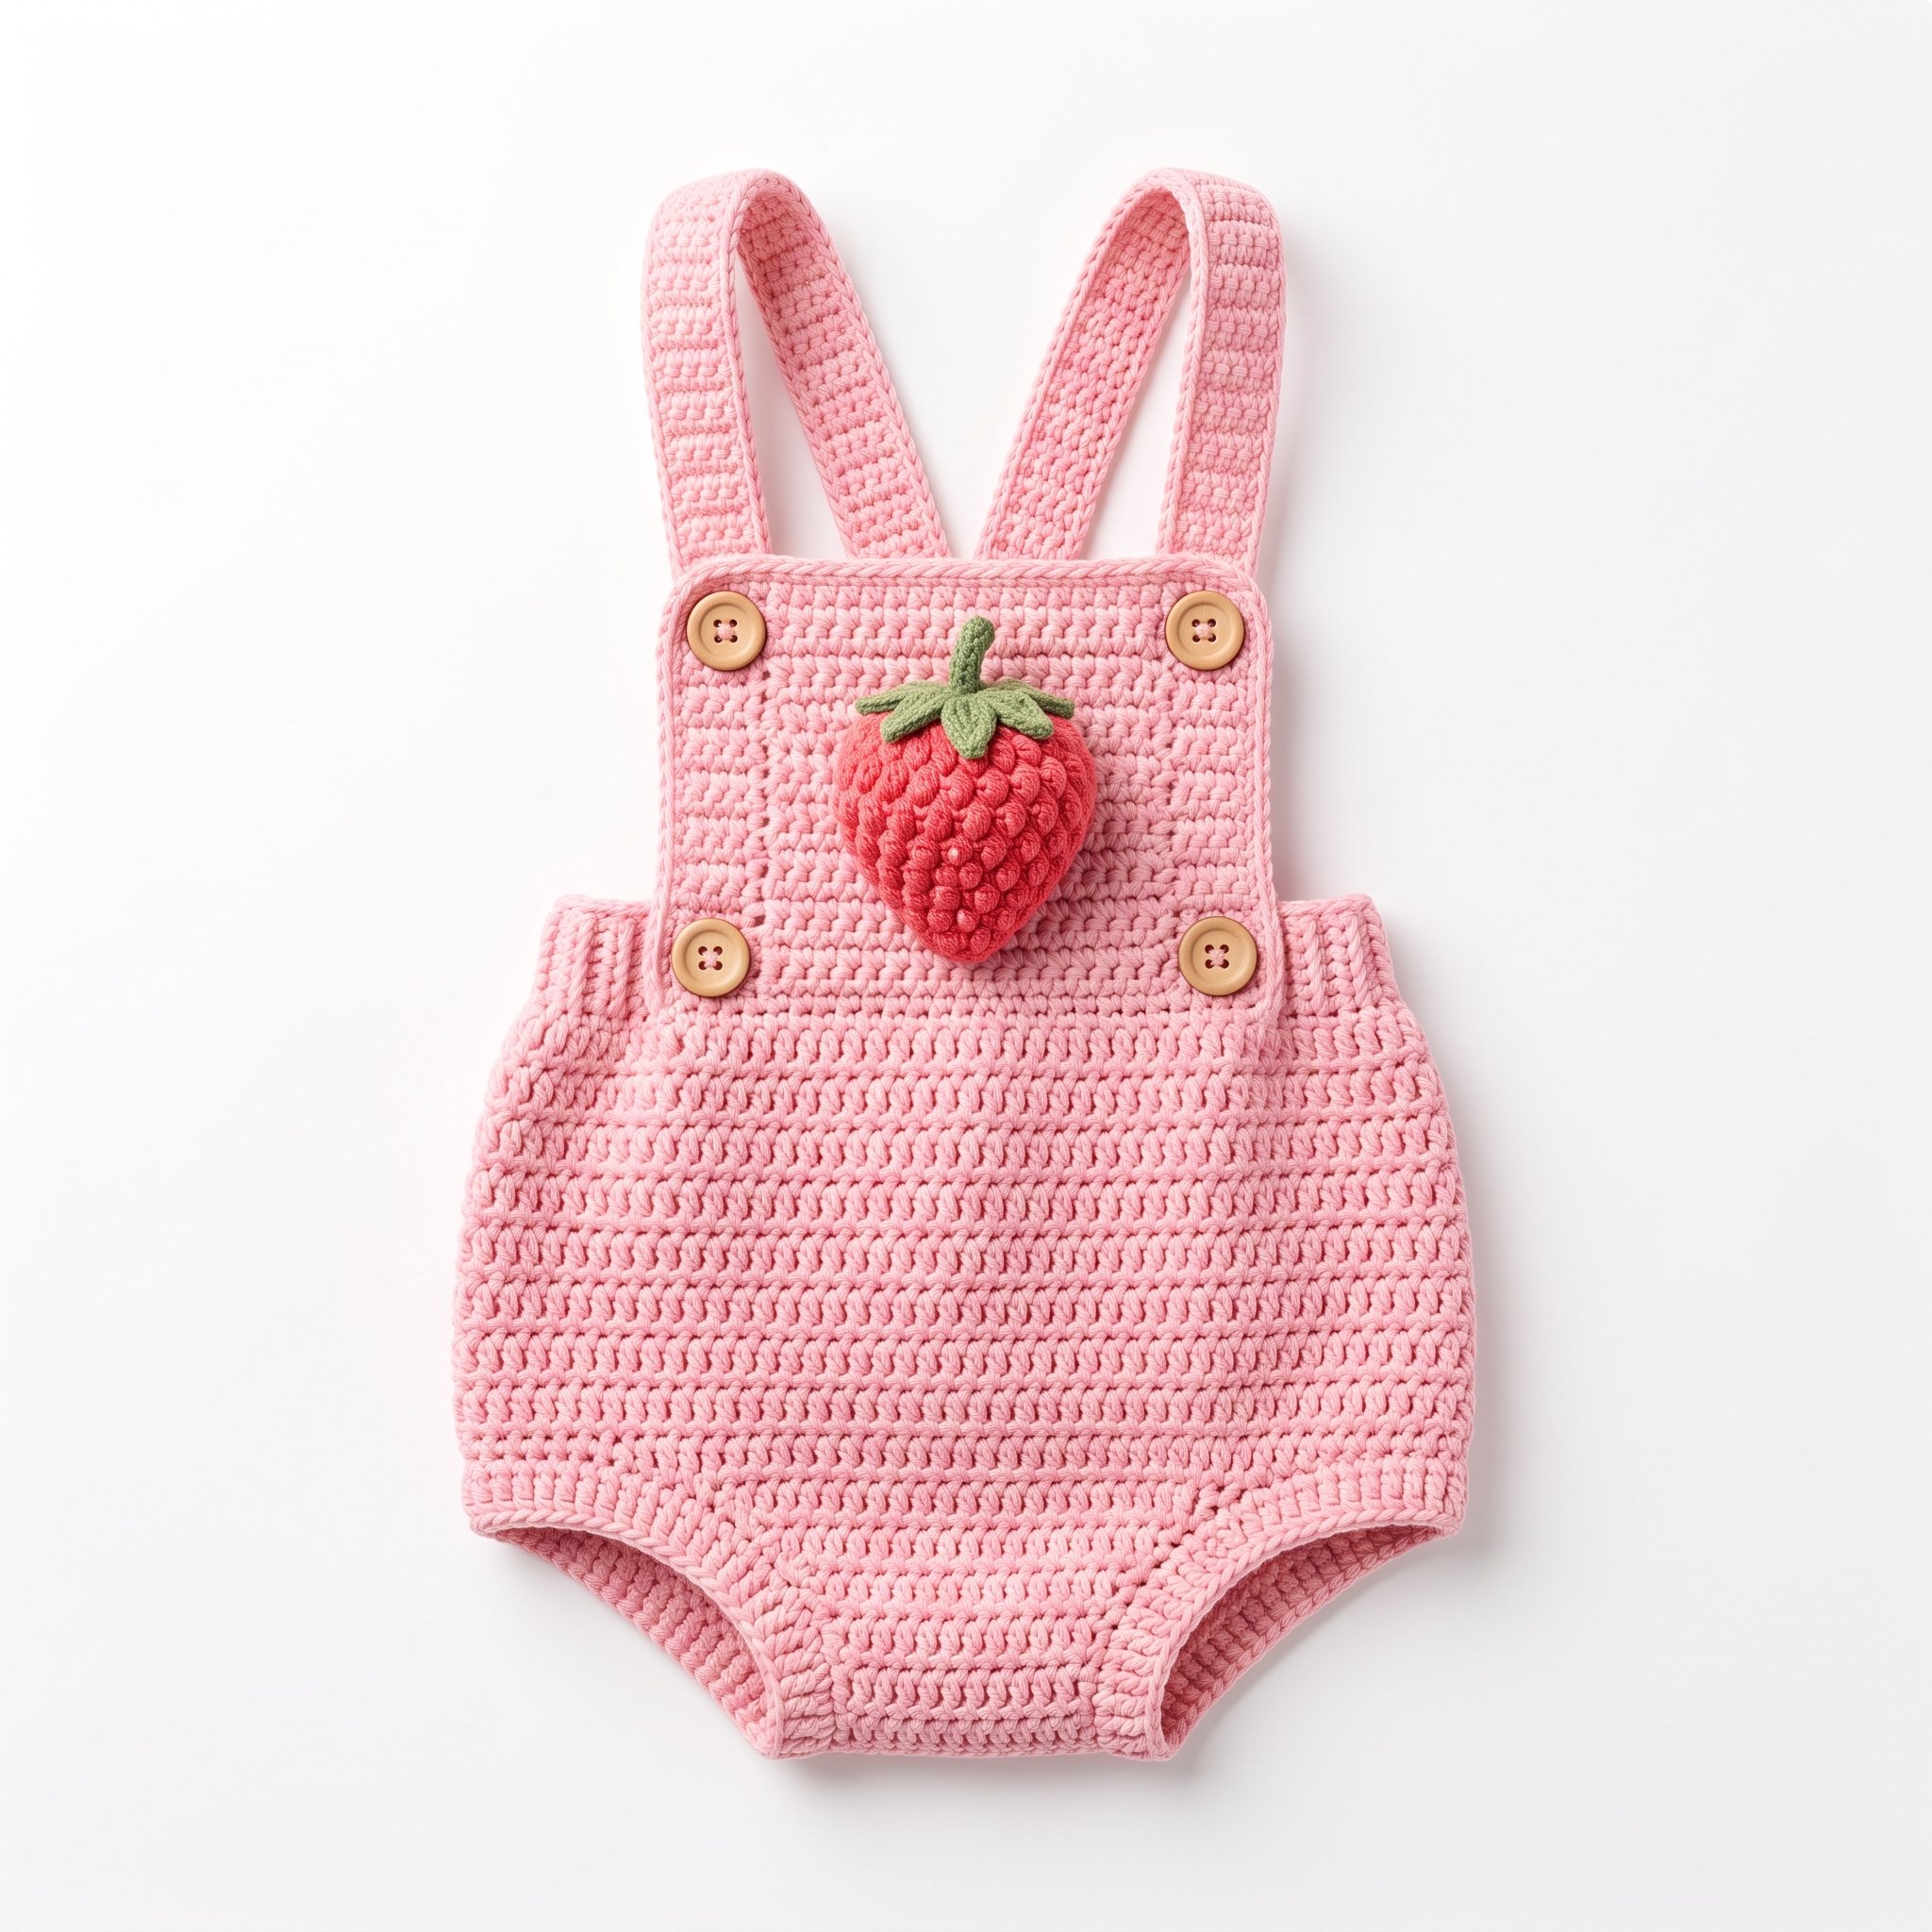
This adorable Blush Pink Strawberry Baby Romper Set is a delightful outfit for infants, featuring a cute strawberry design on the front and a matching hat. It's perfect for warm-weather outings or special occasions, and you'll find that the straightforward stitches make it enjoyable to create. This pattern is suitable for those with basic crochet skills and offers a chance to learn some new techniques along the way.
With this pattern, you'll have fun making a charming outfit for a special little one. It uses basic stitches like double crochet and single crochet, and with a little practice, you’ll have it completed in no time!
Why You'll Love This Romper Set
- Quick and manageable – complete this project in about 7 hours.
- Adorable design – the strawberry appliqué adds a playful touch.
- Customizable – you can easily choose different colors for variations.
- Perfect gift – a lovely handmade gift for baby showers or new parents.
Is This Pattern Good for Beginners?
Yes! This pattern is great for beginners because it utilizes basic stitches. Each step is clearly outlined, allowing you to build your confidence as you go along.
Crochet Abbreviations (US Terms)
- ch – chain
- dc – double crochet
- sl st – slip stitch
- sc – single crochet
- st – stitch
- inc – increase (2 sc in same st)
- dec – decrease (sc 2 together)
Size and Gauge
- Finished romper size: 0-6 months
- Chest: 46 cm (18 in)
- Length: 51 cm (20 in) from shoulder
- Leg openings: 20 cm (8 in) circumference
- Gauge: 16 dc and 8 rows = 10 cm (4 in) in double crochet. To check gauge, create a swatch of 20 dc x 10 rows; adjust your hook size if needed.
How to Crochet a Blush Pink Strawberry Baby Romper Set (Step by Step)
Romper Body
The romper body begins with a foundation chain and is worked in rows.
- Foundation Chain: Ch 64, join to form a ring, being careful not to twist (64 sts).
- Row 1: Ch 3 (counts as first dc), dc in next 63 sts (64 sts).
- Row 2: Ch 3, dc in each st across (64 sts).
- Row 3: Ch 3, *dc in next 31 sts, 2 dc in next st; repeat from * once more, dc in remaining 31 sts (66 sts).
- Rows 4–10: Ch 3, dc in each st across (66 sts).
- Row 11: Ch 3, *dc in next 31 sts, 2 dc in next st; repeat from * once more, dc in remaining 33 sts (68 sts).
- Rows 12–20: Ch 3, dc in each st across (68 sts).
- Row 21: Ch 1, sc in each st across (68 sts).
Legs
Next, we’ll create the legs of the romper.
9. Divide for Legs: Leave the first 30 sts unworked, ch 1, turn.
10. For Left Leg:
Ch 1, sc in next 30 sts, turn.
Repeat for 11 more rows. Fasten off.
11. For Right Leg:
Attach yarn to the next chain segment, ch 1, sc in each of the next 30 sts across. Repeat for 11 more rows. Fasten off.
Straps (make 2)
The straps are worked separately and attached later. 12. Foundation Chain: Ch 40. 13. Row 1: Sc in 2nd ch from hook and each ch across (39 sts). 14. Row 2: Ch 1, turn, sc in each st across (39 sts). 15. Row 3: Repeat Row 2 for 10 more rows. Fasten off, leaving a long tail for sewing.
Strawberry Appliqué
The strawberry adds a lovely touch to the romper. 16. Begin with Green: Ch 4, sl st to form a ring. 17. Round 1: Ch 1, (inc) 6 times in ring (6 sts). 18. Round 2: (dc in next st, inc) repeat around (9 sts). 19. Round 3: (dc in next 2 sts, inc) repeat around (12 sts). 20. Round 4: (dc in next 3 sts, inc) repeat around (15 sts). Finish off and sew onto the front of the romper.
Assembly & Finishing
It's time to put your romper together!
- Attach one strap to the top of each leg opening and secure with a needle.
- Sew the two buttons onto the straps for decoration.
- Weave in all yarn ends using a tapestry needle.
- Block lightly for a neat finish.
Beginner Tips for a Neat Romper
- Use stitch markers to keep track of your rows and stitches.
- Count your stitches after each row to ensure you're on track.
- Pay attention to your tension; it helps create a neat and even piece.
Common Mistakes (and How to Fix Them)
- "My stitches are too tight." – This can happen if you're anxious; try to relax while crocheting.
- "The length of the romper isn't what I expected." – Always check your gauge before beginning.
- "I missed a stitch!" – Count your stitches at the end of each row to catch any mistakes early.
How to Care for Your Romper Set
To keep your romper set looking its best, hand wash in cold water and lay flat to dry. Avoid wringing it out, but reshape it as necessary.
FAQ
How can I make this romper larger?
To adjust the size, increase your foundation chain and add additional rows to fit your desired dimensions.
What type of yarn works best for this pattern?
Using a worsted weight 100% cotton yarn is recommended for softness and breathability.
How long will it take to finish this romper?
Expect to spend around 7 hours to complete the entire set, depending on your skill level.
Want to create a complete set? Check out our range of patterns or try the matching hat.
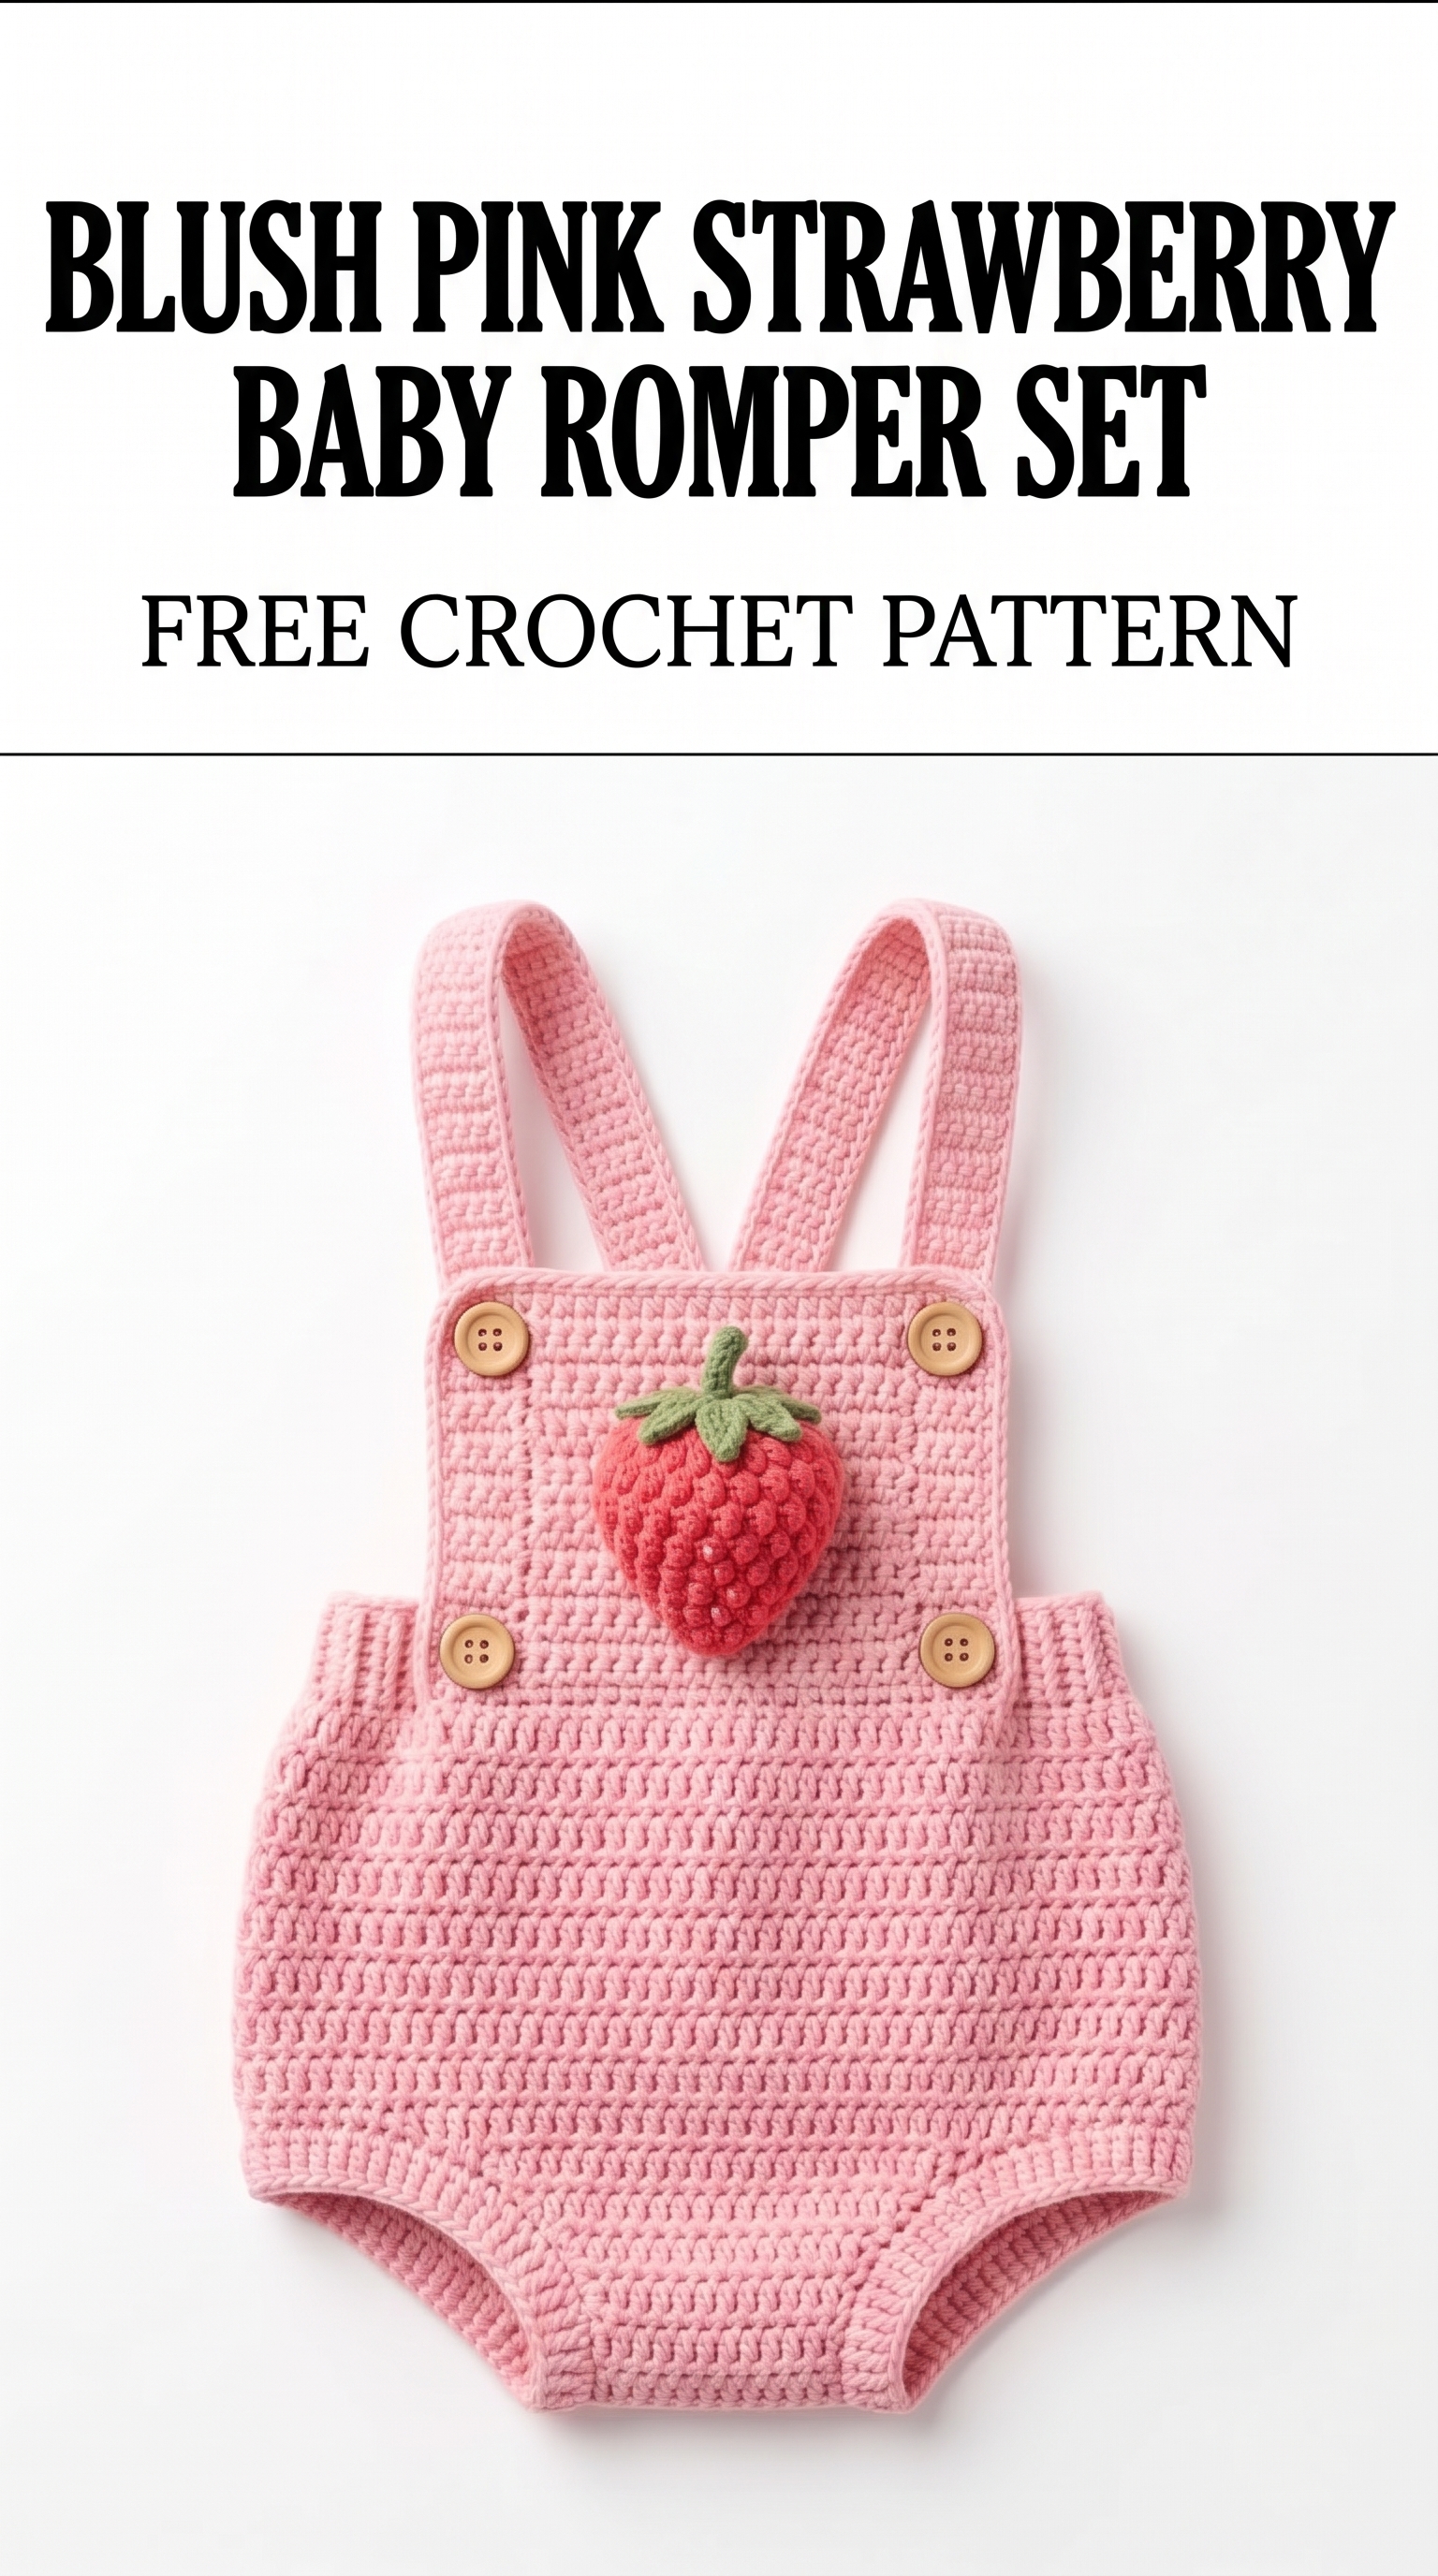
Image shown for inspiration — your finished result may vary slightly.