Cream Cable Knit Look Baby Hoodie Free Crochet Pattern
A free crochet pattern for a cozy, stylish baby hoodie that mimics knitted cables, perfect for chilly months.
Published October 5, 2026 · by Amanda
- Skill level
- Beginner
- Yarn weight
- Worsted (4)
- Hook size
- 5.5 mm (I-9) for main body, 5.0 mm (H-8) for ribbing
- Time
- 5–6 hours
- Gauge
- 14 DC and 10 rows = 10 cm
- Yardage
- about 550 yards
- Sizes
- 0-3 months, 3-6 months, 6-12 months
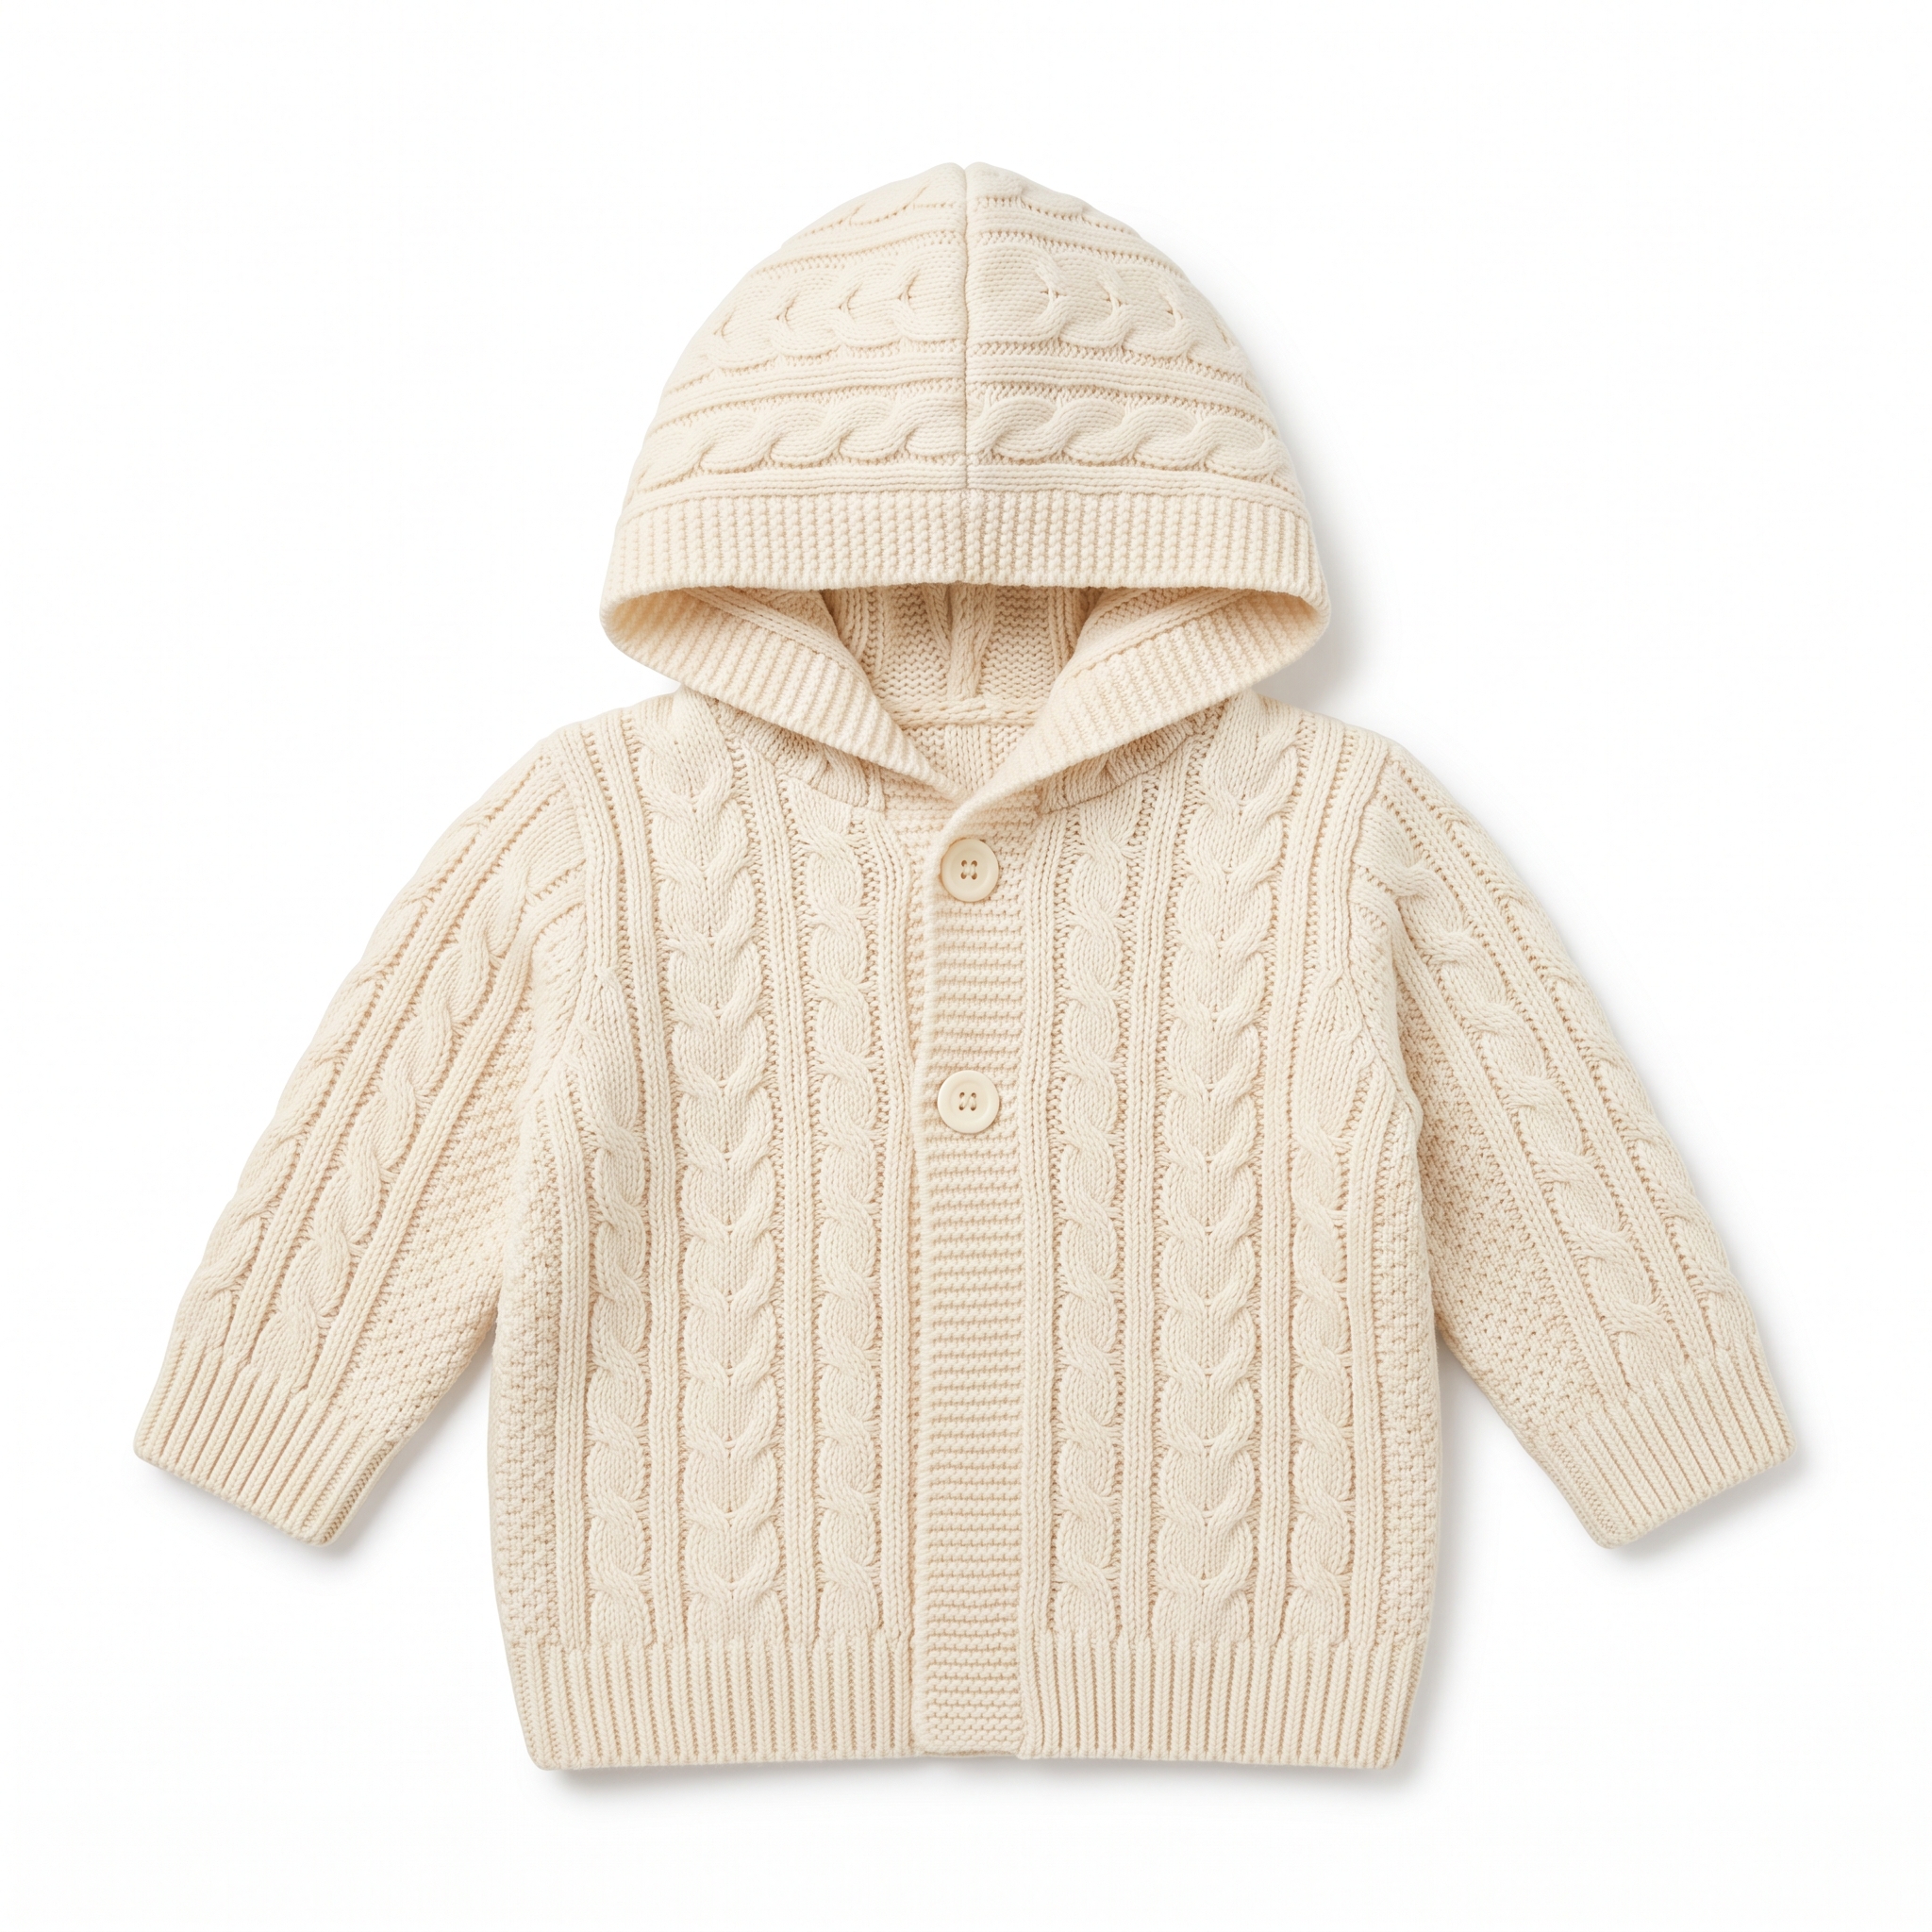
This cream cable knit look baby hoodie pattern is a delightful project that mimics the appearance of knitted cables. It provides warmth and style for infants with its cozy hood, long sleeves, and convenient button front. This hoodie makes a lovely outerwear piece for chilly months.
This pattern is suitable for beginner to intermediate crocheters. You'll learn how to create the cable look using front post clusters and work on various techniques, including constructing a hood and sleeves.
Why You'll Love This Baby Hoodie
- Cozy and warm – perfect for chilly weather, this hoodie keeps your little one snug.
- Stylish design – the cable knit look adds a touch of charm to baby outfits.
- Quick and manageable – make this project in about 5–6 hours.
- Size options – instructions for 0-3 months, 3-6 months, and 6-12 months to fit your growing baby.
Is This Pattern Good for Beginners?
Yes! Although it has some unique stitches like front post clusters, the pattern consists mainly of basic stitches such as double crochet and half double crochet. With clear instructions, you'll be able to tackle this project confidently.
Crochet Abbreviations (US Terms)
- ch – chain
- sl st – slip stitch
- DC – double crochet
- HDC – half double crochet
- FC – front post (FP) cluster (2 DC in same stitch)
Front Post (FP) Cluster (FC) Explanation:
- Yarn over, insert hook from front to back around the post of the stitch below, yarn over again.
- Pull through, yarn over, pull through 2 loops on hook (2 loops remain).
- Repeat twice to have 3 loops on hook, yarn over and pull through all 3 loops.
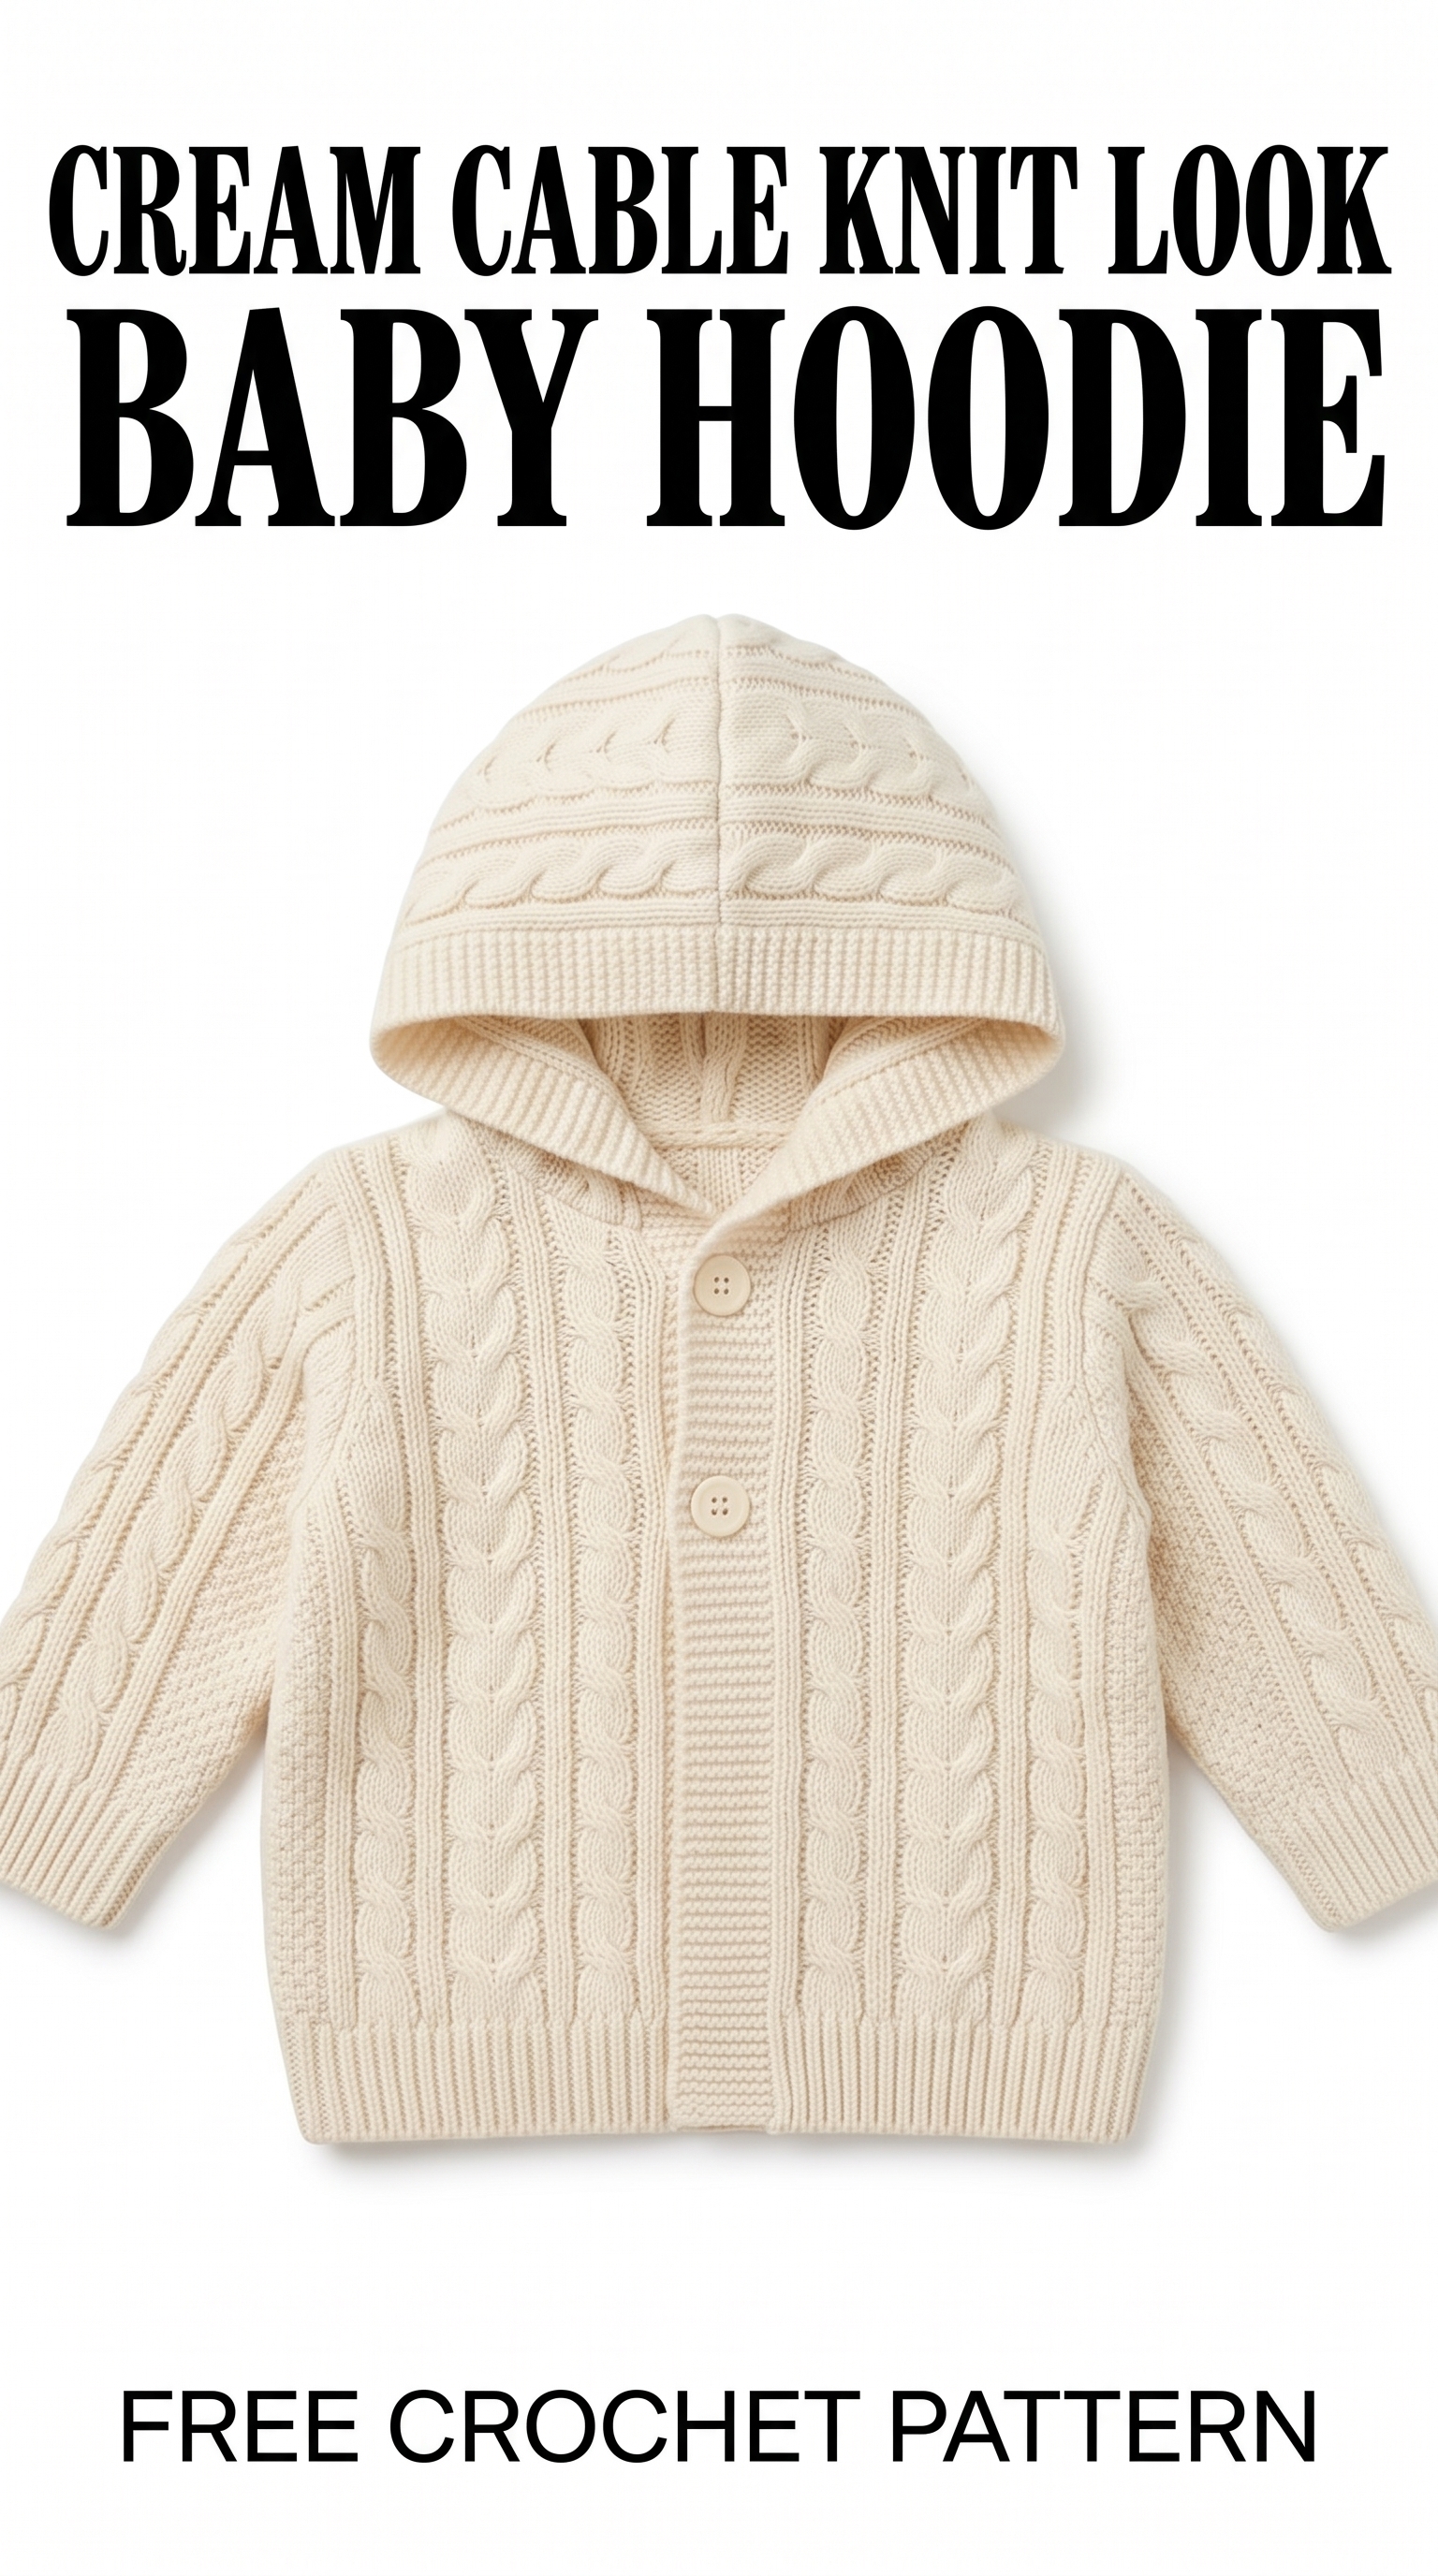
Image shown for inspiration — your finished result may vary slightly.
Size and Gauge
- Finished measurements:
- Body Circumference: 56 (58.5, 61) cm (22 (23, 24) in)
- Body Length: 25 (28, 30.5) cm (10 (11, 12) in)
- Sleeve Length: 18 (20.5, 23) cm (7 (8, 9) in)
- Hood Height: 20.5 cm (8 in)
- Gauge: 14 DC and 10 rows = 10 cm (4 in) in double crochet (DC).
Check your gauge by crocheting a swatch of 20 DC for 10 rows. If your gauge is larger, switch to a smaller hook; if it’s smaller, switch to a larger hook.
How to Crochet the Baby Hoodie (Step by Step)
Body
The body of the hoodie is worked in one piece.
- Foundation Chain: Ch 70 (for 0-3 months), 74 (for 3-6 months), 78 (for 6-12 months).
- Row 1: DC in 3rd ch from hook and in each ch across. (68, 72, 76 DC)
- Row 2: Ch 2, turn. HDC in each st across. (68, 72, 76 HDC)
- Row 3: Ch 2, turn. DC in each st across. (68, 72, 76 DC)
- Row 4: Ch 2, turn. FC in next st, repeat across. (34, 36, 38 FC)
- Row 5: Ch 2, turn. HDC in each st across. (68, 72, 76 HDC)
- Row 6-10: Repeat Rows 3-5 two more times.
- Row 11: Ch 1, turn. HDC in next 34, ch 32 for armhole, skip 16 for neck, HDC in last 34. (68 HDC)
Sleeves (Make 2)
The sleeves will be worked separately.
- Foundation Chain: Ch 36 (for all sizes).
- Row 1: DC in 3rd ch from hook and in each ch across. (34 DC)
- Row 2-10: Repeat Rows 2-5 from the Body section for sleeve length.
- Row 11: Ch 1, turn. HDC in each st across. (34 HDC)
Hood
The hood is worked separately and later attached.
- Foundation Chain: Ch 40.
- Row 1: DC in 3rd ch from hook and in each ch across. (38 DC)
- Row 2: Ch 2, turn. HDC in each st across. (38 HDC)
- Row 3-5: Repeat Rows 2-4 from Body section.
- Row 6: Ch 1, HDC in 18, ch 22 for neck, HDC in 18. (38 HDC)
Assembly & Finishing
- Sew side seams of the Body using slip stitches or whip stitch.
- Attach sleeves to body at armholes, sewing down along both sides.
- Fold the Hood piece in half and sew the edges together to create the hood.
- Attach the Hood to the neck edge of the Body.
- Sew buttons onto the body front. You can use safety eyes for decoration if desired.
- Weave in all ends and block lightly.
Beginner Tips for a Neat Baby Hoodie
- Use stitch markers to keep track of your rows and stitches.
- Count your stitches regularly to ensure that your piece remains even.
- Maintain a relaxed tension to avoid tight stitches, especially in the FC row.
Common Mistakes (and How to Fix Them)
- "My project is too small." – Ensure you checked your gauge and adjusted the hook size if needed.
- "The cables don't look right." – Check that you are completing the front post clusters properly and that your stitches aren't too tight.
- "My seams are uneven." – Pay attention to the seam allowances and stitch counts to keep everything aligned.
How to Care for Your Baby Hoodie
Hand wash cold and lay flat to dry. Avoid exposing the hoodie to direct sunlight to maintain its color.
FAQ
How many buttons do I need?
You'll need two buttons for the front closure of the hoodie.
Can I use a different yarn type?
Yes, you can use any worsted weight acrylic yarn, but be sure to check your gauge to maintain proper sizing.
How do I make the hoodie larger or smaller?
To adjust the size, simply add or subtract chains in the foundation, and modify the rows accordingly while keeping the same stitch counts.
Enjoy creating this adorable and cozy baby hoodie! Want to create a complete set? Check out our range of patterns or try the matching booties.