Cream Lamb Baby Romper Set Free Crochet Pattern
A free crochet pattern for an adorable baby romper set, complete with lamb appliqués, suitable for beginners.
Published October 5, 2026 · by Amanda
- Skill level
- Beginner
- Yarn weight
- Worsted (4)
- Hook size
- 4.00 mm (G/6) and 5.00 mm (H/8)
- Time
- 8 hours
- Gauge
- 16 dc and 10 rows = 4 inches (10 cm)
- Yardage
- about 350 yards
- Sizes
- 20 × 18 in (50.8 × 45.7 cm)
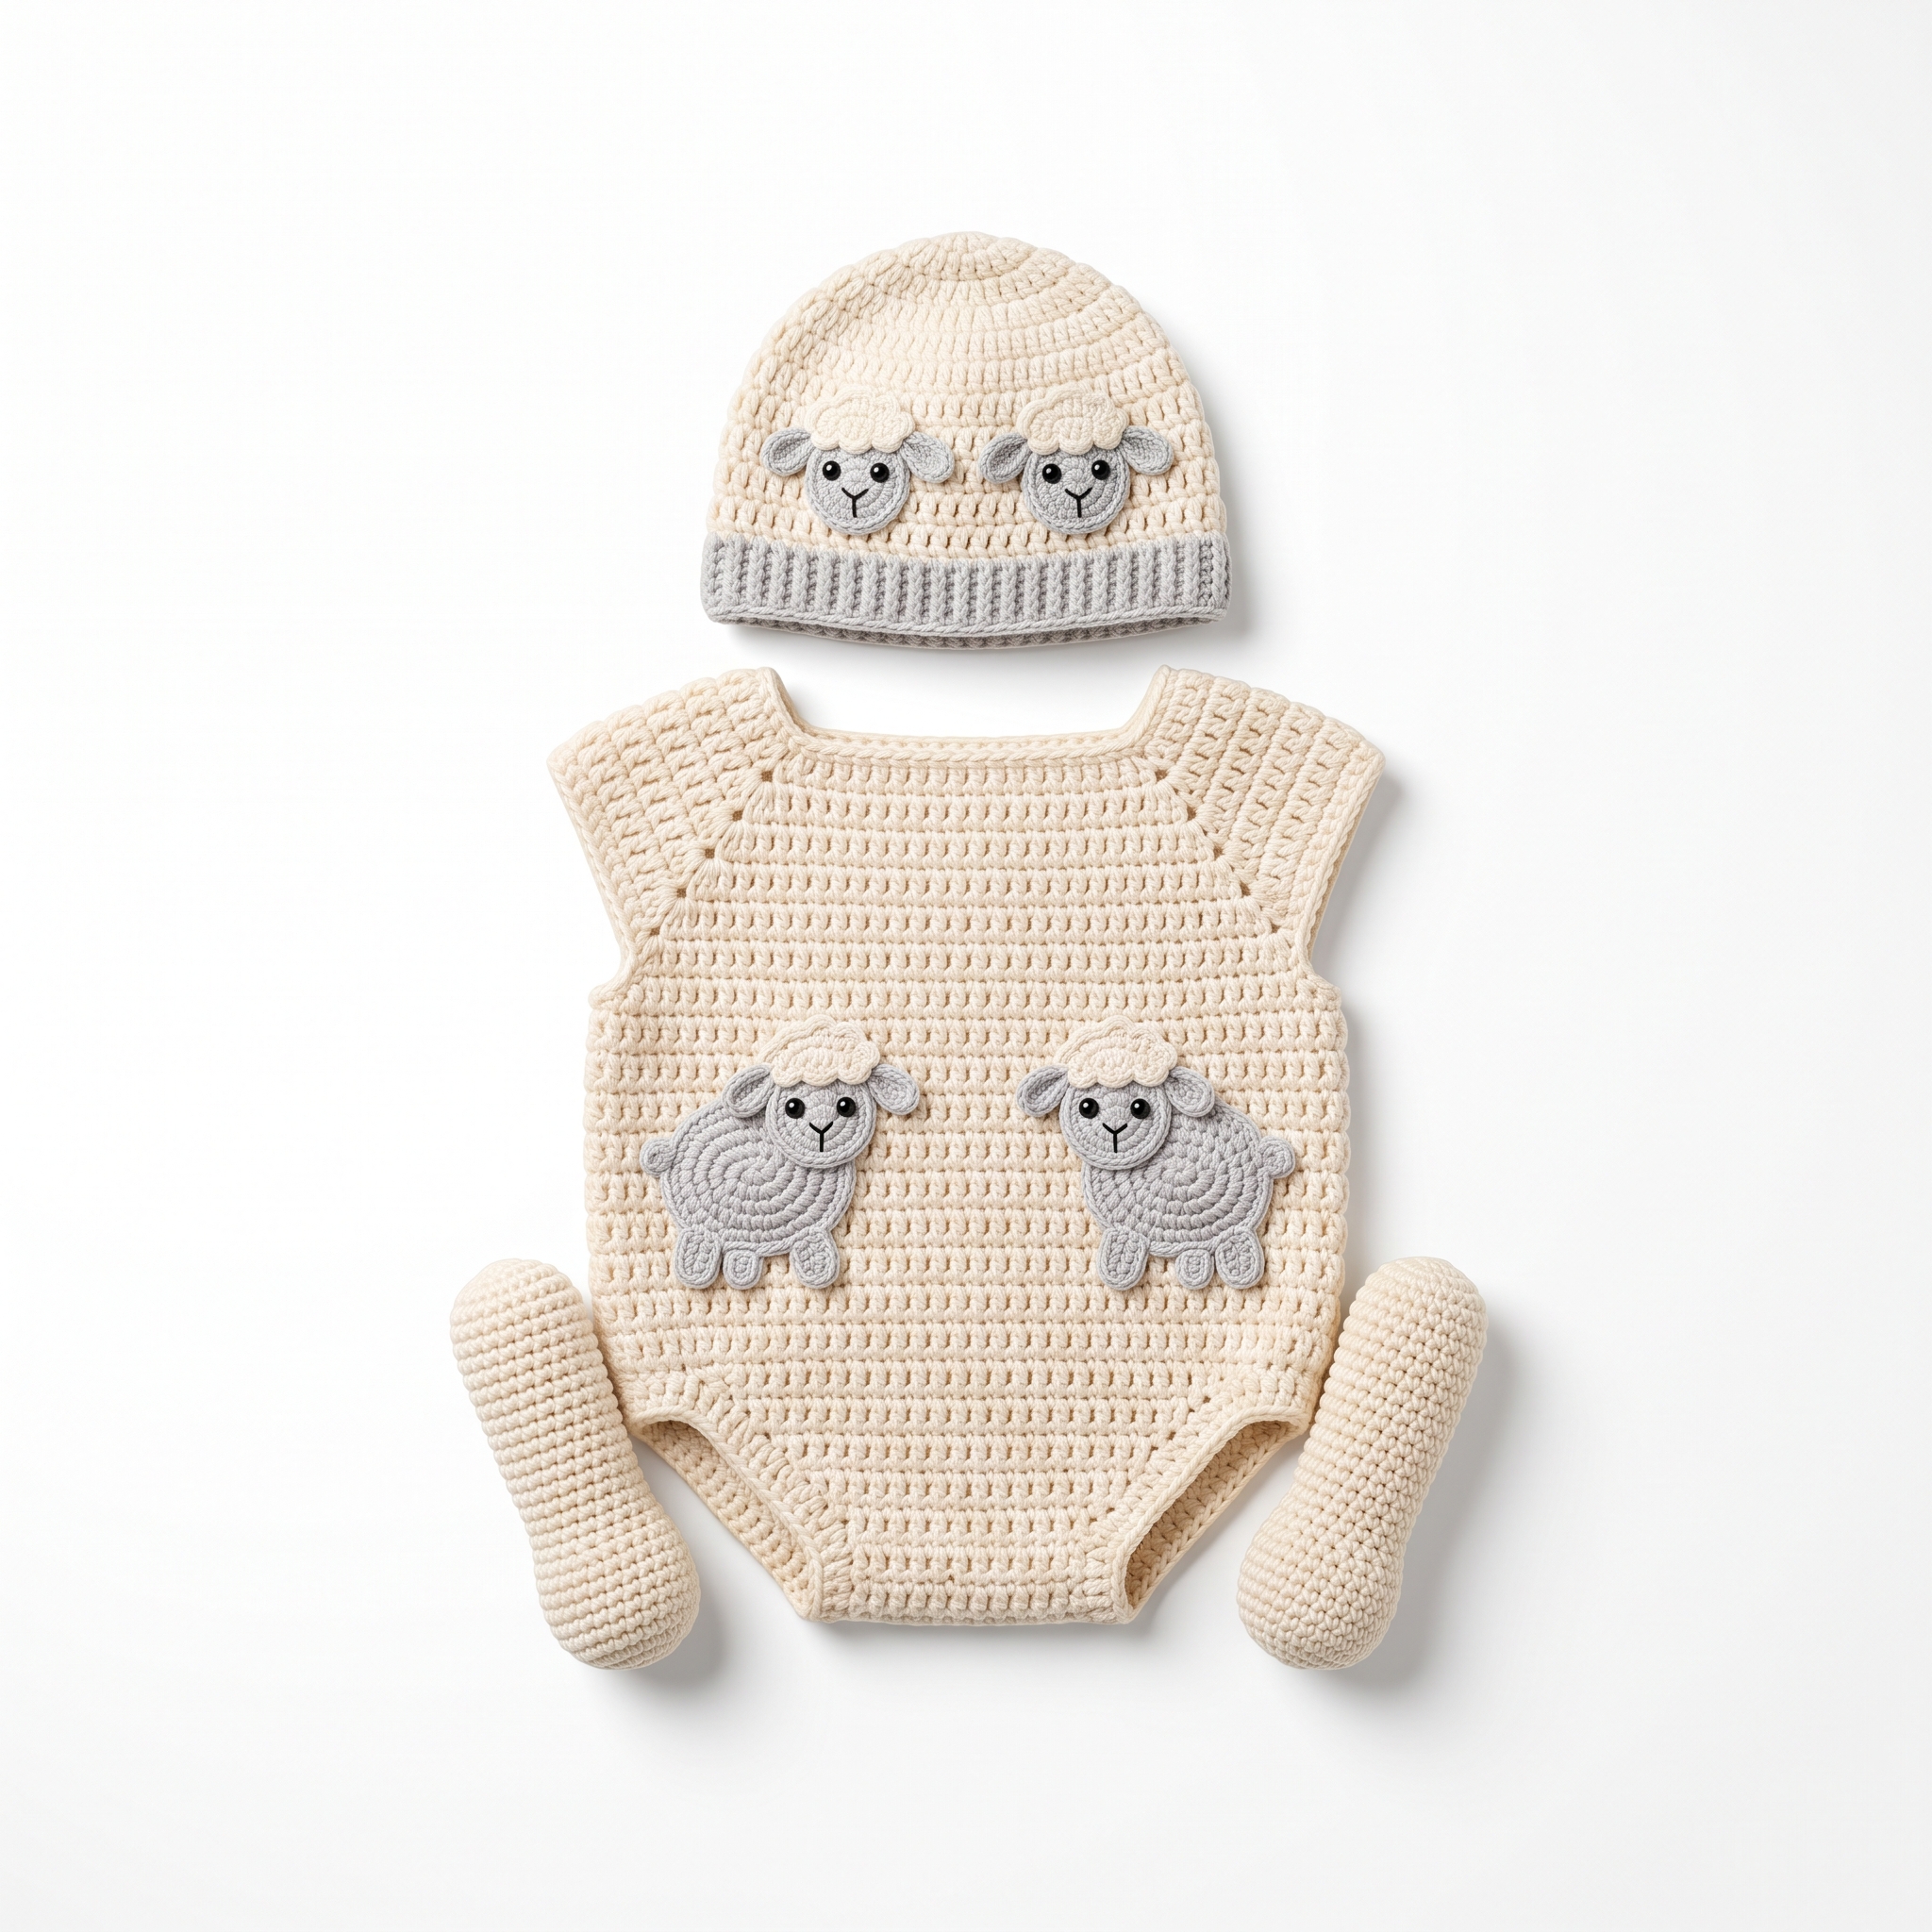
This cozy Cream Lamb Baby Romper Set is a delightful project for any crocheter. With its adorable lamb appliqués and matching hat, it’s perfect for capturing those first precious photo moments or gifting at a baby shower. You’ll enjoy working with simple stitches like chains, single crochets, and double crochets, making this an approachable project for crocheters of all skill levels.
This pattern is suitable for beginners who want to practice their skills and for more experienced crocheters looking for a fun, quick project. You’ll learn how to create a cozy romper and how to make cute appliqués to add a personal touch.
Why You'll Love This Cream Lamb Baby Romper Set
- Sweet and cute – perfect for baby’s first photo shoot.
- Quick project – complete it in about 8 hours.
- Easy to customize – adjust colors or sizes to make it unique.
- Practical gift – a thoughtful and handmade present for new parents.
Is This Pattern Good for Beginners?
Yes! This pattern uses basic stitches like chains, single crochet, and double crochet. The step-by-step instructions will guide you through each part of the romper and the hat.
Crochet Abbreviations (US Terms)
- ch – chain
- dc – double crochet
- sc – single crochet
- st – stitch
- sl st – slip stitch
- inc – increase (2 stitches in the same st)
- dec – decrease (2 stitches together)
- FO – finish off
Lamb Appliqué:
- Begin with a magic ring.
- Round 1: ch 1, 6 sc in the ring, pull tight, and join with sl st (6 sts).
- Round 2: (inc) repeat around (12 sts).
- Round 3: (sc in next st, inc) repeat around (18 sts).
- Round 4: (sc in next 2 sts, inc) repeat around (24 sts).
- FO, leaving a long tail for sewing.
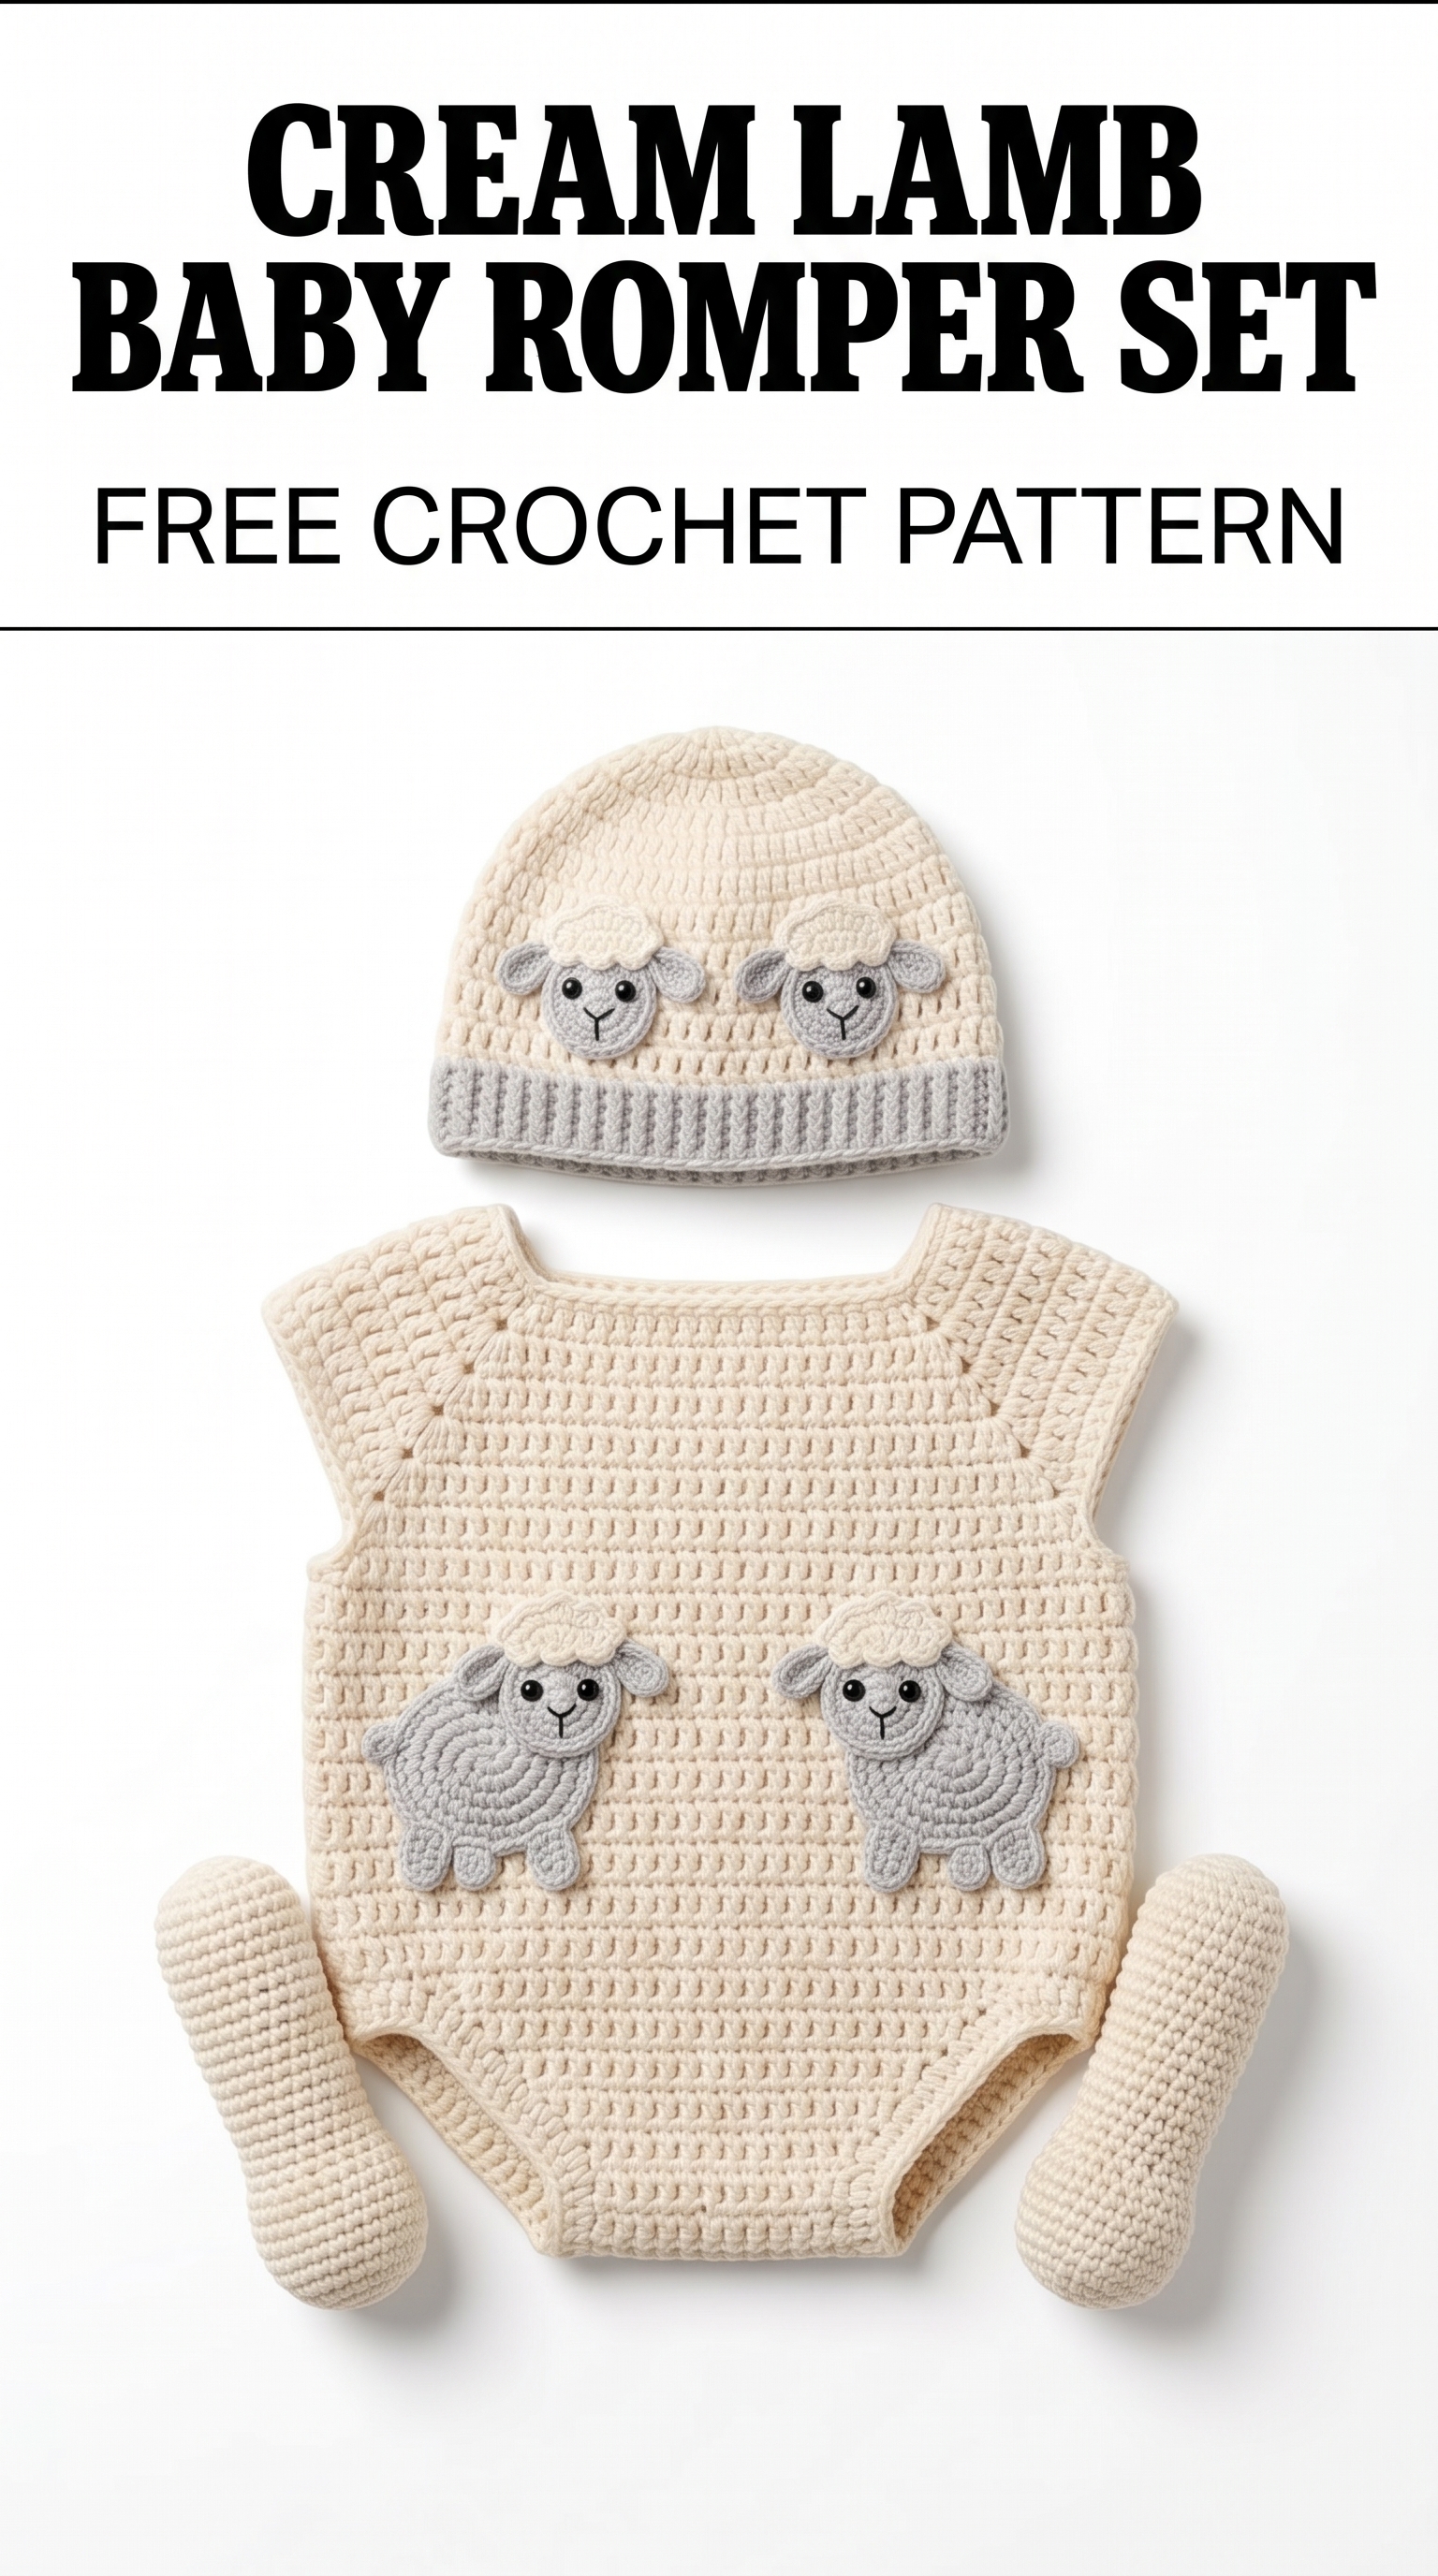
Image shown for inspiration — your finished result may vary slightly.
Size and Gauge
- Finished Size: 0-3 months (approximately 20" in chest and 18" in length)
- Gauge: 16 dc and 10 rows = 4 inches (10 cm). To check, create a swatch of 20 dc. Use a smaller hook if your swatch is larger than the gauge, and a larger hook if smaller.
Step-by-Step Instructions
Romper Body
The body of the romper is worked in rows.
- With Yarn A, Ch 46.
- Row 1: Starting from the 2nd ch from hook, dc in each ch across (45 dc).
- Row 2: Ch 3, turn, dc in each st across (45 dc).
- Row 3–20: Repeat Row 2 for 18 more rows.
After Row 20, the piece should measure approximately 18" long. - Front Panel:
- Repeat Rows 1–20 in the same manner, but stop at Row 16 to create the neck opening.
At this point, the width of the front panel should match the back.
- Repeat Rows 1–20 in the same manner, but stop at Row 16 to create the neck opening.
- Shape Neck:
- Row 17: Ch 3, dc in the next 15 sts, ch 9, skip next 15 sts, dc in last 15 sts (30 dc, ch 9).
- Row 18: Ch 3, dc in the first 30 dc, then dc in the ch space (31 dc).
- Row 19: Repeat Row 2 for 8 more rows.
- Assembly of the Body: Fold the front panel over the back panel and join the sides through the shoulder seam with sl st.
Legs
- Attach Yarn A to the bottom of the romper.
- Ch 1, sc around the leg opening, join with sl st (approx. 36 sc).
- Round 2: Ch 1, sc in each st around (36 sc).
- Repeat Round 2 until leg length measures 3" long.
- FO and repeat for the other leg.
Lamb Appliqué (make 2)
- Follow the Lamb Appliqué instructions to create two lambs.
- Attach safety eyes to each lamb using Yarn C as pupils.
- Stuff lightly with polyester fiberfill.
- Sew lambs onto the romper's front panel, positioning them towards the sides.
Hat
- With Yarn A, Ch 30.
- Row 1: Sc in 2nd ch from hook, sc across (29 sc).
- Row 2: Ch 1, turn, sc across (29 sc) for every row until the piece measures 6" long.
- Shape brim by changing to Yarn B:
- Ch 1, sc around (29 sc).
- Repeat this for 3 rows.
- Add lambs to the front of the hat as you did for the romper.
Assembly & Finishing
- Weave in all ends and secure with a tapestry needle.
- Block all pieces as desired for a clean finish.
- Sew the button at the back for closure.
Beginner Tips for a Neat Romper Set
- Use stitch markers to mark the beginning of your rows.
- Count your stitches after each row to ensure accuracy.
- Practice maintaining consistent tension, especially when changing stitches.
Common Mistakes (and How to Fix Them)
- "My project is too tight." – This could be due to your tension. Try relaxing your grip when crocheting or switch to a larger hook.
- "The romper is uneven." – Check you’ve maintained the same number of stitches for each row and correct any missed or added stitches.
- "My lambs don’t look even." – If they appear different, use the same stitch count and technique when making each one.
How to Care for Your Romper Set
Hand wash in cold water and lay flat to dry. Avoid wringing or twisting the fabric to maintain its shape and softness.
FAQ
How can I resize the romper?
To make it larger, increase the foundation chain in multiples of 5 and add or subtract rows accordingly.
How do I make the lambs different colors?
You can definitely play with colors! Simply substitute different colors for Yarn A, B, and C.
How long does this project take to make?
The total estimated time is about 8 hours, depending on your crochet speed.
Want to create a complete set? Check out our range of patterns or try the matching blanket.