Victorian Lace Crochet Bandana Free Fine-Yarn Pattern
A delicate and elegant bandana pattern featuring intricate lace stitching, suitable for intermediate crocheters.
Published October 4, 2026 · by Amanda
- Skill level
- Intermediate
- Yarn weight
- Fine (1)
- Hook size
- 3.5 mm (E-4)
- Time
- 1 hour 45 minutes
- Gauge
- 18 sts x 9 rows = 10 cm
- Yardage
- about 250 yards
- Sizes
- 51 cm × 25 cm (20 in × 10 in)
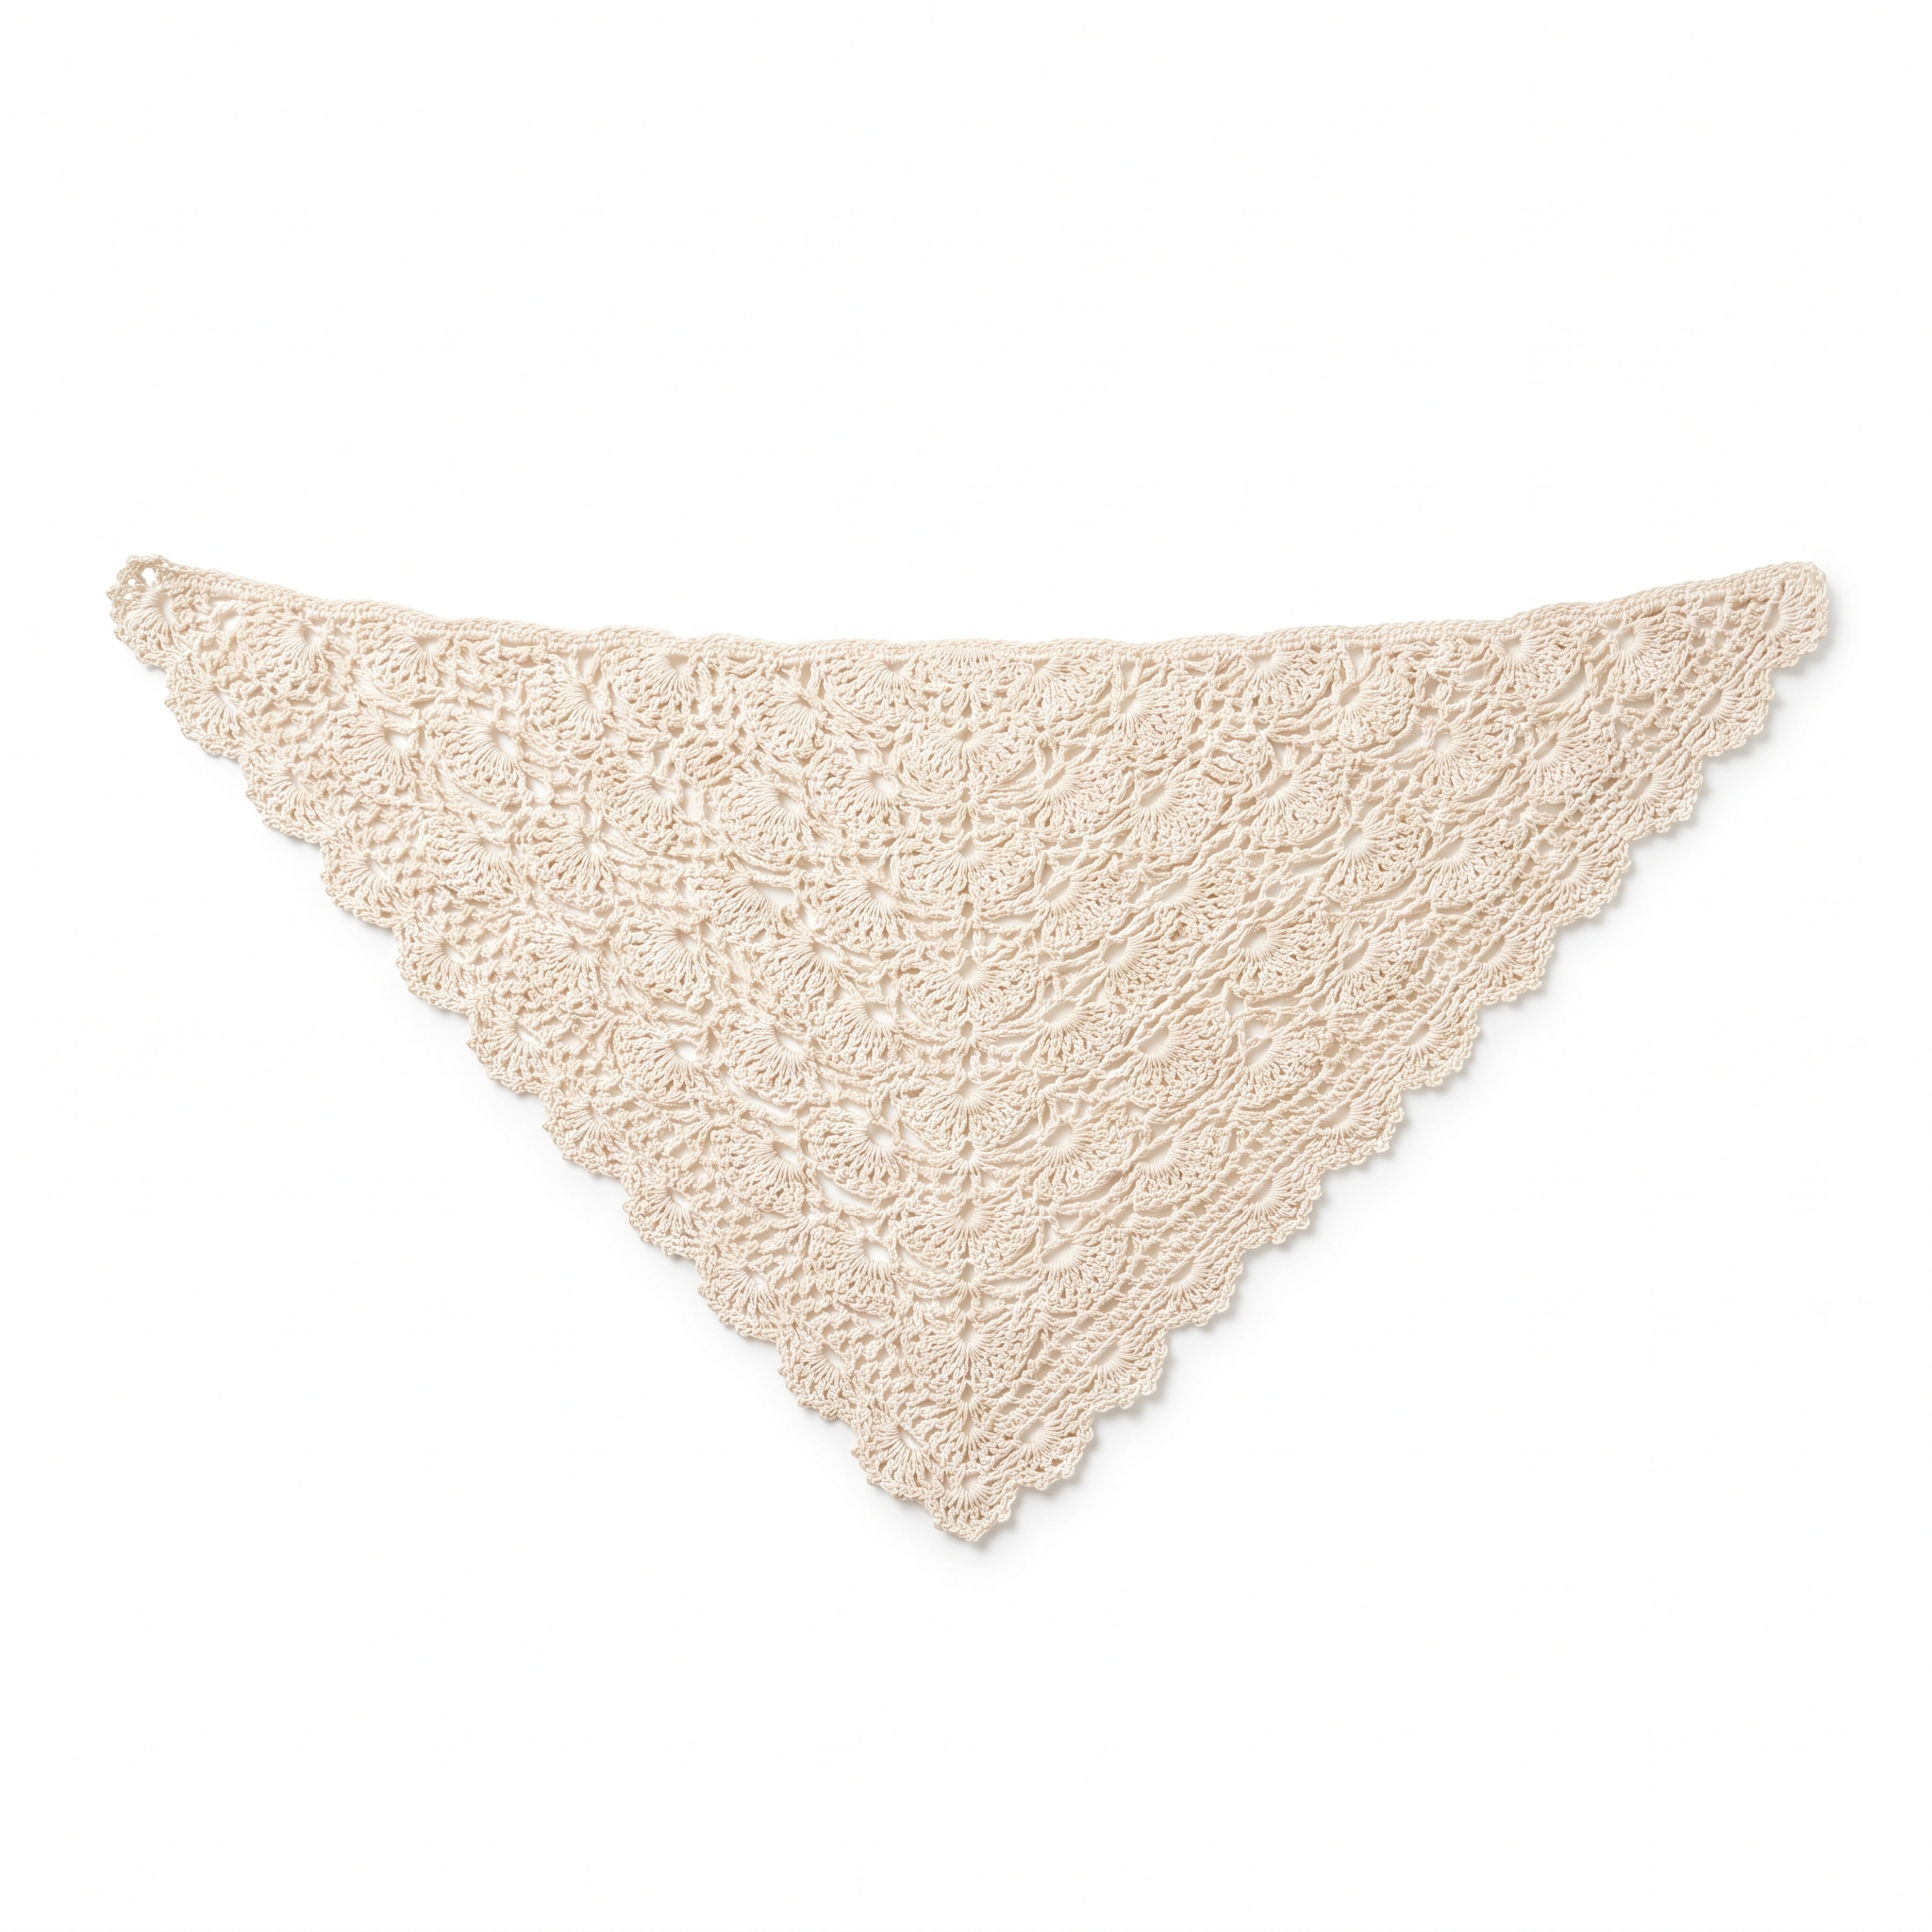
This delicate Victorian lace crochet bandana pattern is perfect for adding an elegant touch to any outfit. It features intricate lace stitching, making it enjoyable and satisfying to work on. You'll be using stitches such as double crochet and single crochet, allowing you to practice some familiar techniques while learning new ones.
This pattern is suitable for intermediate crocheters. You'll learn how to create stunning lace details while developing your skills with varying stitch combinations.
Why You'll Love This Bandana
- Elegant design – perfect for both casual and formal wear.
- Quick and efficient – complete this project in about 1 hour and 45 minutes.
- Versatile patterns – customize with various colors for a personal touch.
- No extra materials needed – just yarn, a hook, and a tapestry needle!
Is This Pattern Good for Beginners?
No, this pattern is aimed at intermediate crocheters. However, if you are ready for a challenge, you will learn valuable techniques like the Lace V-Stitch and how to block your final piece.
Crochet Abbreviations (US Terms)
- ch – chain
- dc – double crochet
- sc – single crochet
- sl st – slip stitch
- rep – repeat
- ( ) – repeat the instructions within the parentheses
- Shell Stitch – (5 dc in same stitch)
- Lace V-Stitch – (1 dc, ch 1, 1 dc) in the same stitch
Size and Gauge
- Finished dimensions: approximately 51 cm × 25 cm (20 in × 10 in).
- Gauge: 18 sts and 9 rows = 10 cm (4 in) in lace pattern.
To check your gauge, make a swatch of 24 stitches and 12 rows in the lace pattern and measure. Adjust your hook size if needed.
How to Crochet a Victorian Lace Bandana (Step by Step)
The bandana begins with a foundation chain.
Part 1: Foundation Chain
- Ch 61.
(You should have 61 chains.)
Part 2: Base Rows
The base rows establish your main pattern.
2. Row 1: Dc in 4th ch from hook, dc in next 7 ch (8 dc total), [ch 2, skip 2 ch, sc in next ch] 4 times, ch 2, skip 2 ch, dc in last 6 ch. (14 dc, 4 sc)
3. Row 2: Ch 3 (counts as dc), [dc in next sc, ch 1] 4 times, dc in next dc, ch 1, 5 dc in the next ch-2 space, ch 1, dc in next dc, [dc in next sc, ch 1] 4 times, dc in last dc. (20 dc, 4 sc)
4. Row 3: Ch 3, dc in next dc, [Lace V-Stitch in next ch-1 space, dc in next dc] 3 times, Lace V-Stitch in next ch-1 space, 5 dc in next ch-2 space, Lace V-Stitch in next ch-1 space, [dc in next dc, Lace V-Stitch in next ch-1 space] 3 times, dc in last dc. (28 dc, 4 V-Stitches)
Part 3: Lace Section
The lace section adds beautiful detail to your bandana.
5. Row 4: Ch 3, dc in next dc, [Lace V-Stitch in next ch-1 space] 5 times, 5 dc in next ch-2 space, [Lace V-Stitch in next ch-1 space] 5 times, dc in last dc. (48 dc, 10 V-Stitches)
6. Row 5: Ch 3, dc in next dc, [Lace V-Stitch in next ch-1 space] 10 times, 5 dc in next ch-2 space, [Lace V-Stitch in next ch-1 space] 10 times, dc in last dc. (68 dc, 12 V-Stitches)
Part 4: Final Rows
Finish your bandana with the final rows.
7. Row 6: Ch 3, dc in next dc, [Lace V-Stitch in next ch-1 space] 12 times, 5 dc in next ch-2 space, [Lace V-Stitch in next ch-1 space] 12 times, dc in last dc. (88 dc, 14 V-Stitches)
8. Row 7: Ch 1, sc in the first dc, [ch 2, skip V-Stitch, sc in next dc] repeat until last dc, sc in last dc. (20 sc, 4 ch-2 spaces)
9. Row 8: Ch 5 (counts as 1 dc and 2 ch), sc in next sc, ch 2, skip next sc, 5 dc in next ch-2 space until the last sc, sc in last sc. (20 sc, 20 ch-2 spaces)
Finishing Tip
Weave in all ends with the tapestry needle. Lightly block the bandana to enhance the lace pattern, laying it flat to dry and gently stretching it as needed for the best shape.
Beginner Tips for a Neat Bandana
- Use stitch markers to keep track of your lace pattern.
- Count your stitches regularly to ensure you're on track.
- Maintain a consistent tension – not too tight or loose.
Common Mistakes (and How to Fix Them)
- "My stitches are too tight.": Your tension may be too tight; consider using a larger hook size.
- "The bandana doesn't lay flat.": Ensure you are blocking your final piece to shape it properly.
- "The lace pattern looks uneven.": Count your stitches in each row to find any missed stitches.
How to Care for Your Bandana
Hand wash in cold water, and lay flat to dry to maintain the delicate nature of the cotton yarn.
FAQ
How can I customize the bandana size?
To make a larger bandana, increase the foundation chain by a multiple of 4.
Can I change the colors?
Absolutely! Feel free to substitute Color B with any shades of blue or pink.
What’s the best way to block my bandana?
Gently stretch it while it is damp and pin it in place on a flat surface to help shape the lace.
Want to create a complete set? Check out our range of patterns or try the matching lace shawl.
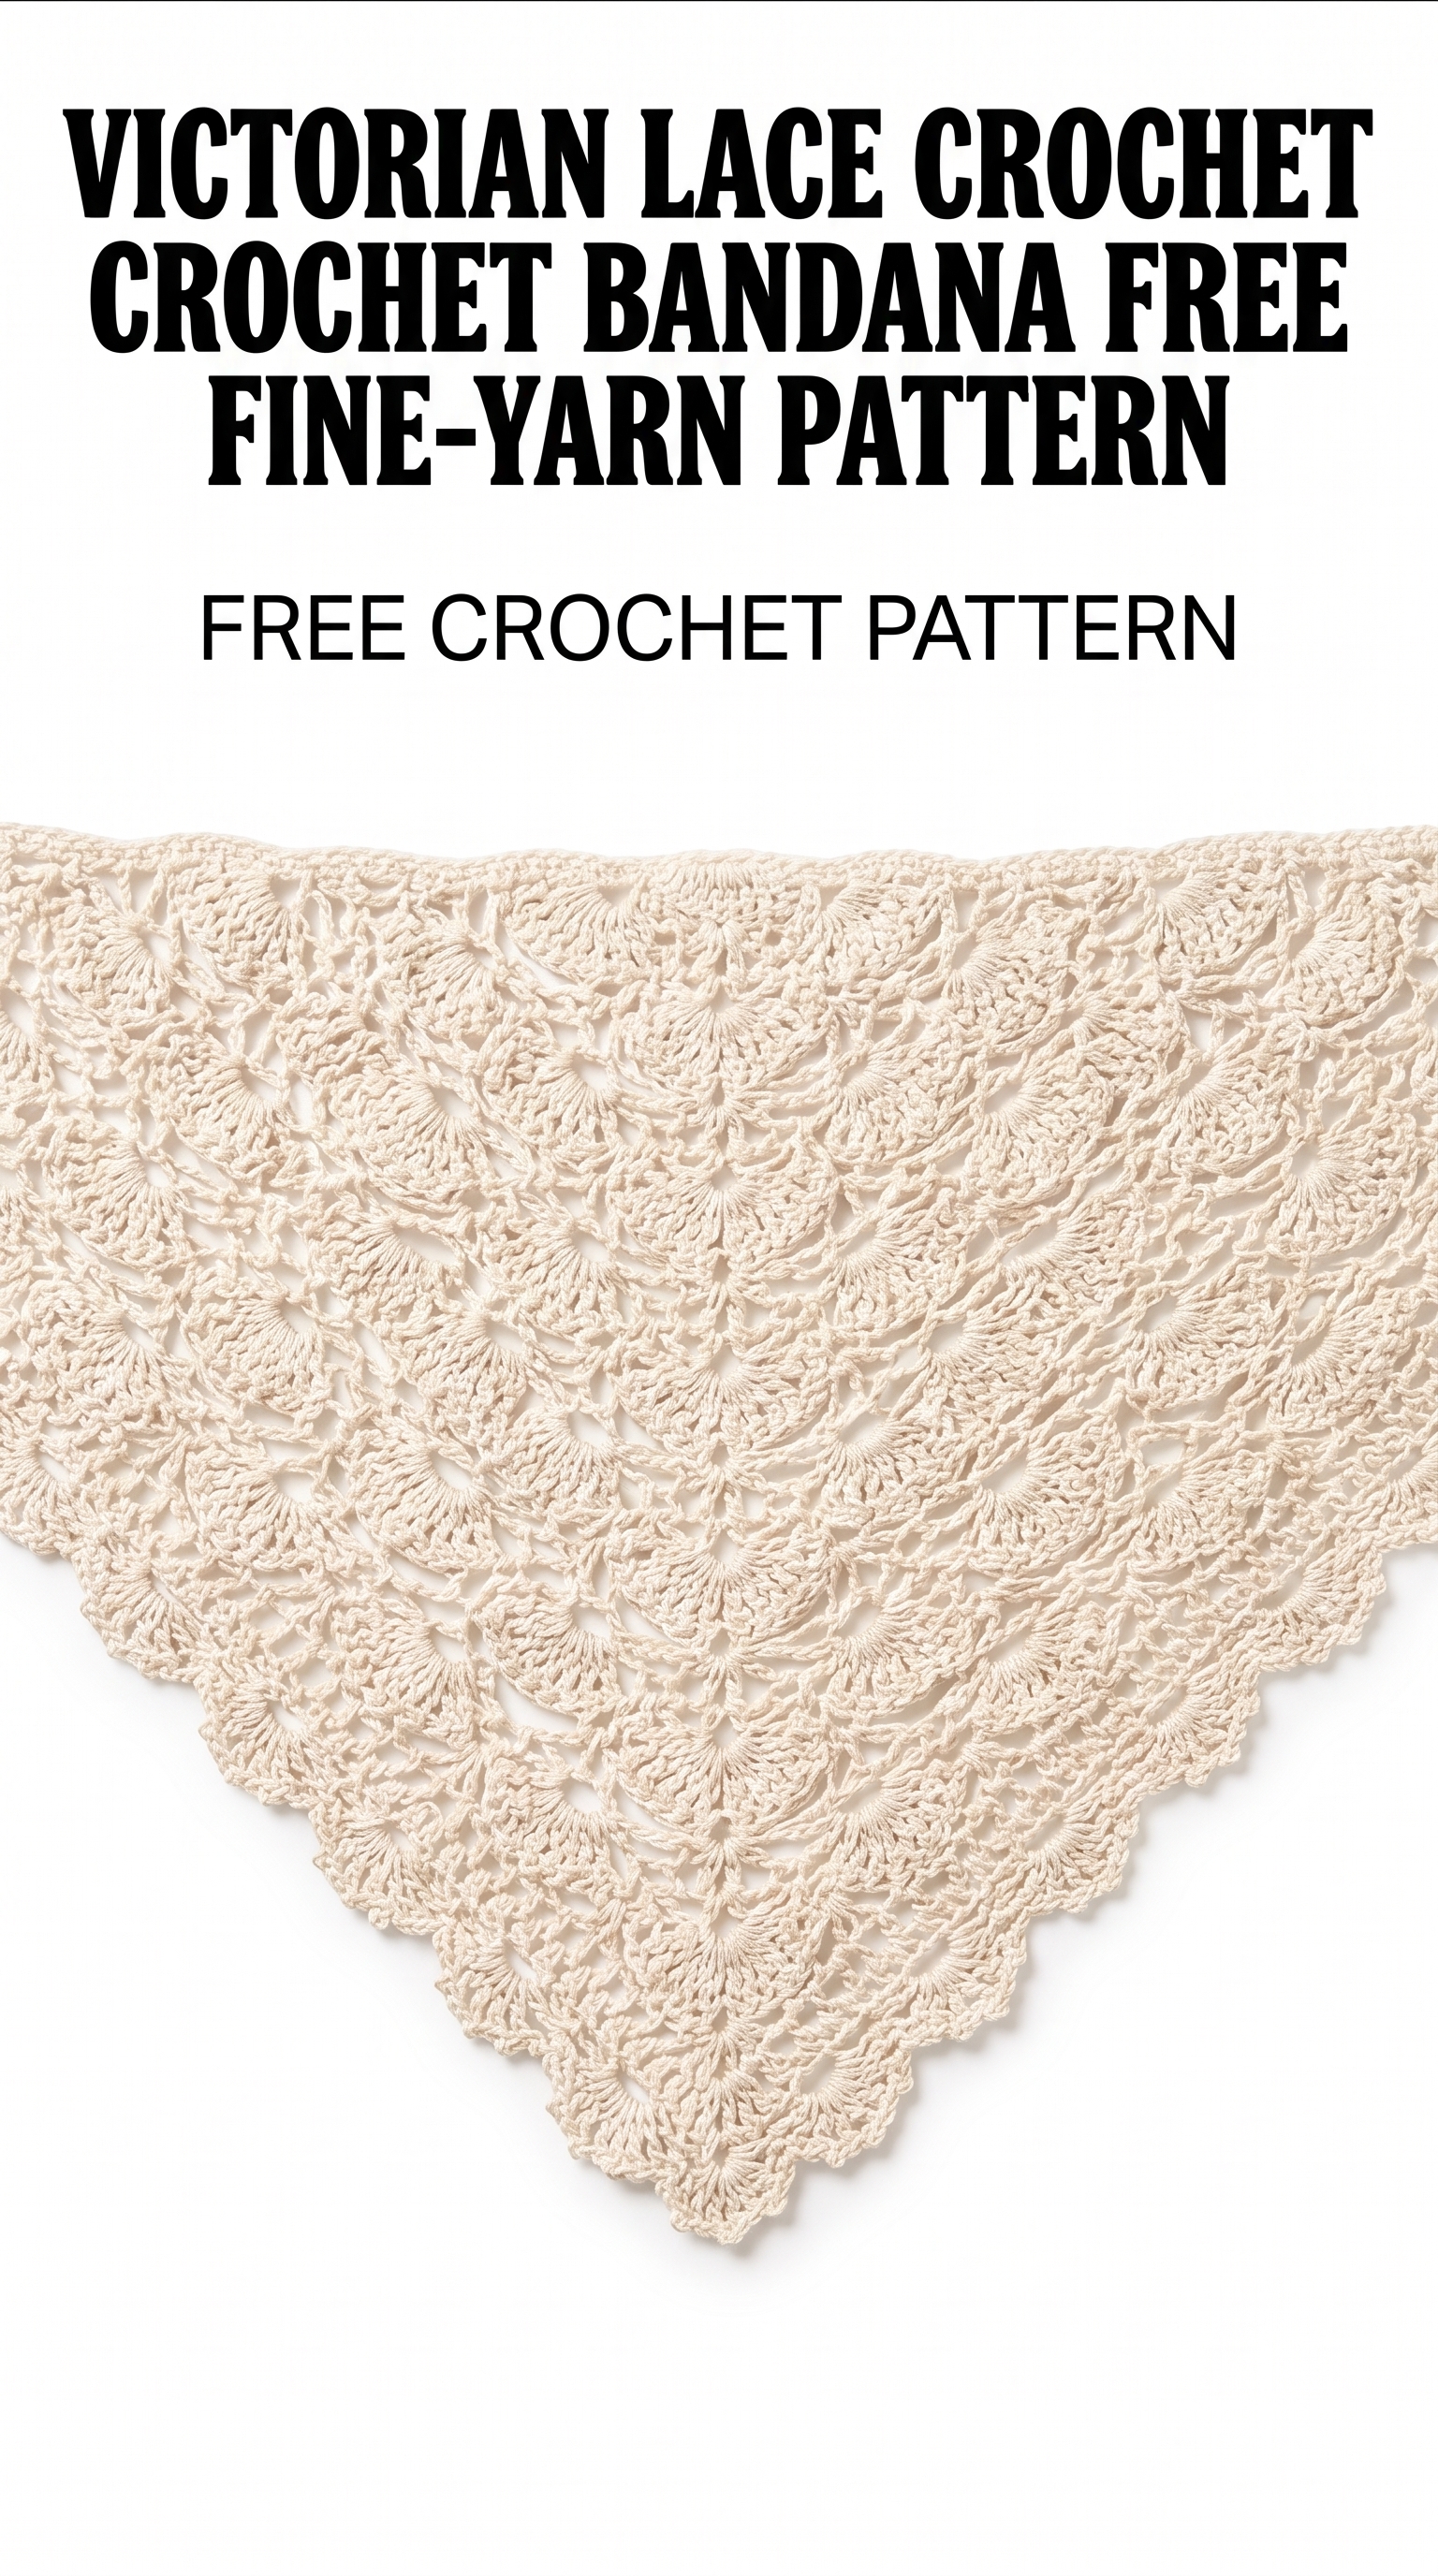
Image shown for inspiration — your finished result may vary slightly.